Tuesday, April 2, 2013

Pendulums are AWESOME!!

I geek out with introducing science to young children.  When I was in second grade we were given a science worksheet to do and asked to answer the bonus problems and then walk up to the teacher and show her our answer to see if we'd gotten it correct. ( I believe that we were offered a new eraser if we got it right.)   I took my time and was near the end of the line and heard a steady stream of nope, nope, nope, nope.... and then it was my turn to show my answer and she glanced and went no... YES!! She proceeded to have me teach the problem to the rest of the class.  It is the first time I remember being the best at something among my peers.  And to say that it encouraged me to love science is an understatement.  
To me Science was the most fun class because you got to throw things, play with water, grow bacteria, dissect and figure things out why things work the way they do.  
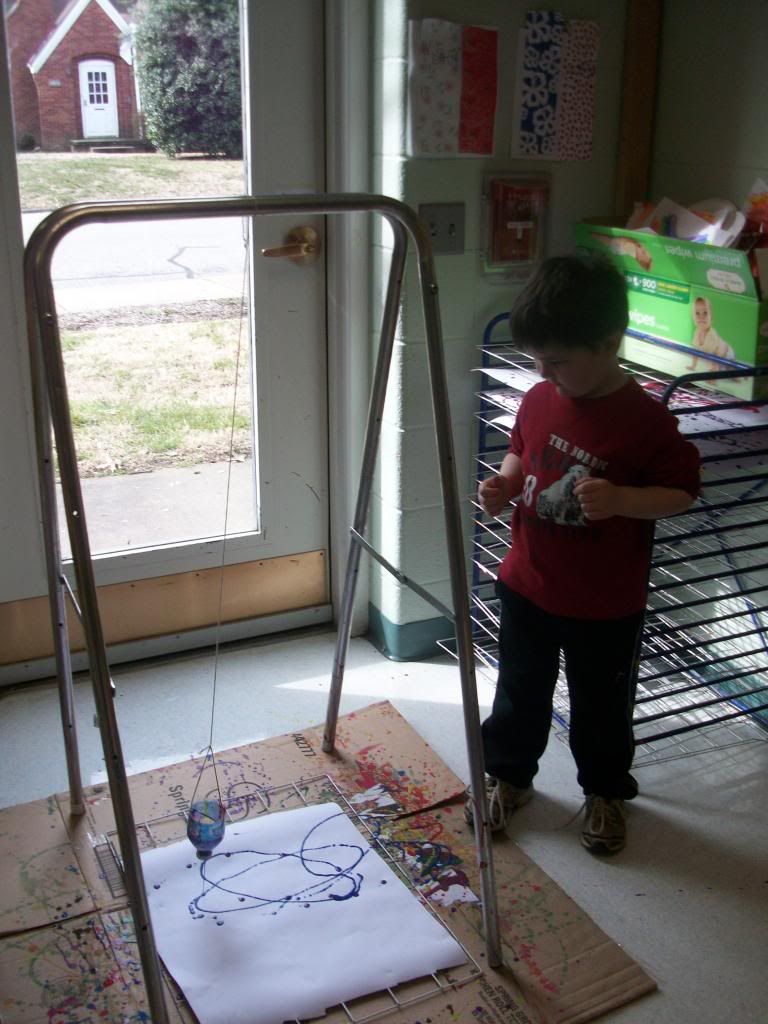

So naturally, when I saw a post that showed kids painting with pendulums I thought it was super cool and had to make one for the kids to play experiment with.  
This one is the frame of an art easel, a string tied on the top and then hug between the 2 bars, so it would be in the very middle, and a water bottle with a hole in the lid.  I made the hole using a drill bit with my hand.  
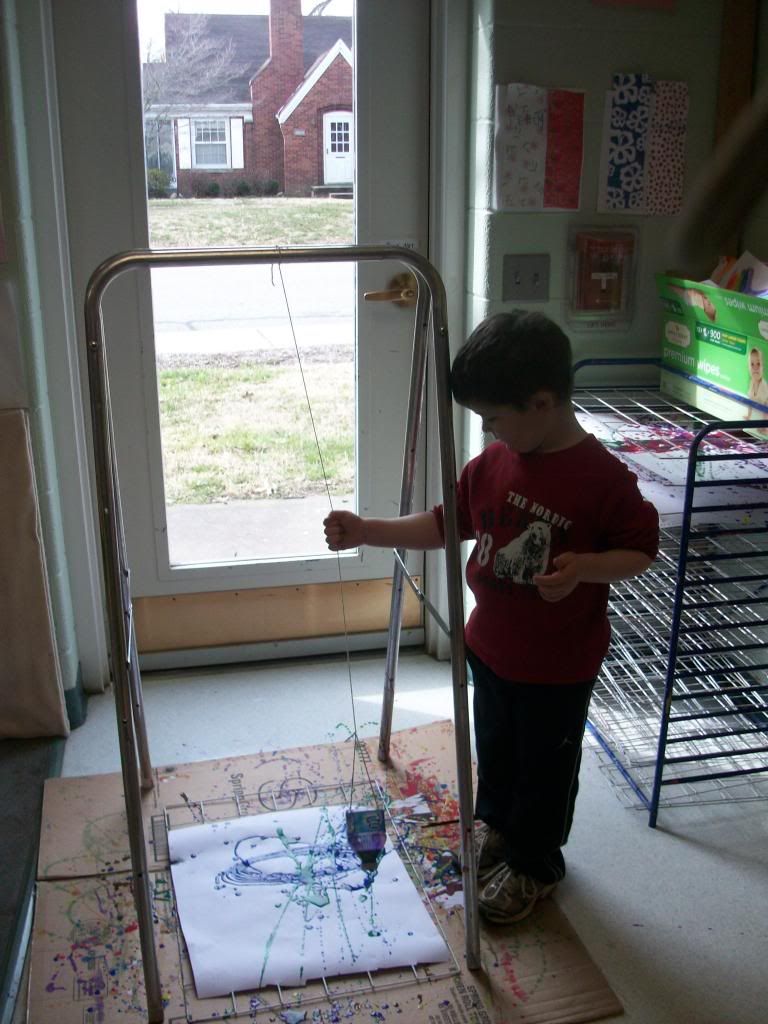

The paint needs to be thinned, but not too watery or it doesn't make the pattern correctly.  It worked out to about 1/3 paint to 2/3's water for me.
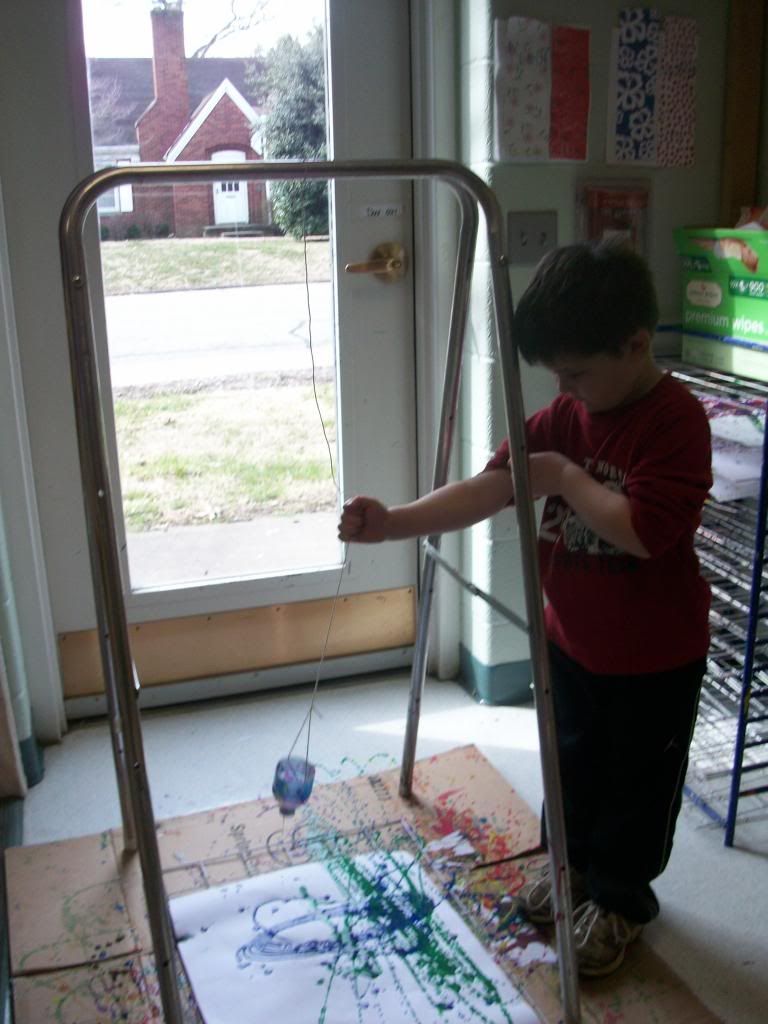

I also figured out that it worked out better to put the paintings on the drying rack shelves and then move the whole shelf to the rack.  This kept the pictures closer to how they looked when the children were finished.  
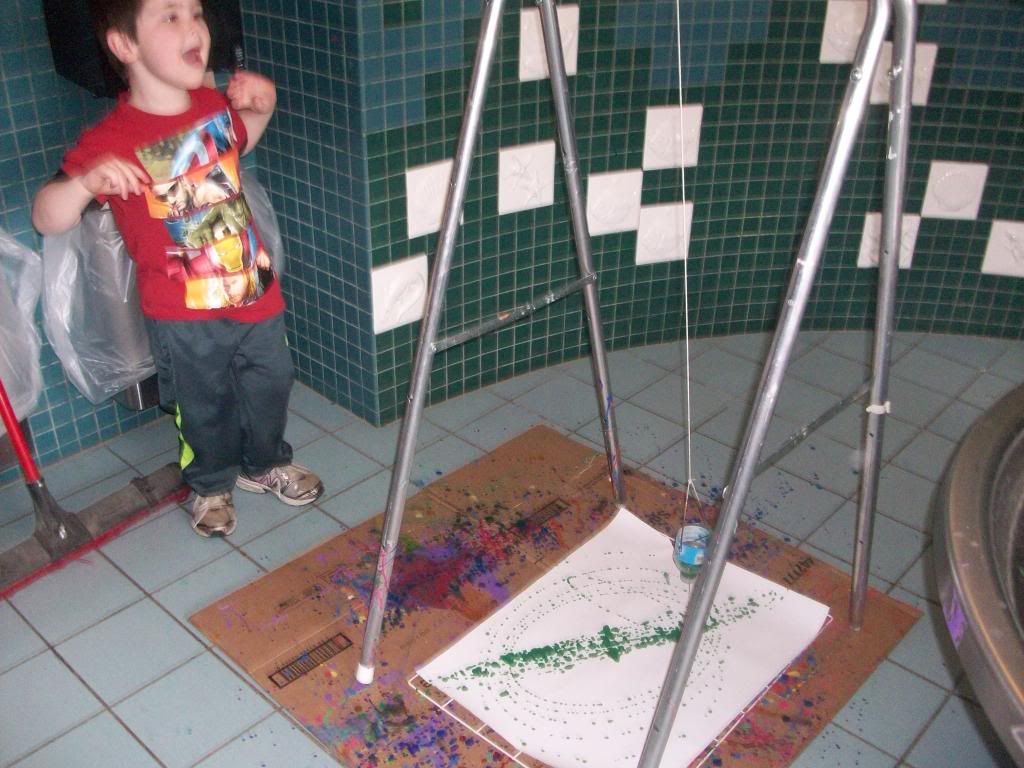

I've talked about the importance of multiple experiences to build connections between the 2 hemispheres of the brain and encourage brain synapses.  Miles enjoyed the second time with the pendulum even more than his first and really got into creating patterns.  
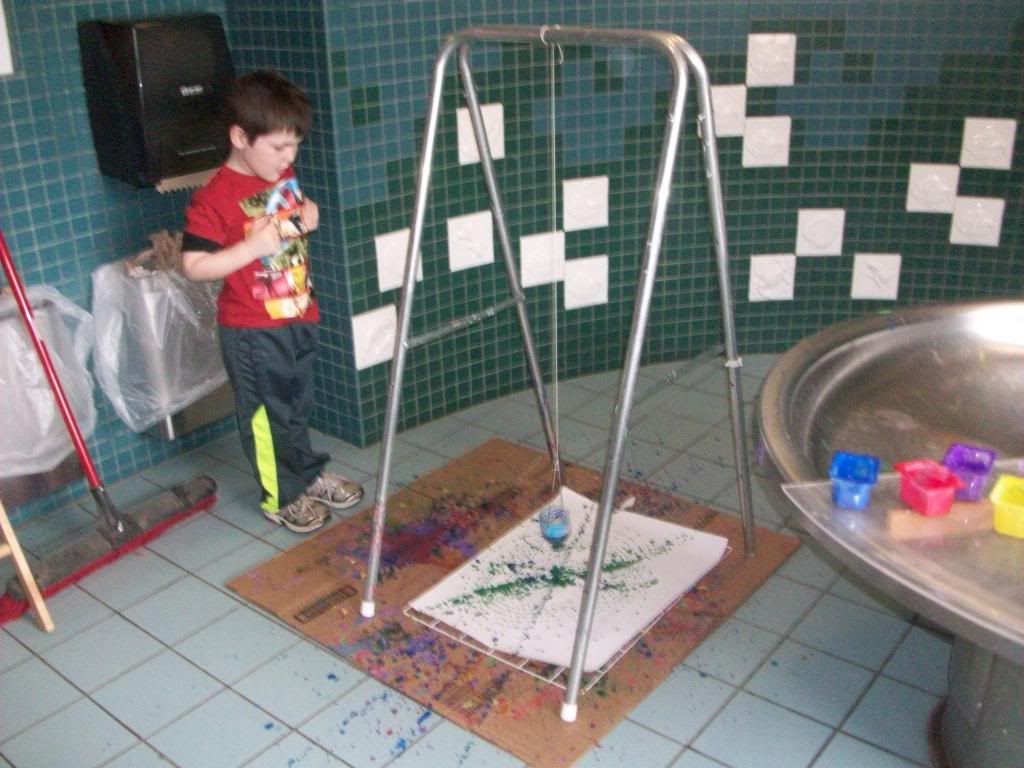


I introduced a variety of vocabulary to the children including pendulum, concentric circles, pattern, patience, eclipse, etc.  
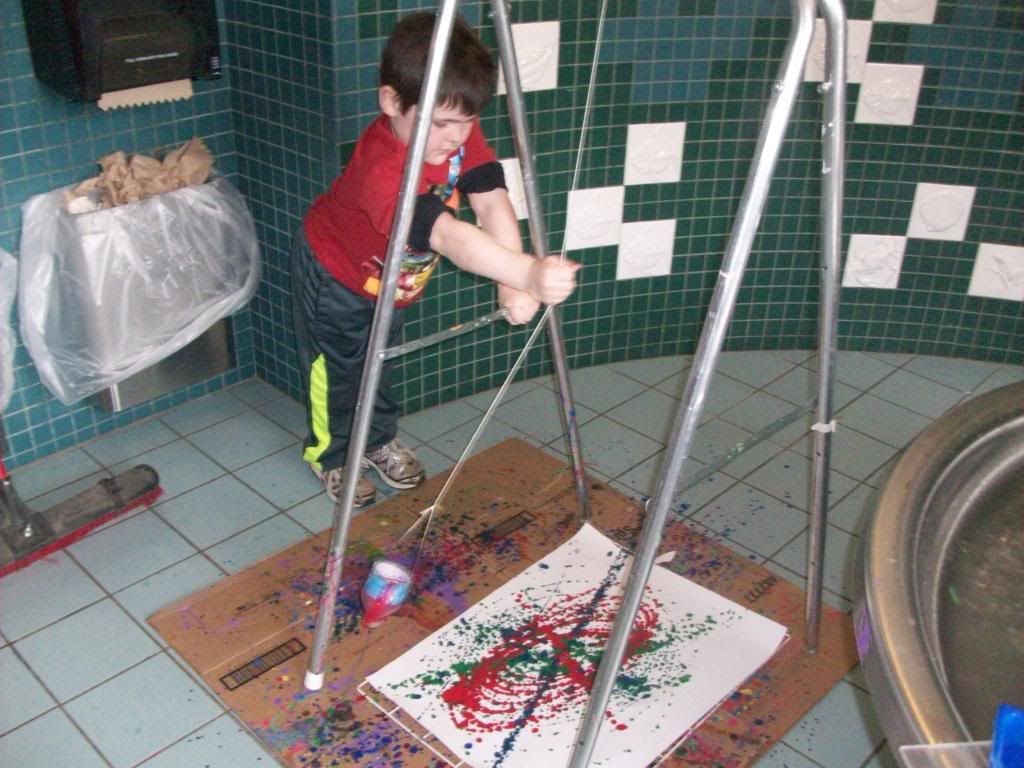

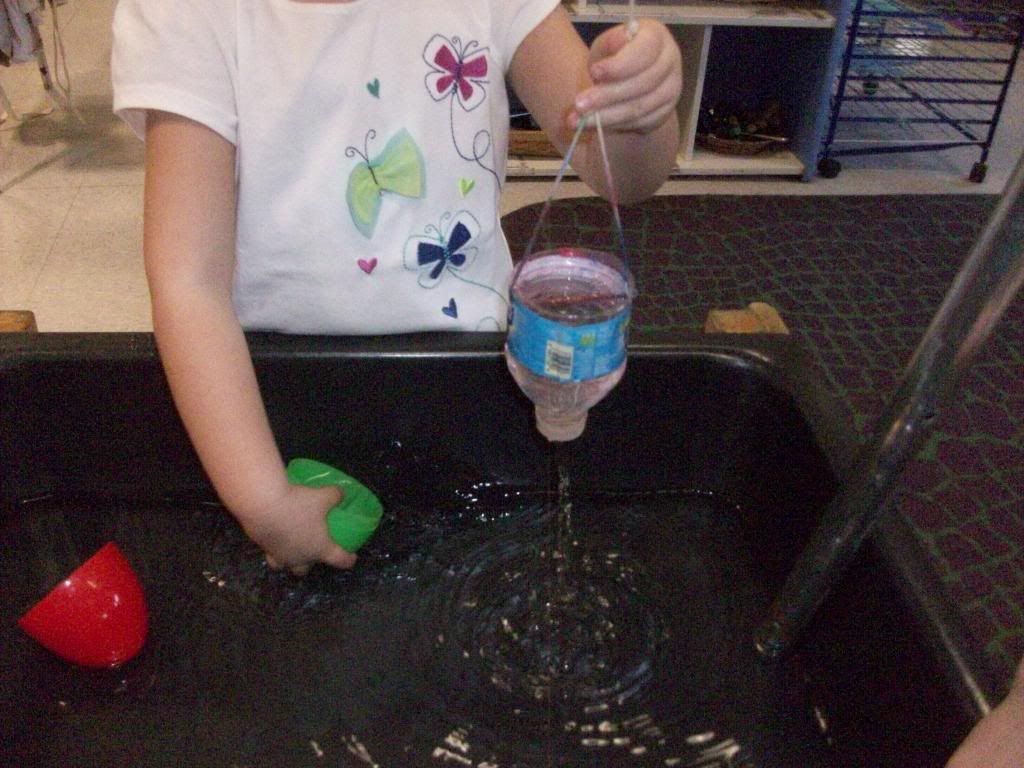
One of the first few children to paint asked if they could put it on the water table and so when we were done with the paint we put it on the water table.  With astonishing results.  
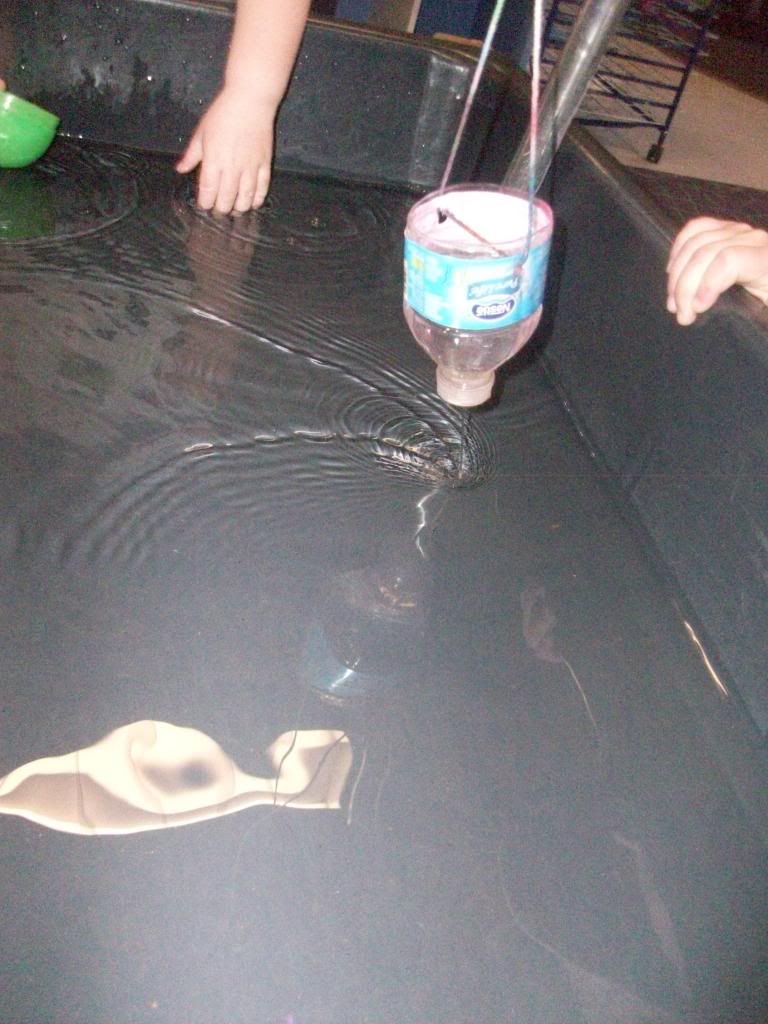

I was able to use the vocabulary that was introduced with the paint, but also add ripple, force, and a few other things that aren't coming to mind.  Because it is up on the water table it was easier for the children to put the water in the cup and didn't need my assistance.    
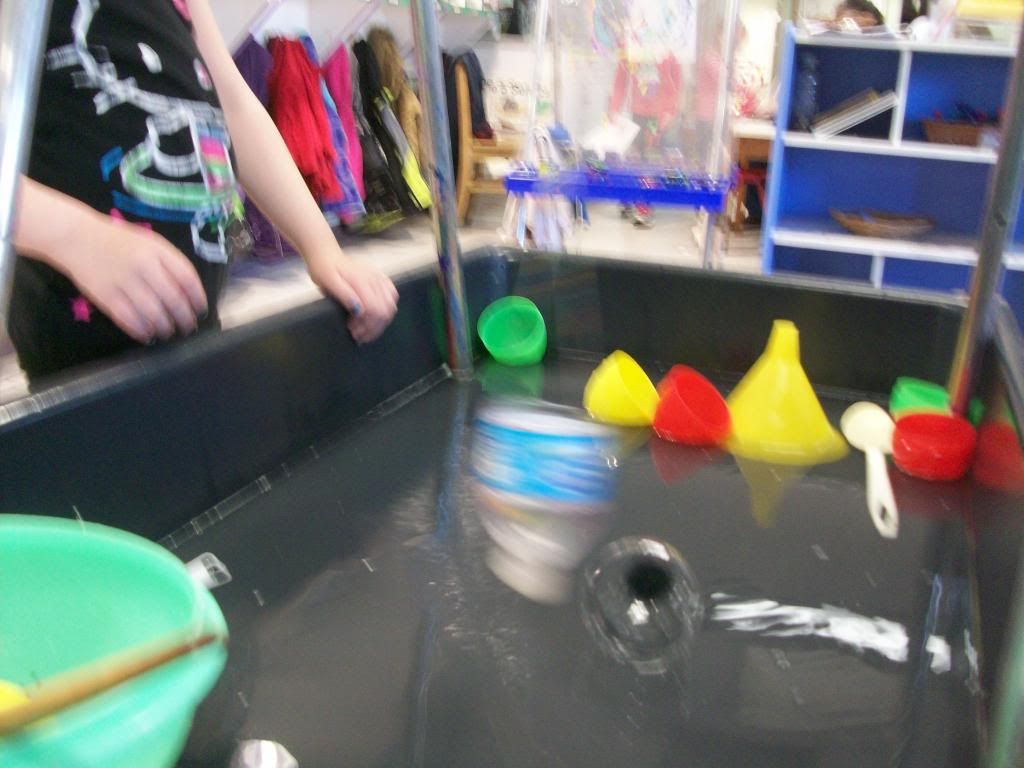

This was a hot center today, and so I put a sign up sheet and a timer and everyone got a 5 minute turn and then they were aloud to play for as long as they liked after everyone had a turn.  Making a list allowed there to be less fighting and now that they've had a taste of the experience they are able to really explore the area.  
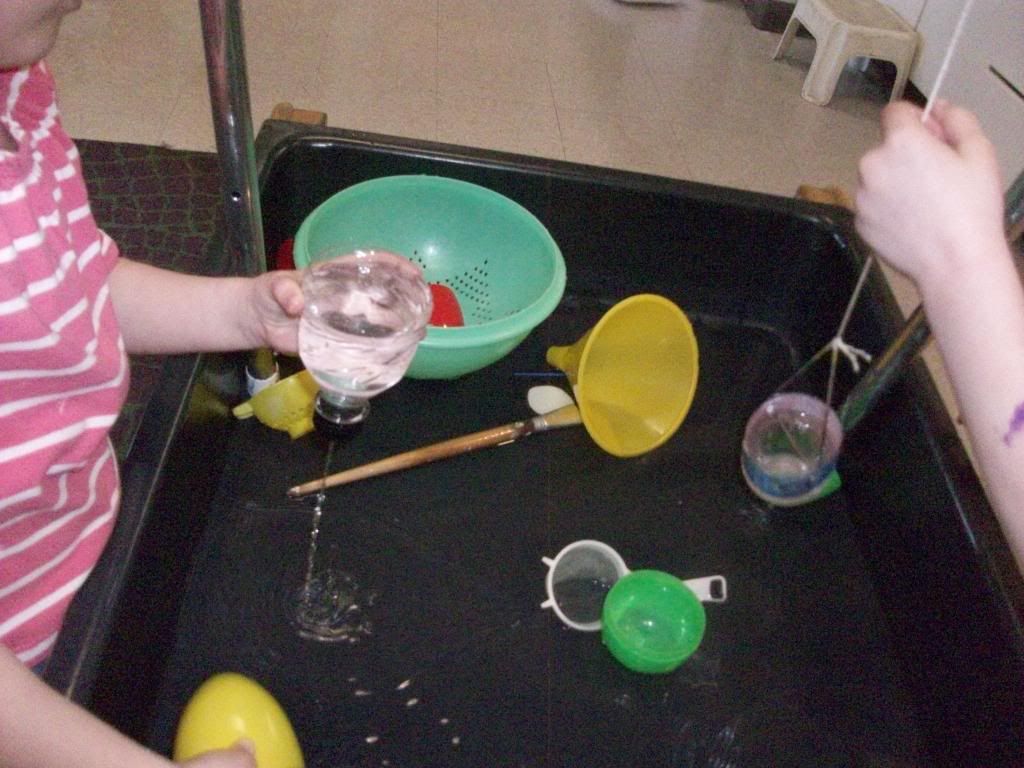

I found that a lot of the children just wanted to watch the water make ripples in the tub and were holding it still while the other person really wanted to have it swing, so I added a second top of a plastic bottle with a single small hole in the lid.  
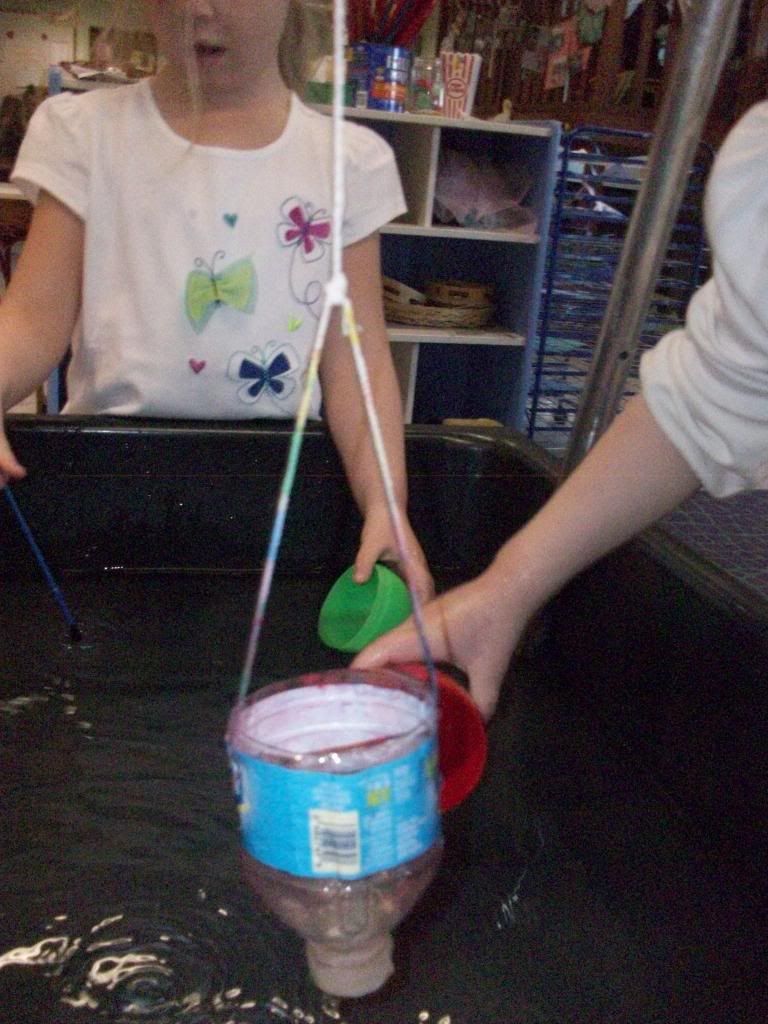

The neat thing about working with a pendulum is that it requires the children to have patience to see the affect.  They have to watch and see what happens.  
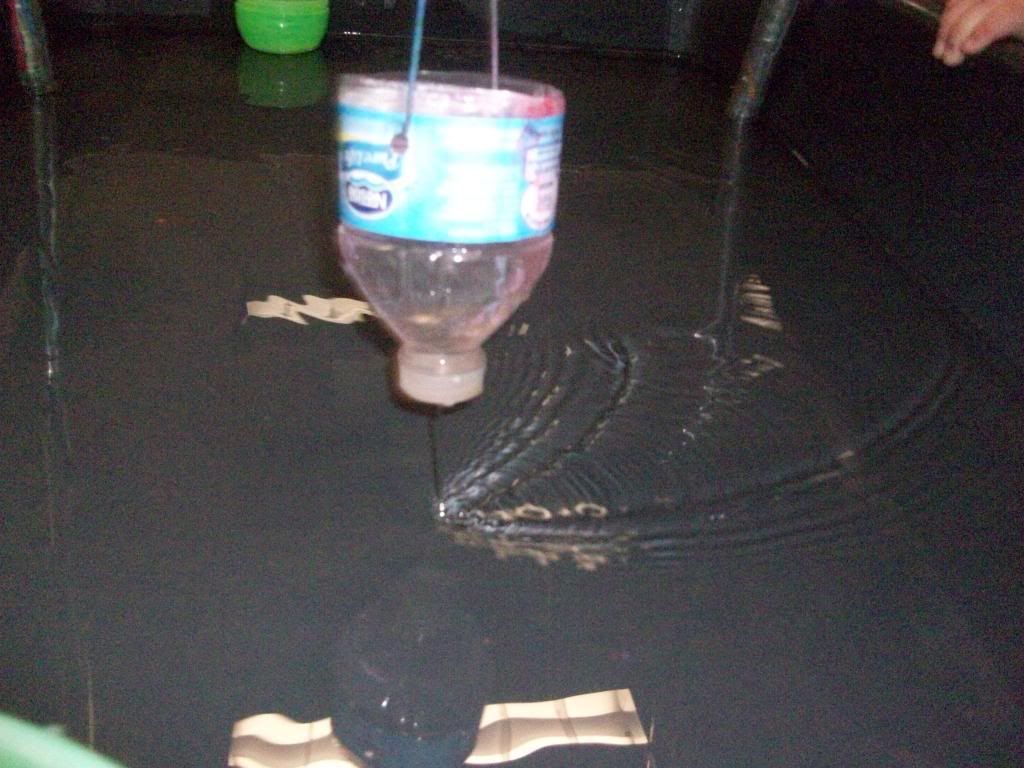

The reflection of the lights from the ceiling intensified the visibility of the ripple.  Maybe we can hang some colored lights from the top bar and see how that changes the experience.  


Monday, April 1, 2013

Like Father Like Son: Part 4: What if it Rains?

He had not previously planned for all contingencies.  He (and Chris) worked together to make "driver operated windshield wipers." as is required to be street legal.  


As he moved the windshield wipers he was making incredible accurate windshield wiper noises.  It never ceases to amaze me at how good boys (making a gross generalization here) are at making noises.  
  

They also created an engine under the hood out of Legos.  This has Chris dreaming about him having a real go-kart or RC car.   I'm thinking that the cardboard version is just fine with me.  


Friday, March 29, 2013

Like Father Like Son: Part 3: Let there be Light

The build continues.  

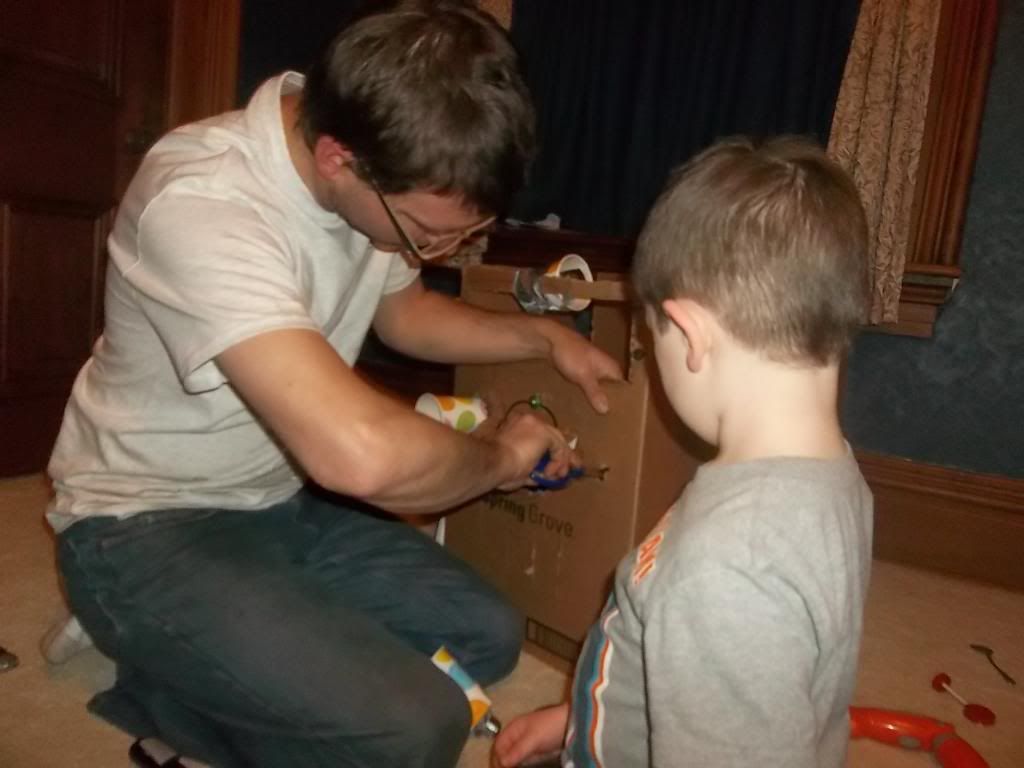
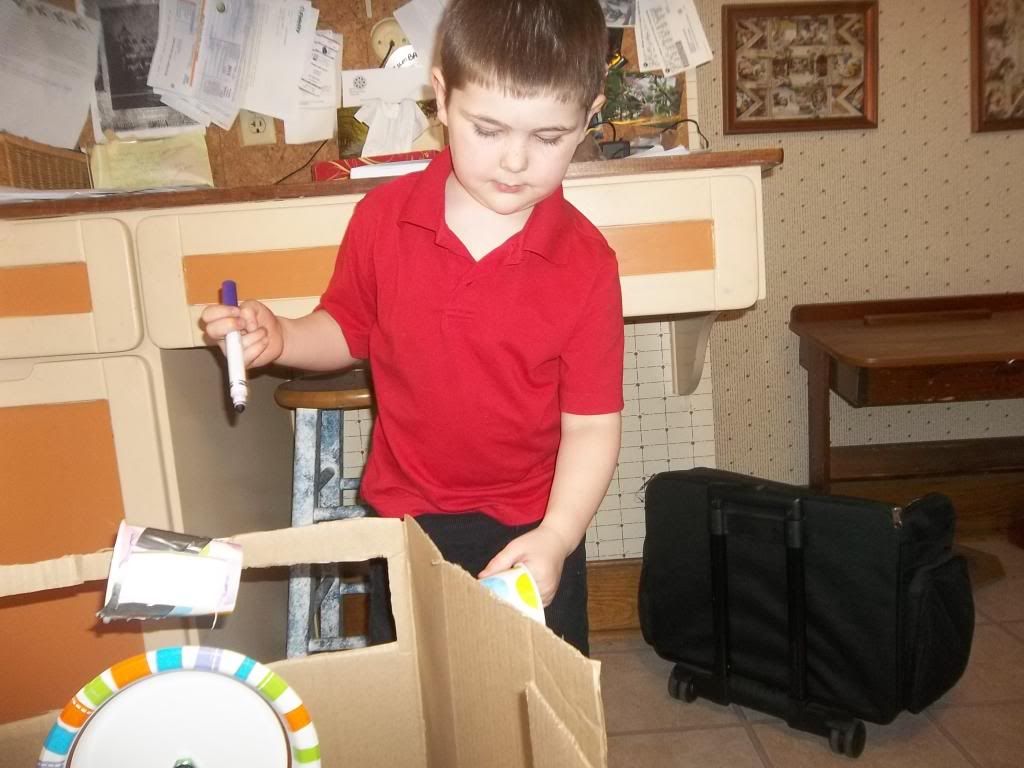
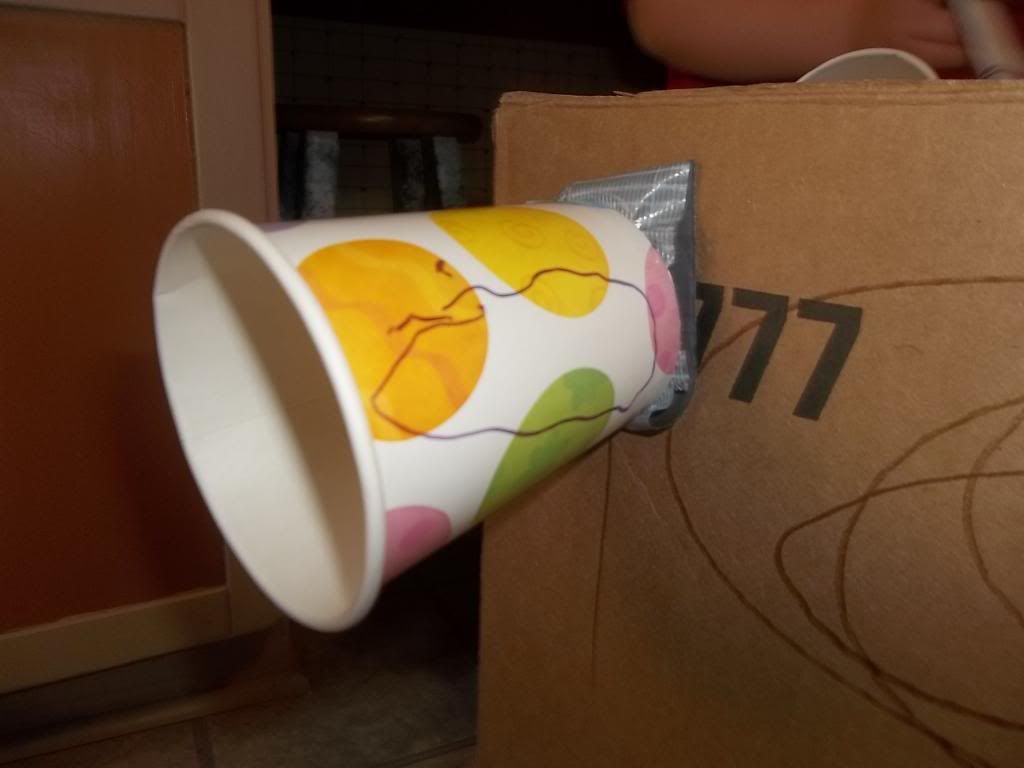
Miles decided that the car needed to have lights and took duct tape and taped cups to the front of the car.  He asked Chris to help him put tape in the cups, so that they would "have light."  Chris asked if he would like to add actual flashlights to the car.  (and well of course!!)


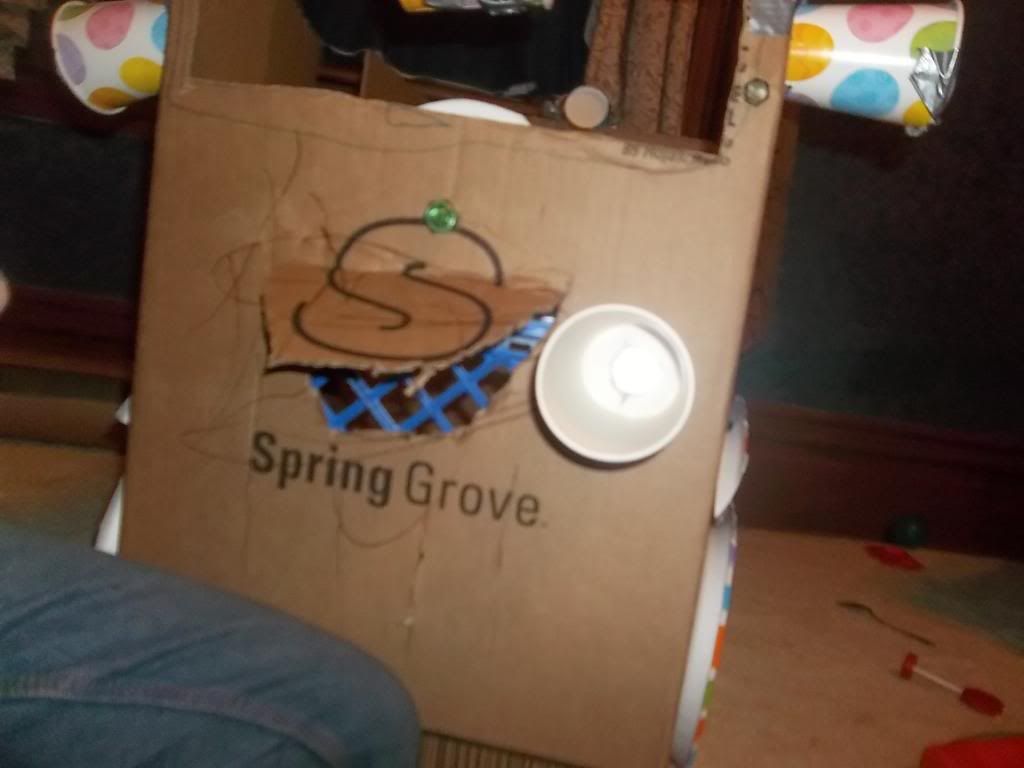
So Chris helped him poke the holes and they put the flashlights through the cardboard and the bottom of the cups so that Miles would be able to turn them on while sitting inside the car.  


Here's one. 


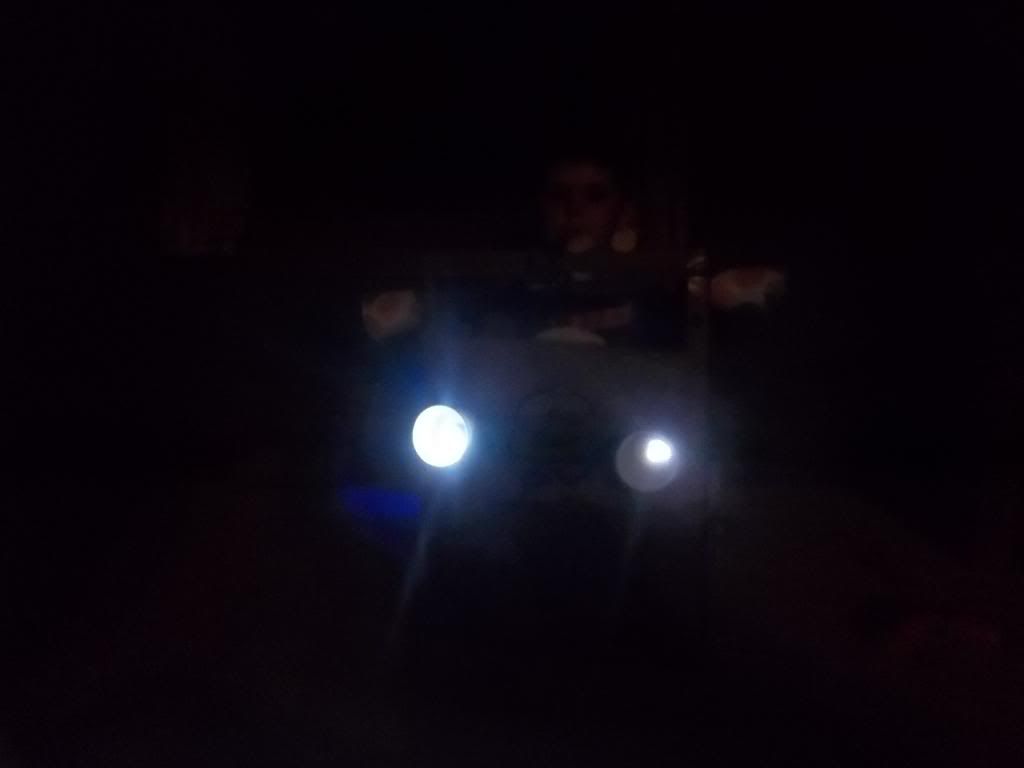
Trying it out once both were installed.


Do a test drive in the dark...  They light the way!! 

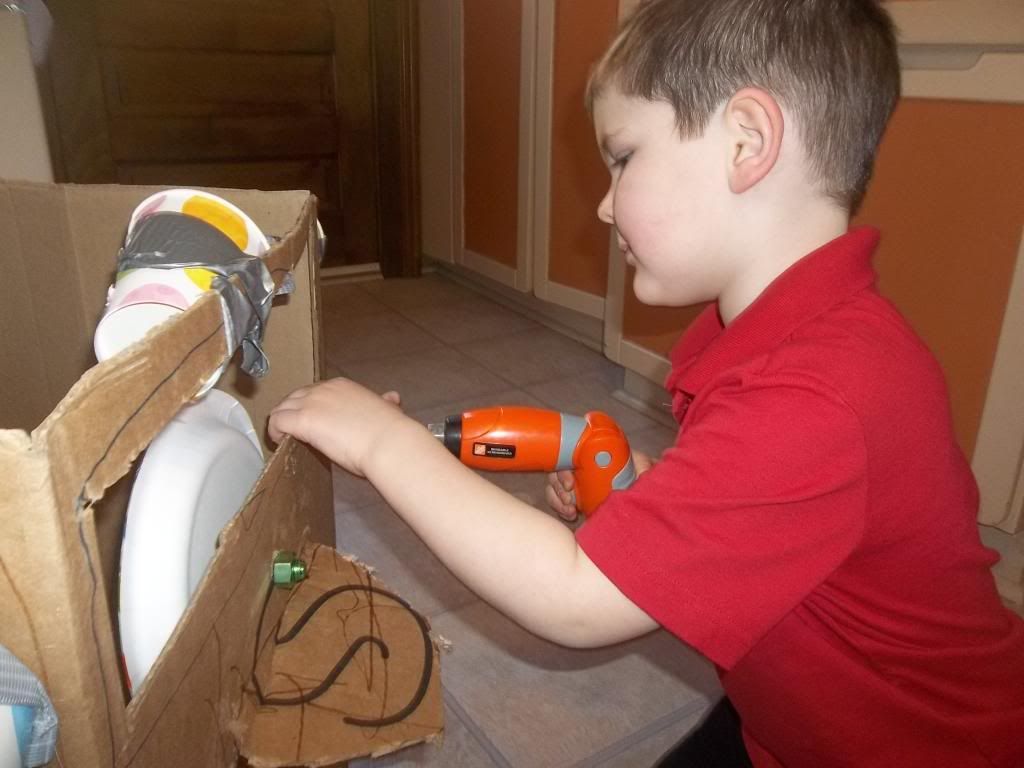
Miles was able to drive through the night and this morning was fixing the holes that he put in the car with his plastic nails and screws the other day.  


Thursday, March 28, 2013

Like Father Like Son: Part 2: Modifications

I think that too often we (parents and teachers) are very concerned about when a project is finished.  If I have learned one thing from living with Chris and Miles it's that a project is rarely finished.  A creative project can nearly always be tweaked or modified to make it even cooler, meaner, faster, etc. This is particularly important to remember when referring to children's creative play.  Lots of times, we clean up or other wise interrupt the play before a child is necessarily done.    When often, if materials are left with in view a child will return to a project a day, week, or even a month later.  Having open-ended materials available and accessible to children helps to spark their imagination.  Leaving those materials available and accessible helps children to extend their curiosity and creative exploration.  

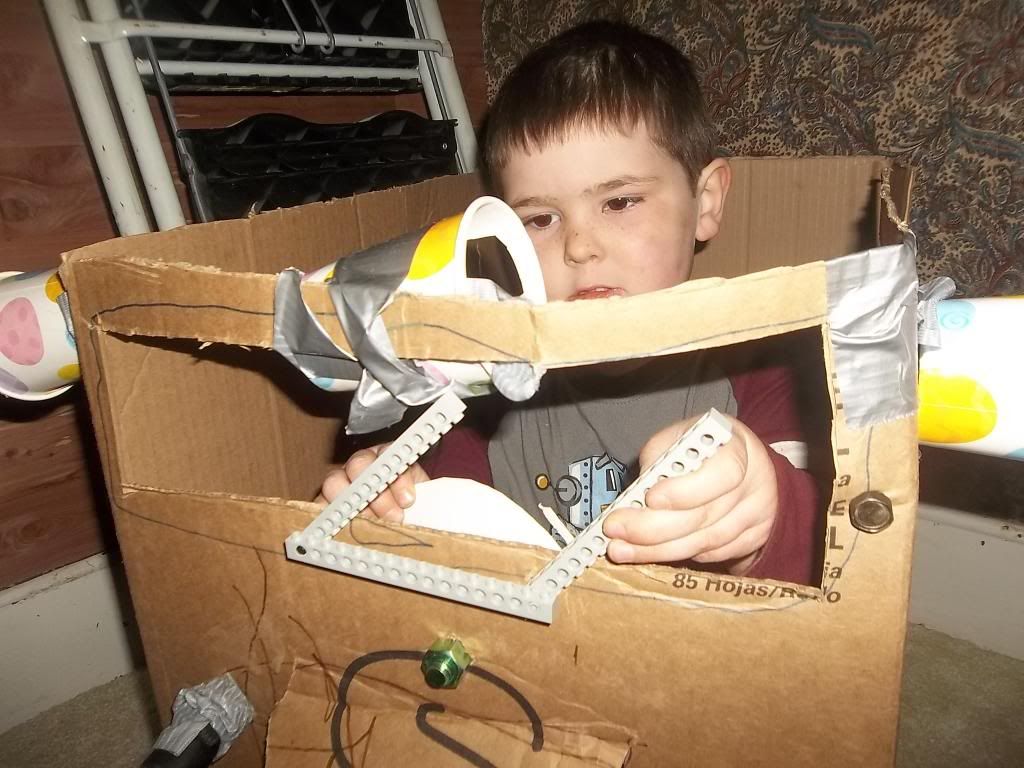
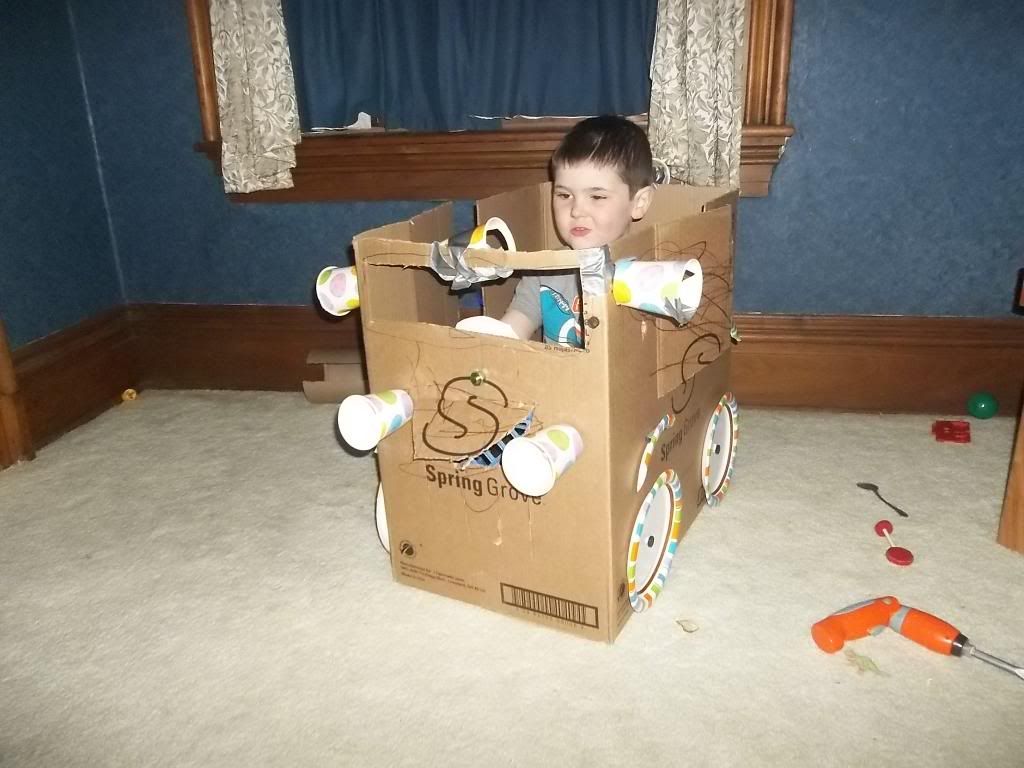
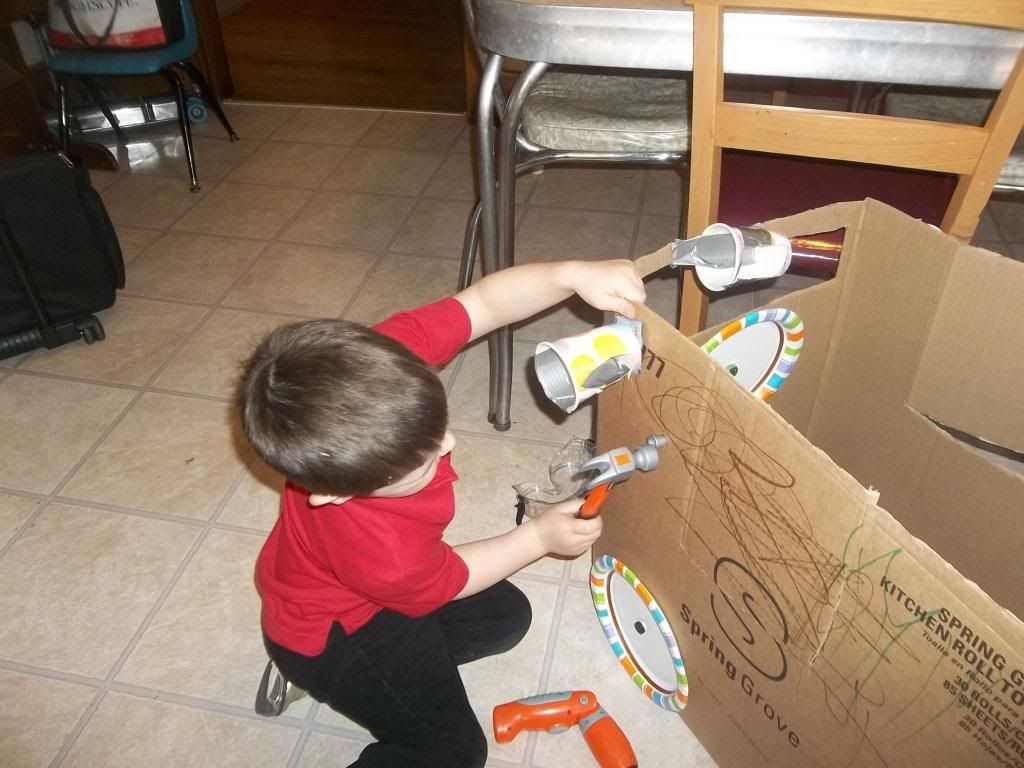
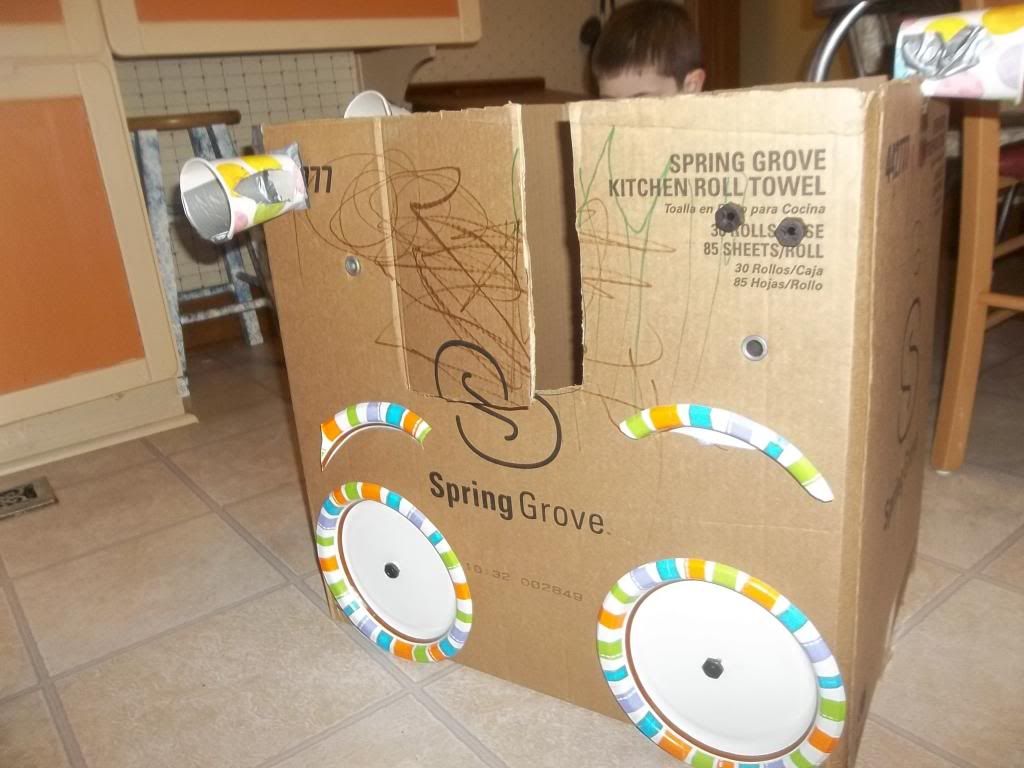
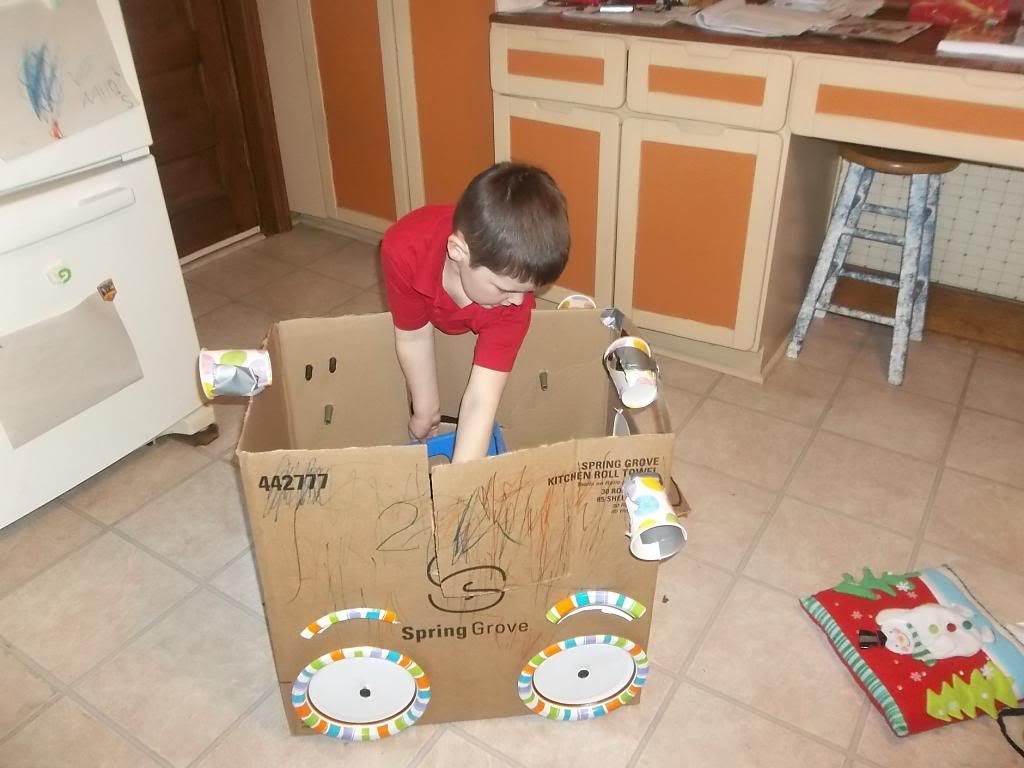
Here is Miles on day 2 of  creating his cardboard box car. (This project has been completely created and designed by Miles although I have helped cut the cardboard where he directed.) To see day 1 please look here.


Today he decided that he needed both rear-view and side-view mirrors for his car.  (In the car ride home he kept talking about how he was going to use 3 mirrors, but I was having the darnedest time figuring out what he was planning on using them for.) 


He drew on the mirrors where he wanted me to cut them and then after I cut out the holes he drew he put duct tape on the inside of the cups so it would be shiny.  


Here he is doing a preliminary seat test. 


Then he decided that he needed to have easy access to the motor and asked me to cut a hole to make a hood. 


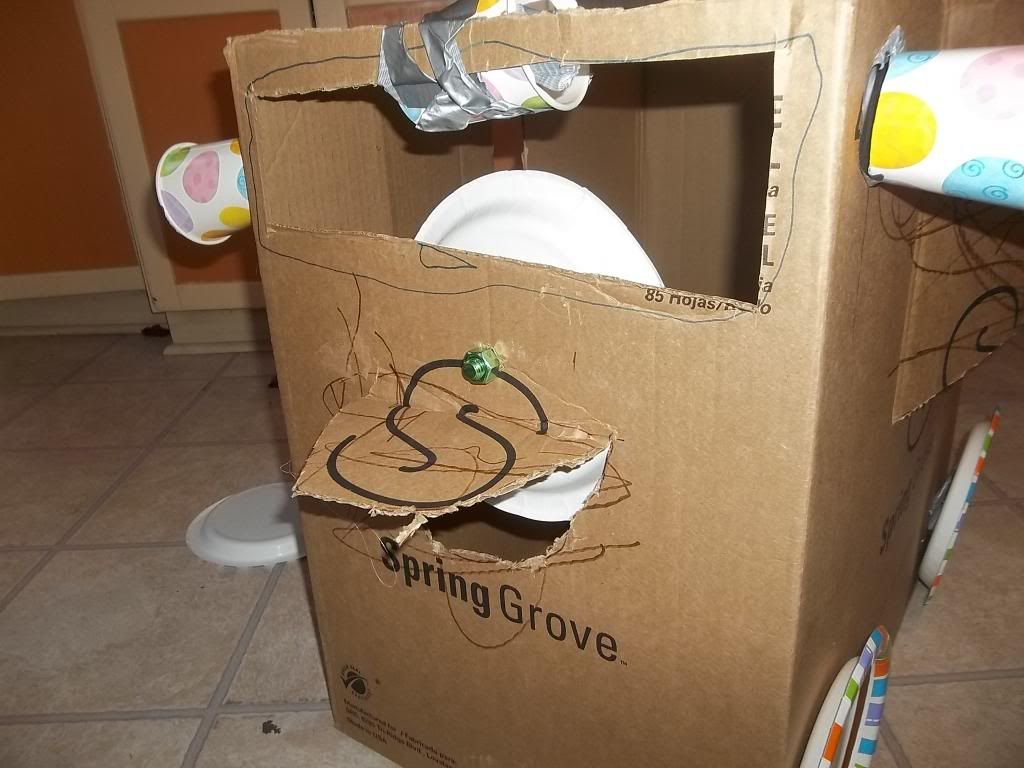
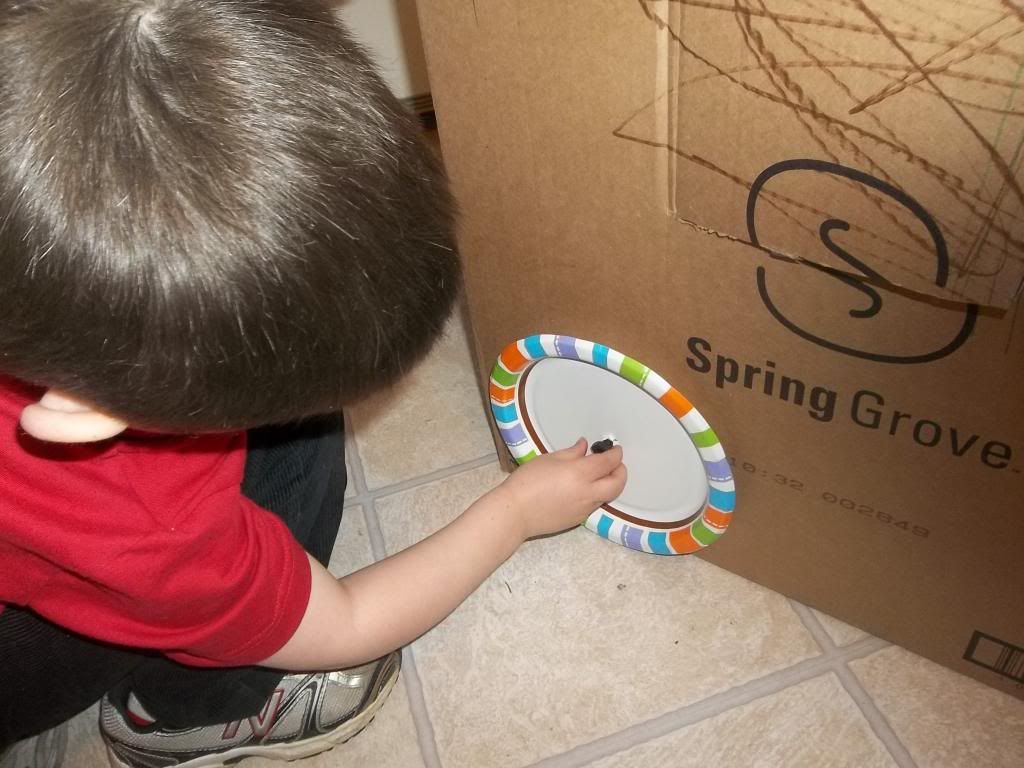
We found out when playing with the car yesterday that the wheels not only couldn't turn when they are taped on, but they fall off rather easily.  So Miles asked Daddy for a few nuts and bolts to attach them with.  (Later you can see where he put the spare one on the A pillar, just in case he had a break down.)  


He added the plastic nails and screws from his plastic tool kit.


After I thought that he was done making modifications and had stepped out of the room he decided that the car needed finders and cut the outside off the paper plate that he used for the steering wheel and taped them over the wheels.  


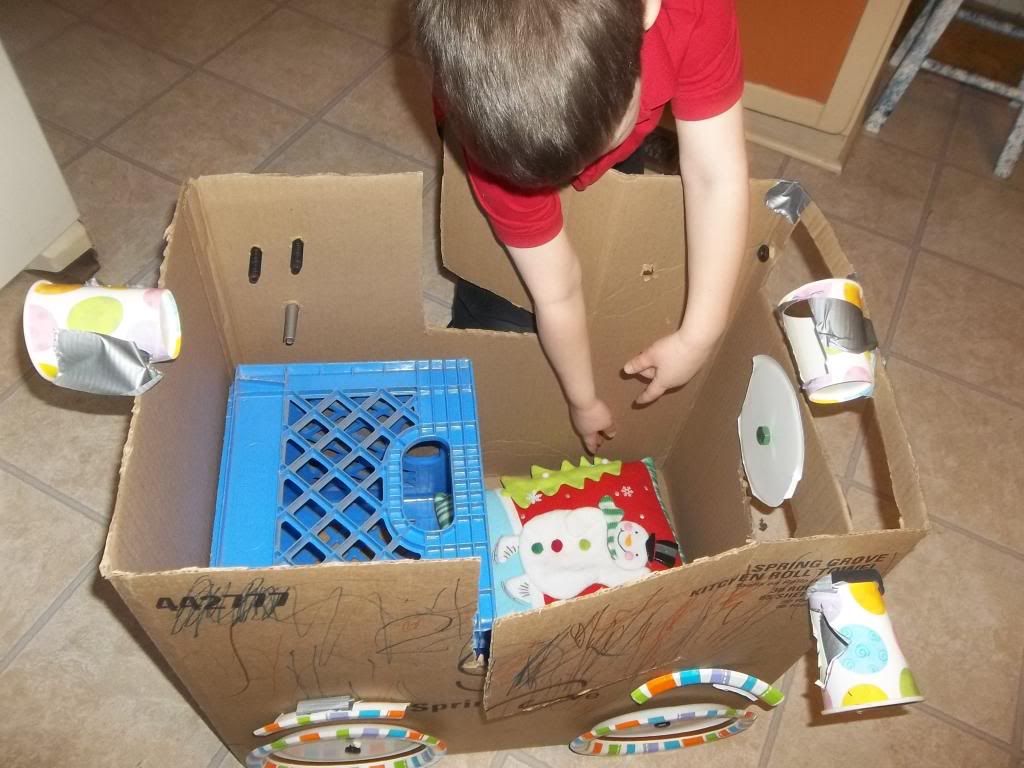
For finishing (maybe) touches he wanted to put in a cozy seat with a box to lean against.  


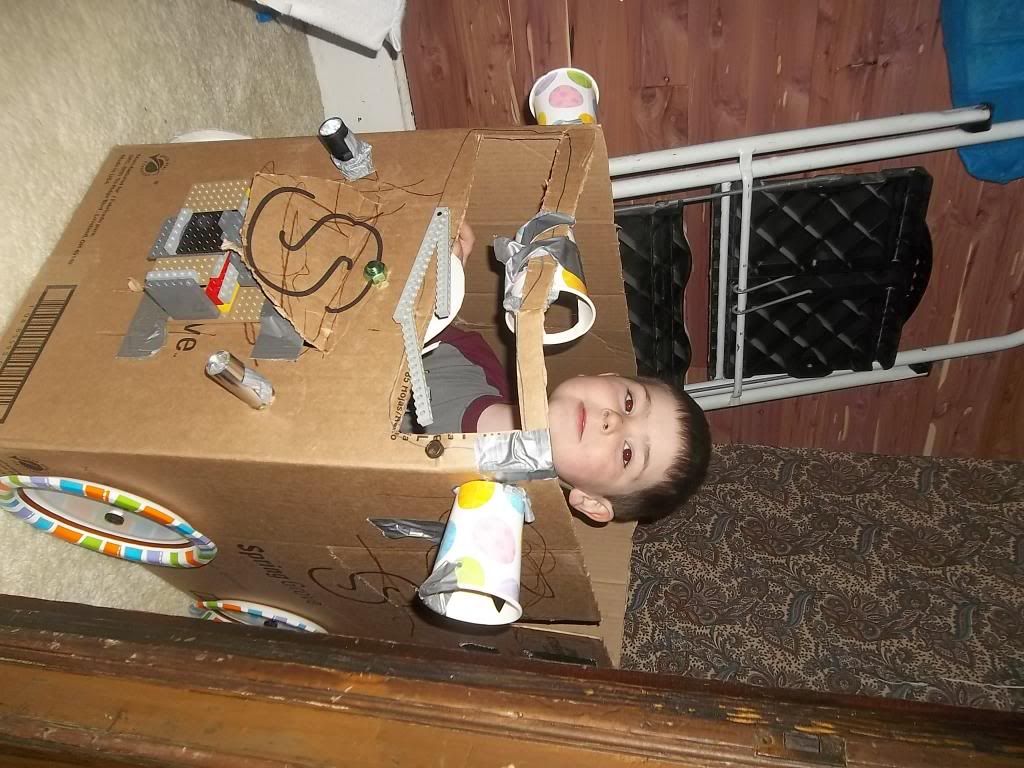
So here we are... "Finished!"  

Except that when we woke up this morning, he started adding to the decorations on the car maker and making statements about like, "I'm going to add__________ to my car after school."  

So we'll see... I'll keep you posted... I'm trying my best to allow Miles to keep the project going as long as hit little heart is content.  (We may have to move it out of the kitchen though...) 


Tuesday, March 26, 2013

Like Father Like Son

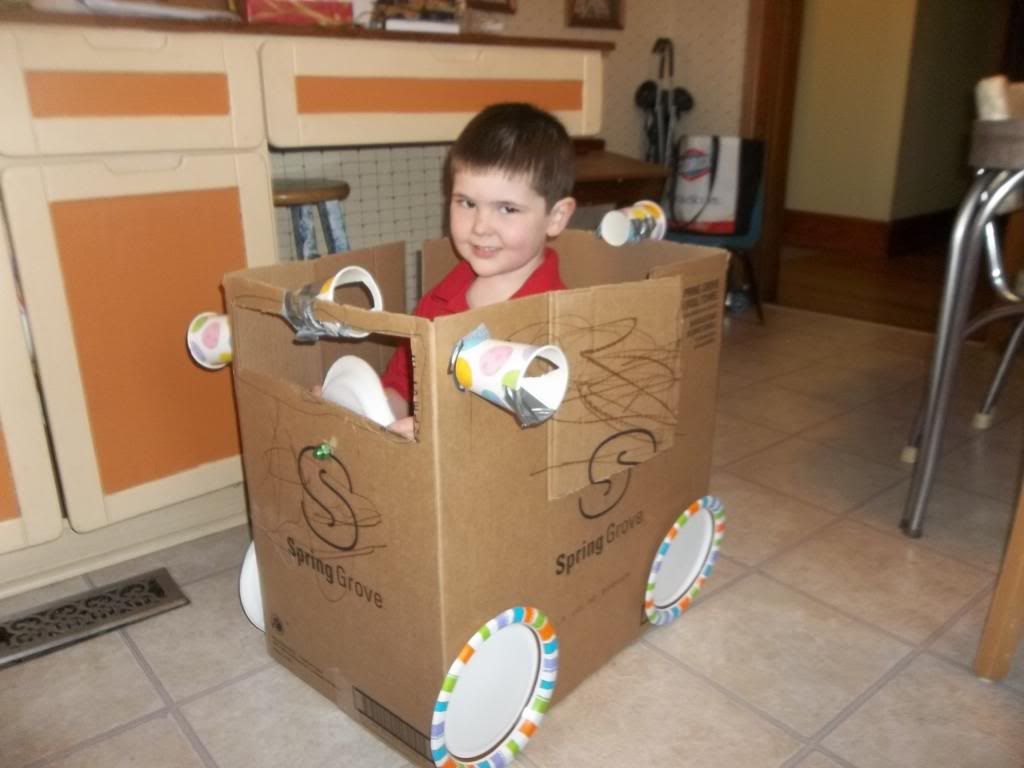
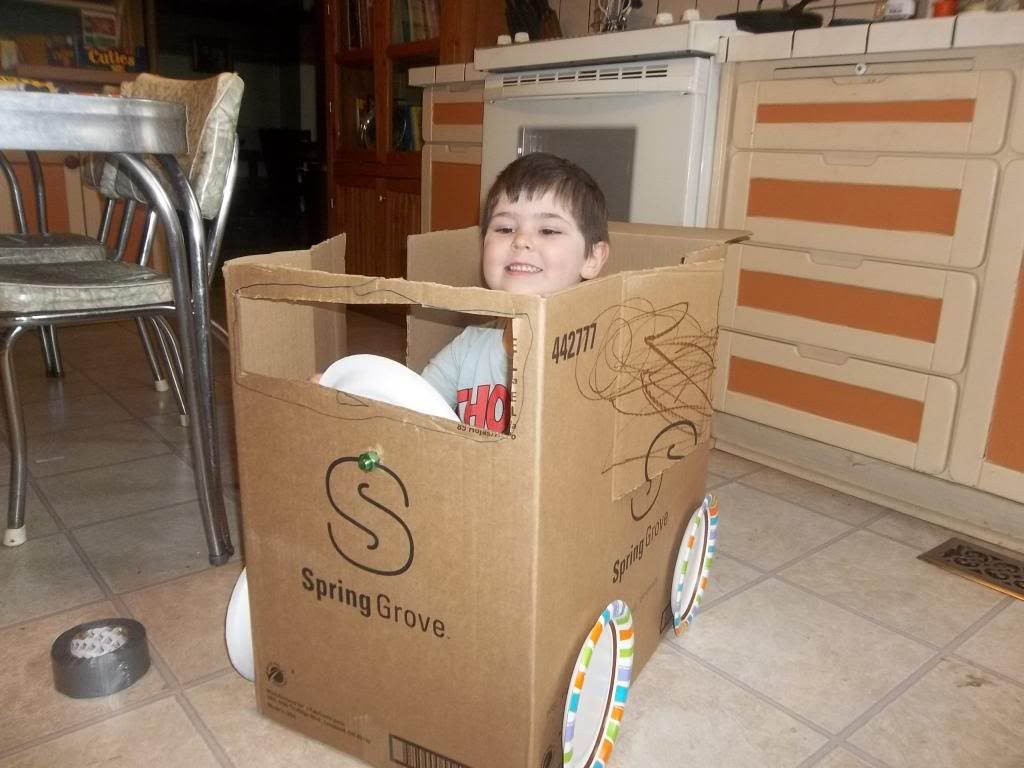
I have been inspired by Bellelli Educaion recently.  They have a wonderful program that brings various cardboard, wood wheels, and cardboard tubes to parks and museums and invites children to create wonderful things with them.  This had prompted me to have more boxes lying around the house for Miles to use his imagination.  Today he wanted to make one of the boxes into a car.  (Imagine that!) 


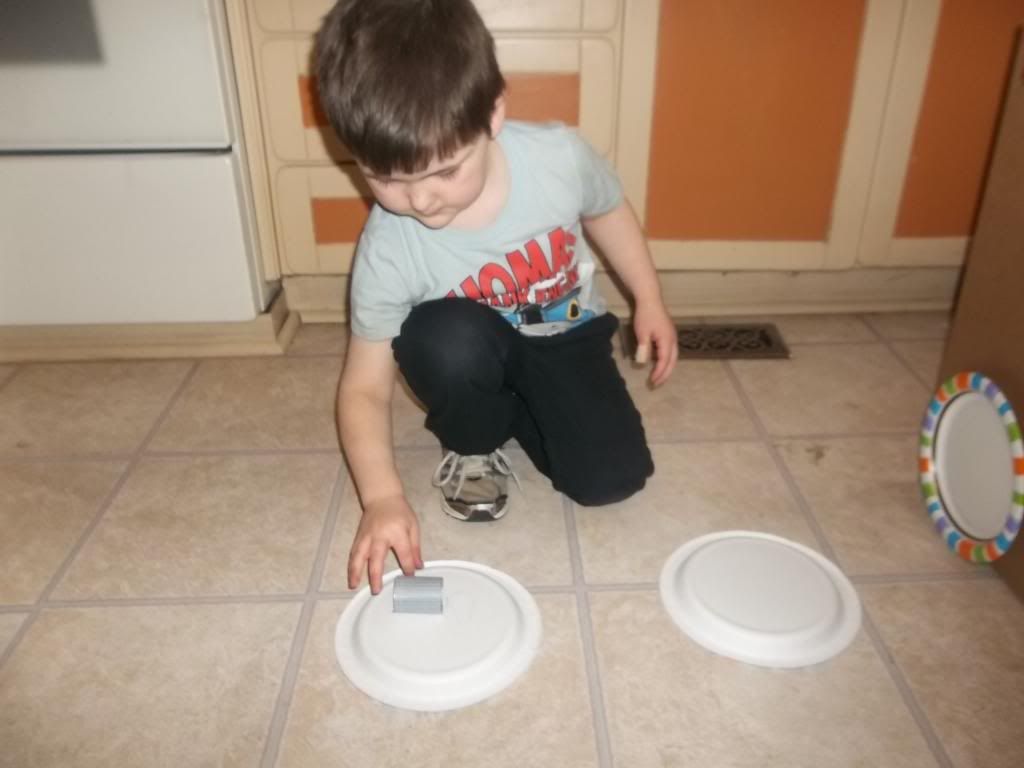
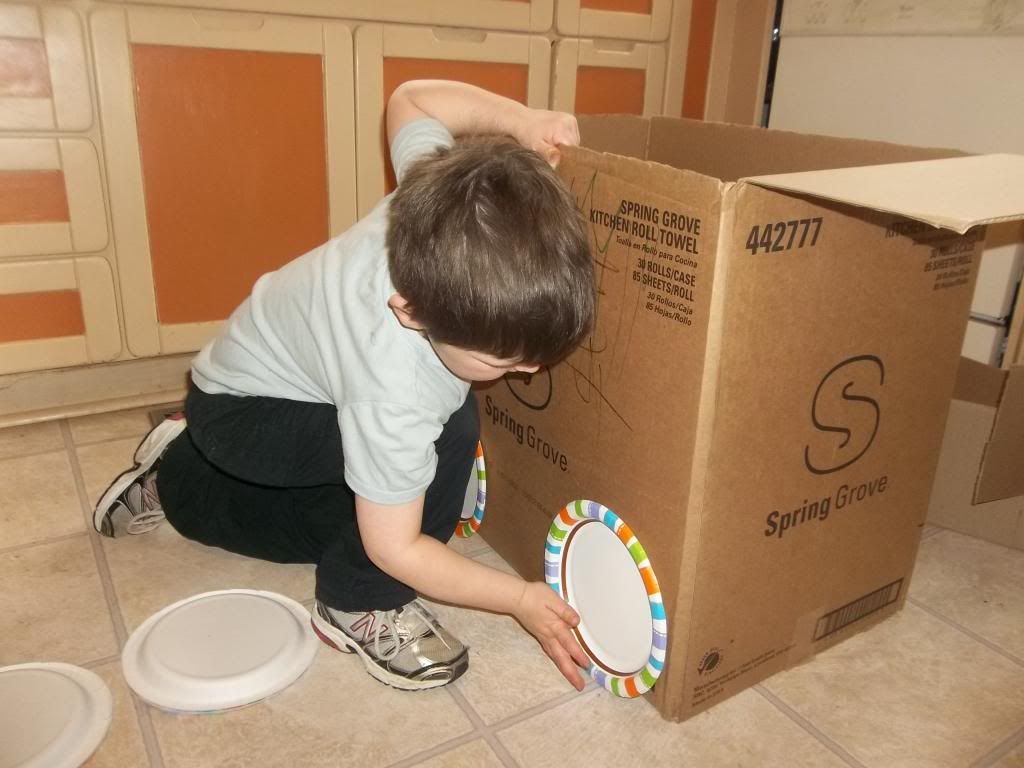
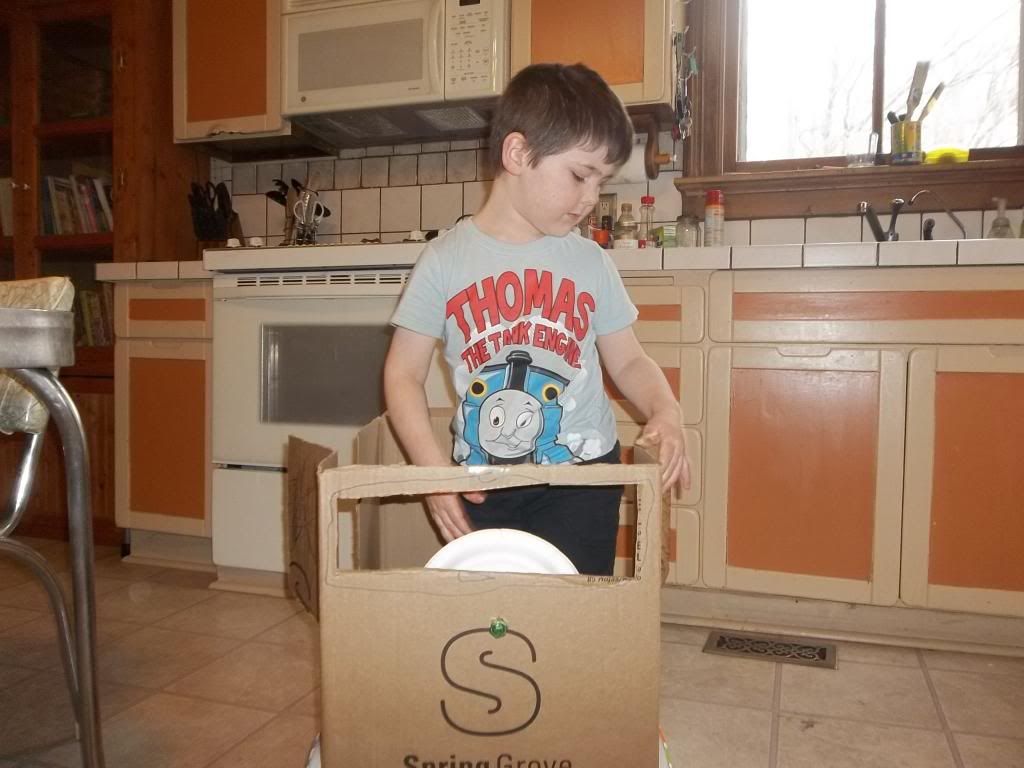
He first wanted some paper plates to create wheels for his car.  He counted out the 4 he needed for the tires and then said that he needed a fifth for the "inside wheel."  


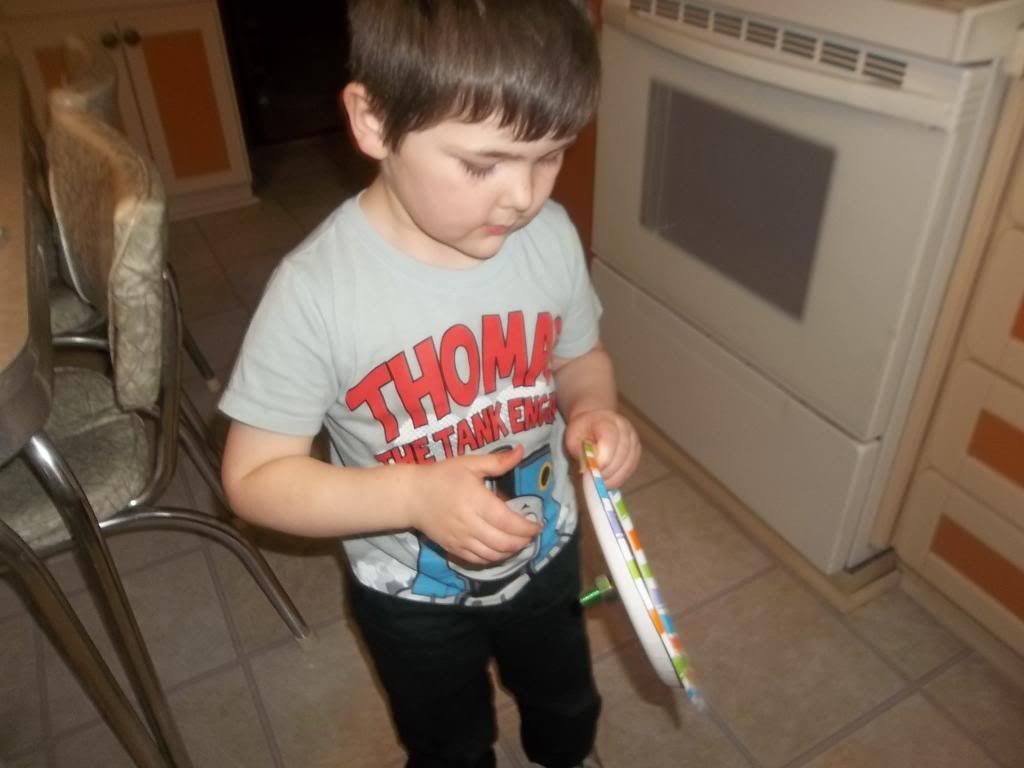
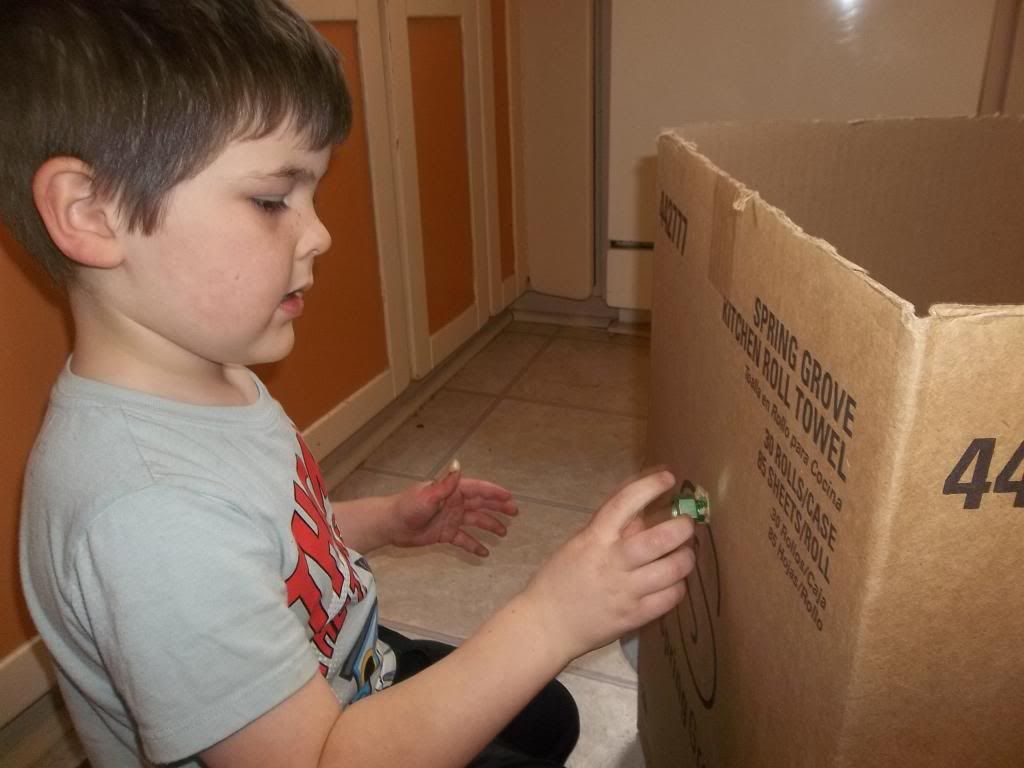
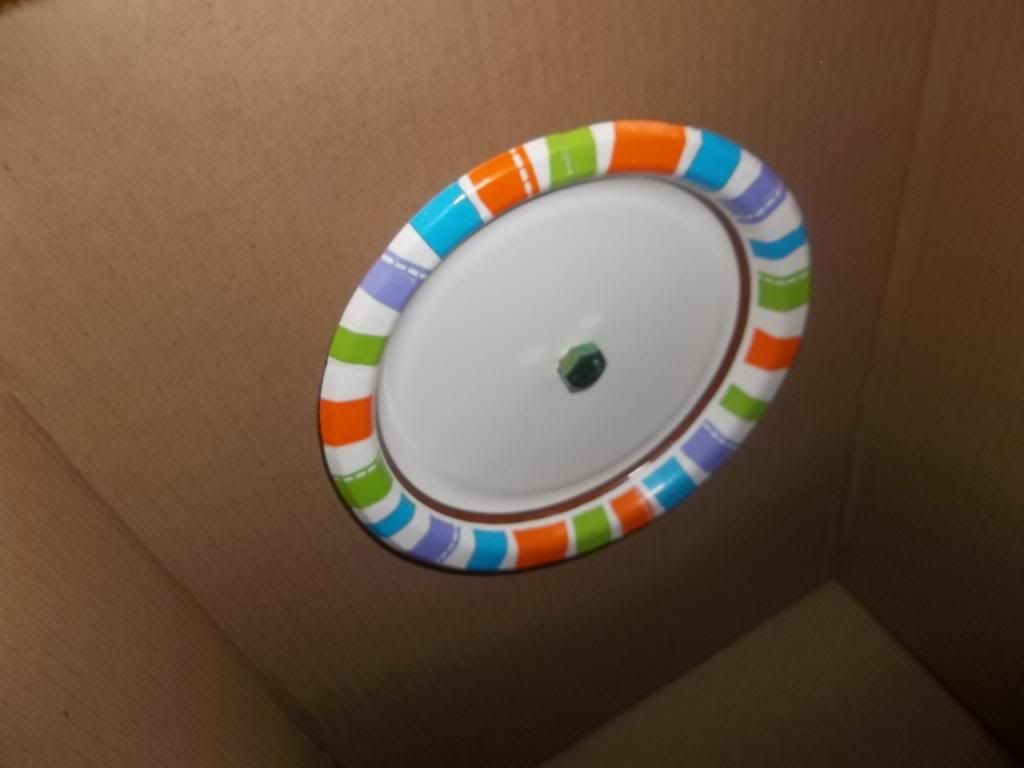
He decided that the steering wheel should actually turn, so we used a bolt and a few nuts to make it turn.  (I helped him make the hole in the box.) 


he tightened the nuts to his liking.  


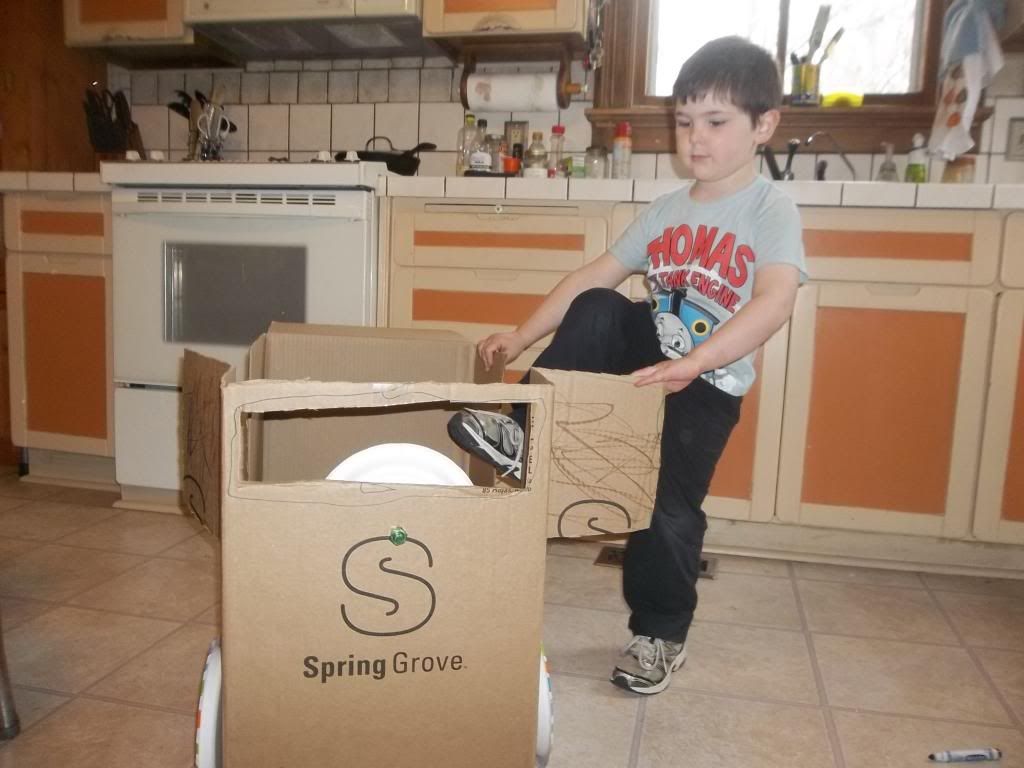
Miles then decided that his design needed doors and a windshield, so he drew on the box where he wanted me to cut. 


Time to climb in.


Shut the door.


Time to PLAY!! 


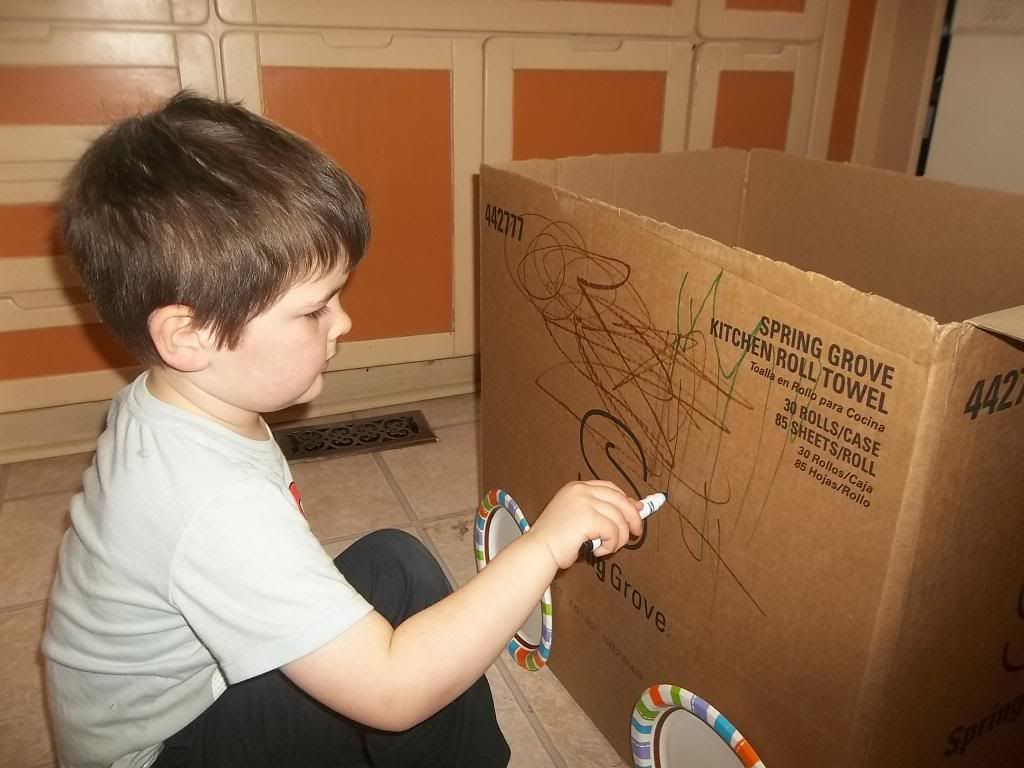
He even made his car have it's own racing number.  

What fun!!


Thursday, March 21, 2013

Make it BIG!!


Chris and I had a conversation last night about how he'd read an article about child psychology that in Chris' words stated that children stomp, make loud noises, and yell, because they have an inferiority complex.  (This came to light because Miles walks/skips heavily through our historic home and the noise carries throughout.)  I hadn't thought about it that way.  And once I did, I don't think I agree.  


In my opinion there are at least a few reasons that a child will "be loud."

1. They are having fun, and doing something in a "bigger" way increases the amount of fun they are having exponentially.  (Just ask any child to sing a song where they get to scream or stomp and it will easily become a favorite.)  

2. For attention.  Children need vast amounts of attention.  They will seek attention in any way you have taught them that they will get some from you.  Weather it's if that when they sing at the top of their lungs you join in and have a full out dance party in the kitchen.  Or if the child making loud noises sets off in a negative way, they will elicit a response from you for that behavior too.   

3. Children are efficient machines and use those few bites of food they pick off their plates to create vast amounts of movement, so they are going to work it off in a BIG way. 

4. Reasons that the children create that are too many to list here.  


A thought I had is... I wonder if it makes their growing "pains" feel better.  I know that as an adult if a joint or muscle hurts applying pressure to the area tends to feel better.  Compression works for me.  I remember the growing pains I had in my legs as a teenager and just how painful they were.  Being active seemed to help.  (I think this is true of cramps caused by menstruation as well...) I digress...  But I wonder... does the BIGGER movement ease these pains that the children have so frequently?  I know Miles goes through spurts that he is more "stompy" than other times.  I have not noted weather or not this aligns with his growth spurts.  


So make it big.  (You may need to take your favorite headache relief medication or send them outside, but it'll be worth it.)   


Wednesday, March 20, 2013

Mary Jo Huff


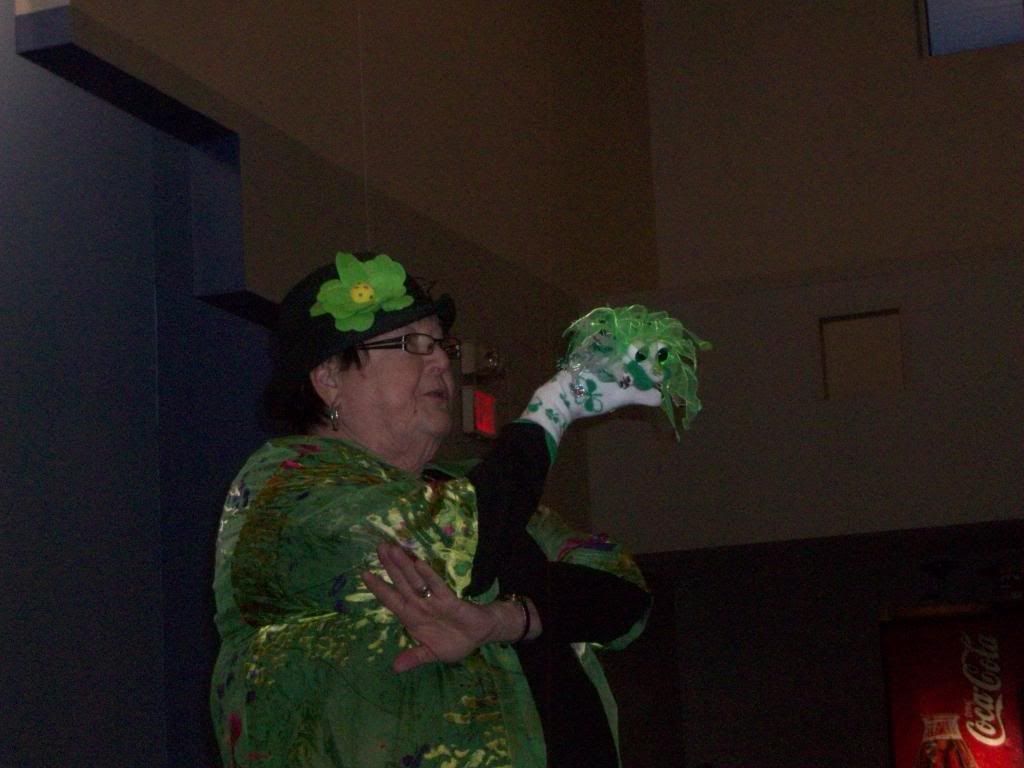
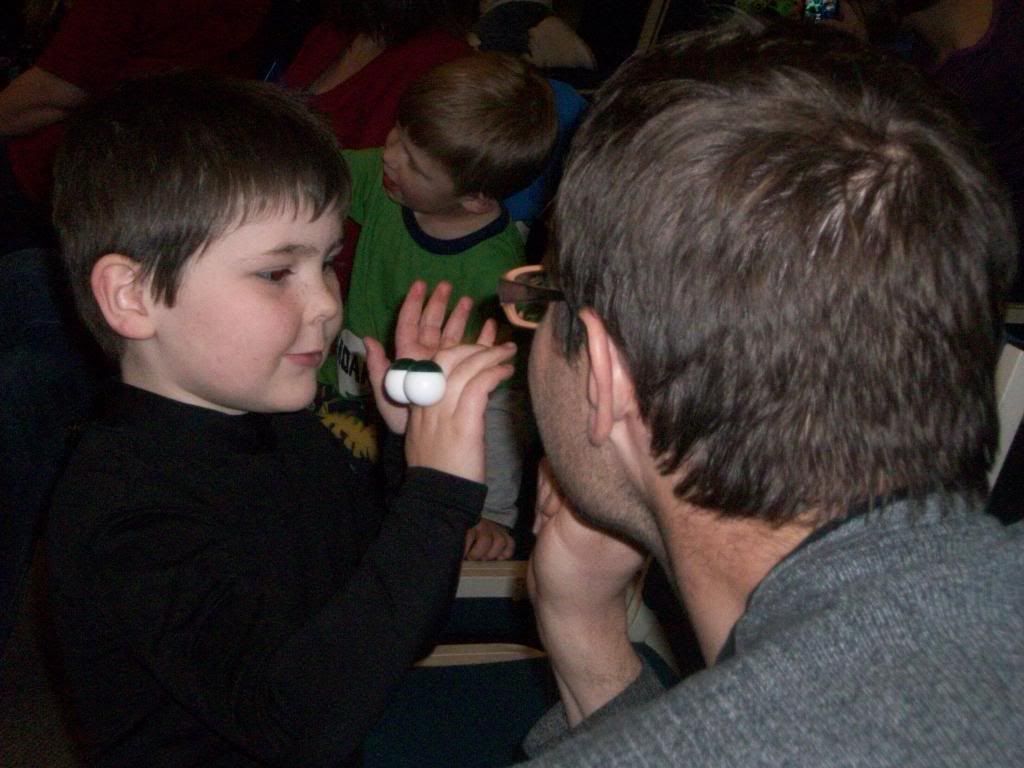
We went to a story time with Mary Jo Huff last night.  Mary Jo is a wonderful story teller that encourages families and teachers to use simple props to bring stories to life.  She keeps children and families entertained with her art of story telling. She encourages children to get into the action by creating their own "peepers" decorated eye puppets.  She talked about the importance of sharing your families stories with the next generation.  Family stories are unique to each family and help to give children a place that is all their own.  A sense of belonging is important for children to acquire.  Interactions with stories and playing with words allows children to build their literacy awareness.


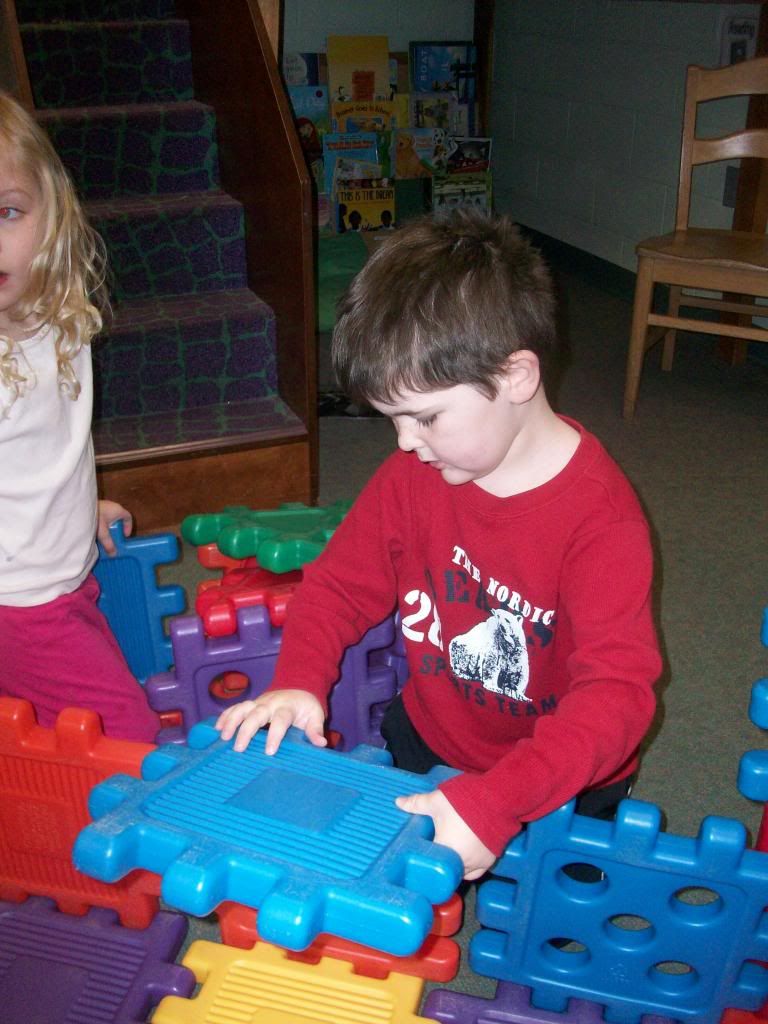
Plus... how precious is this?