Miles and I make books. Some of them are about our experiences such as trips we've taken to the zoo. Some of them are childhood songs acted out with the song in print, one is about his play written down as he played it and then he illustrated it. The one we are working on currently is an alphabet book. He and I are working on finding things that pertain to his life that begin with each letter of the Alphabet. This project will probably take us a while, but I've already made the binding for the book in my normal style. Page protectors sewn together and accented with biased tape. Here's how I did it.
First decide how many pages you book will be, or is. Half that number and add 2. (If you had an odd number of pages to begin with then you add 2 to the whole number of the equation. This is because you can use the odd page on the back cover.)
so for the alphabet book (26 pages/2) =13pages needed for the guts of the book plus 2 pages for the covers =15 page protectors needed.
This is the thickest book that I would do with this method. It was a little difficult for my machine to go through all of the layers.
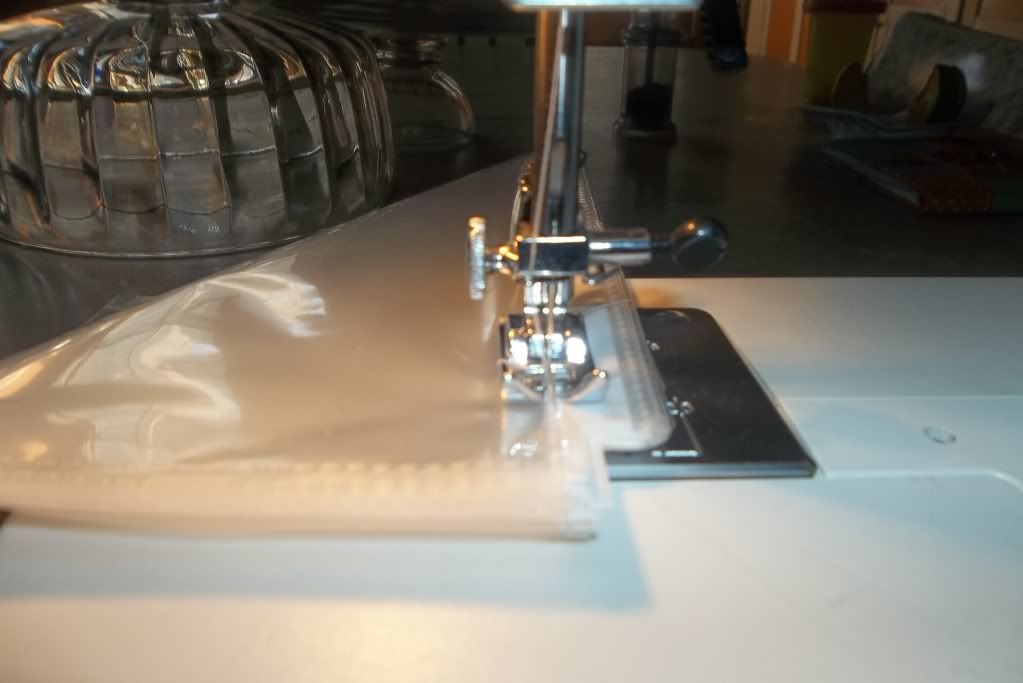
Next make sure they are all facing the same direction, and sew them together along the manufactured dotted line along the side of the pages. I like to use safety pins or binder rings to help me line them up. If you have the guts of the book ready to go it is easier to sew them together if you have them already placed them in the page protectors.
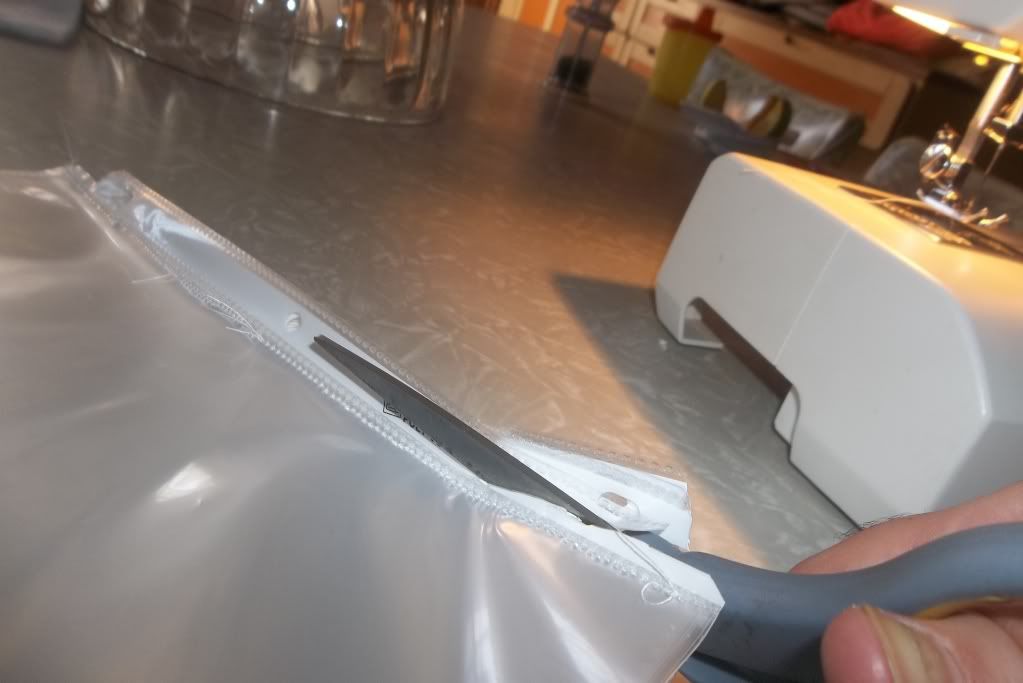
After that you will need to cut the excess on the side off. This doesn't need to be pretty since you will be covering this up. I like to make a line along the inside of the 3 hole punch and cut along it.
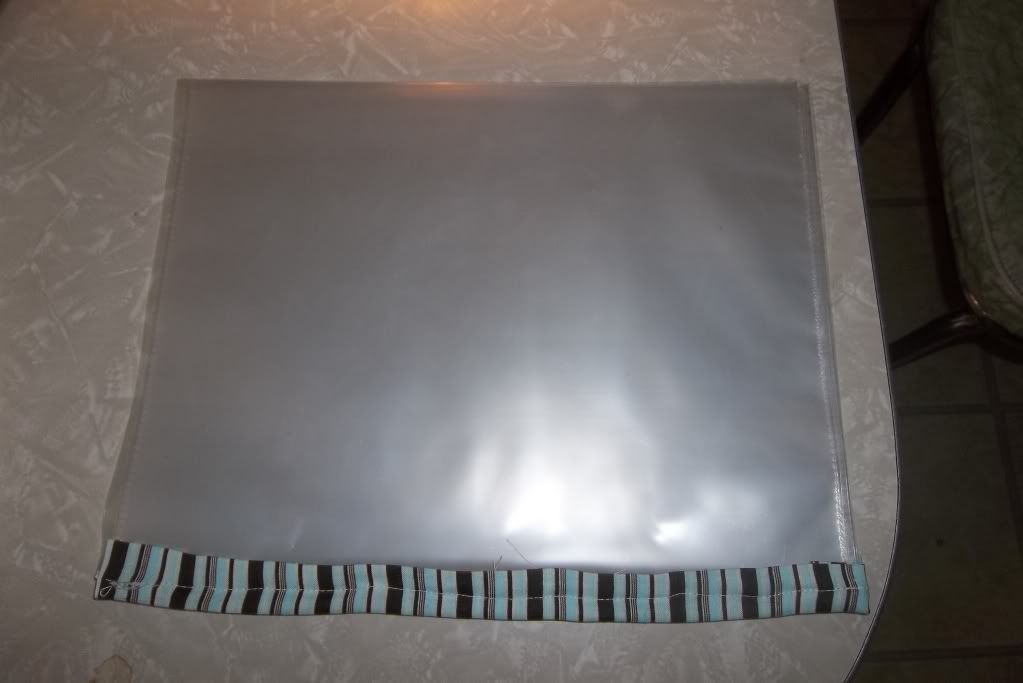
The next step is sewing the biased tape over the edge. I essentially sew directly over where I've sewn before just with the biased tape covering the previous stitches.
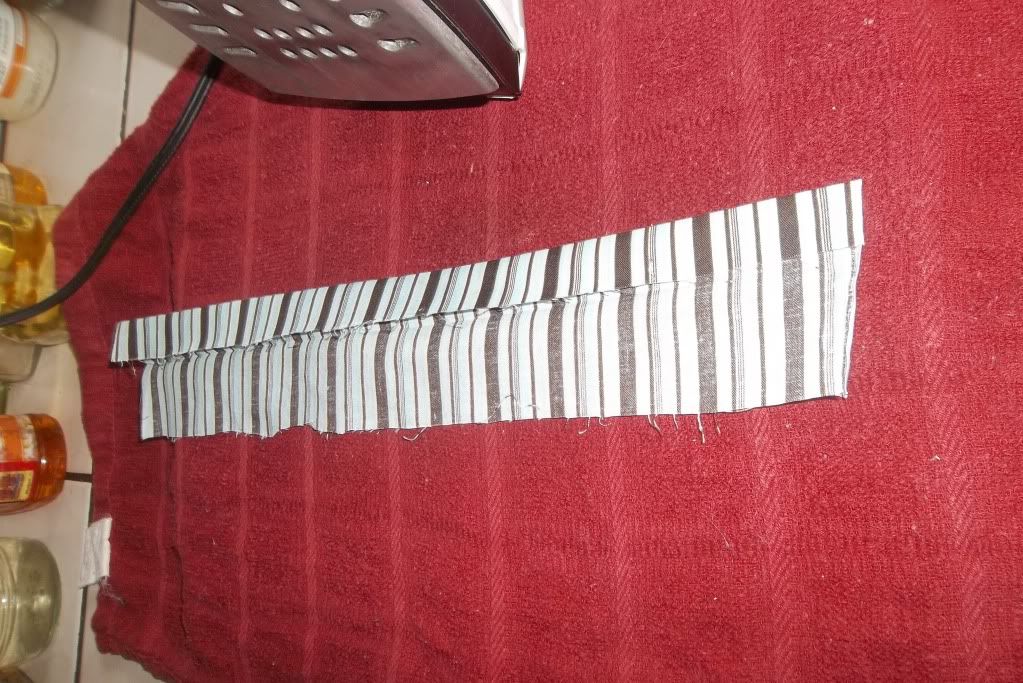
In this case, I made my own. I used a strip of scrap cloth and then sewed ironed it in half and then in half again and cut it to the length of the page protectors.
Finally, if you didn't already put the guts of your book in do this now and read, read,... read. I like to use card-stock for the cover to give it more structure.
I originally started using this method when Miles was a toddler, so the books would last longer. When he gets older I may just combine all the pages with the cover and sew them together without the page protectors, but for now I know our creations will be safe.
I have also used this method to make class books in which all the children contribute. When I was in the classroom I tried to make enough class books with the children that at the end of the year they would all get to take one home.
A renaissance woman making her way through the world gathering experiences and making the most out of life.
Tuesday, August 21, 2012
Saturday, August 18, 2012
Marble Scientist
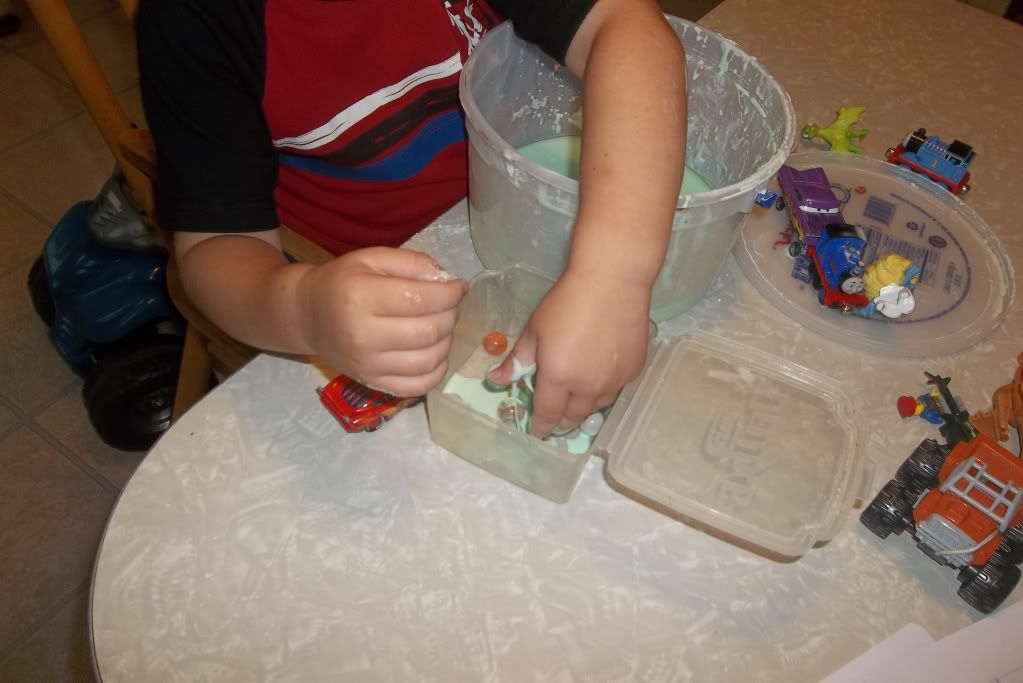
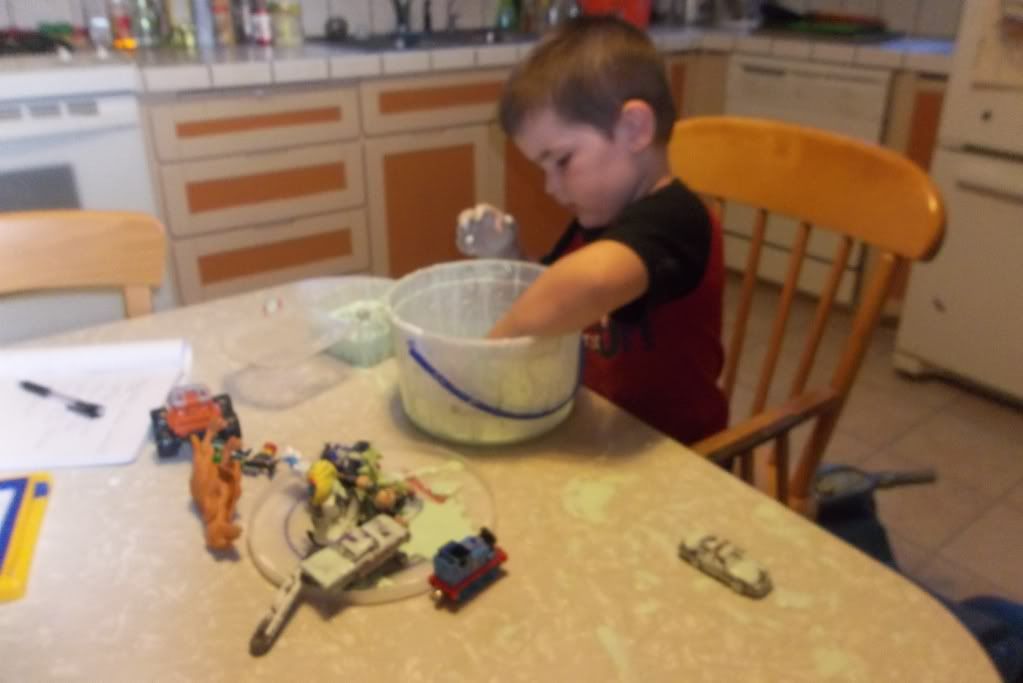
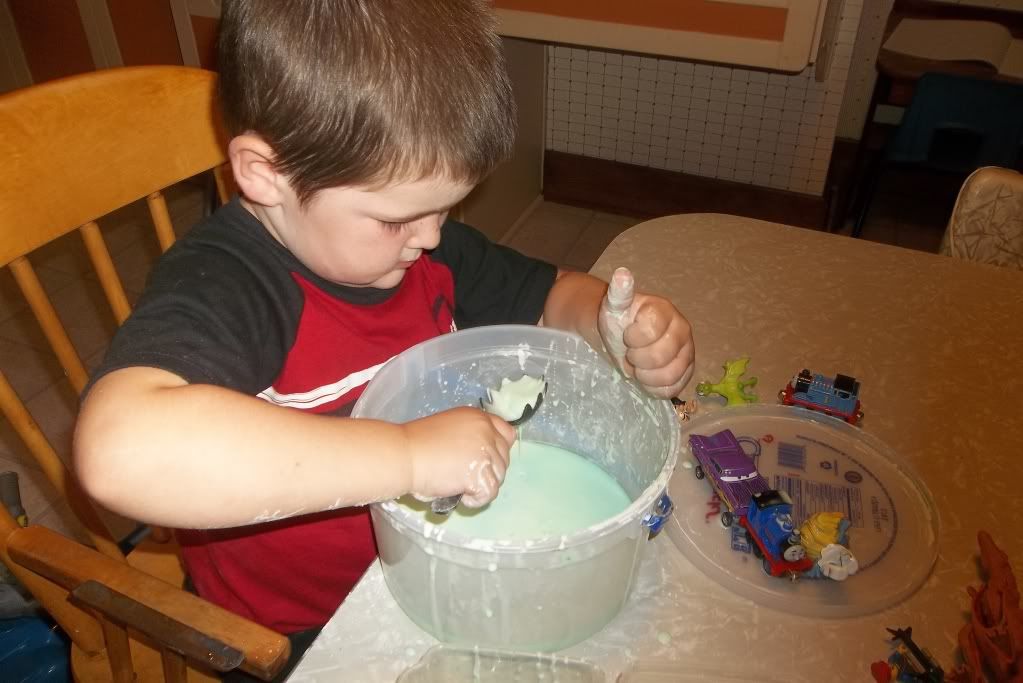
Lately Miles has been using marbles in his play. He has been making soup, rolling them down tubes and ramps, and now adding them to Oobleck (cornstarch and water).
The neat thing about using marbles with a “non-Newtonian liquid” (It's viscosity changes depending on the stress or force applied to it.) is that the marbles will land on top of the Oobleck and then sink slowly in. This is also a great activity for fine motor development, because it is difficult to get the marbles out of Oobleck. He/we ended up scooping the mass into the strainer and then allowing it to drip off over night when he was done playing in the Ooblick.
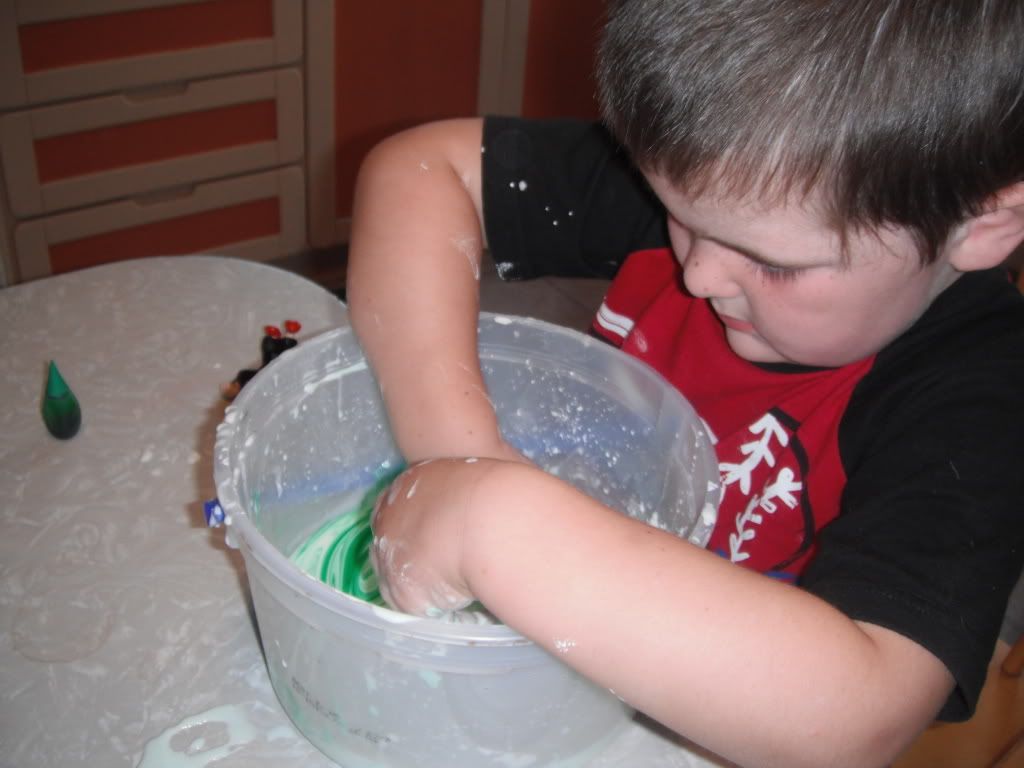
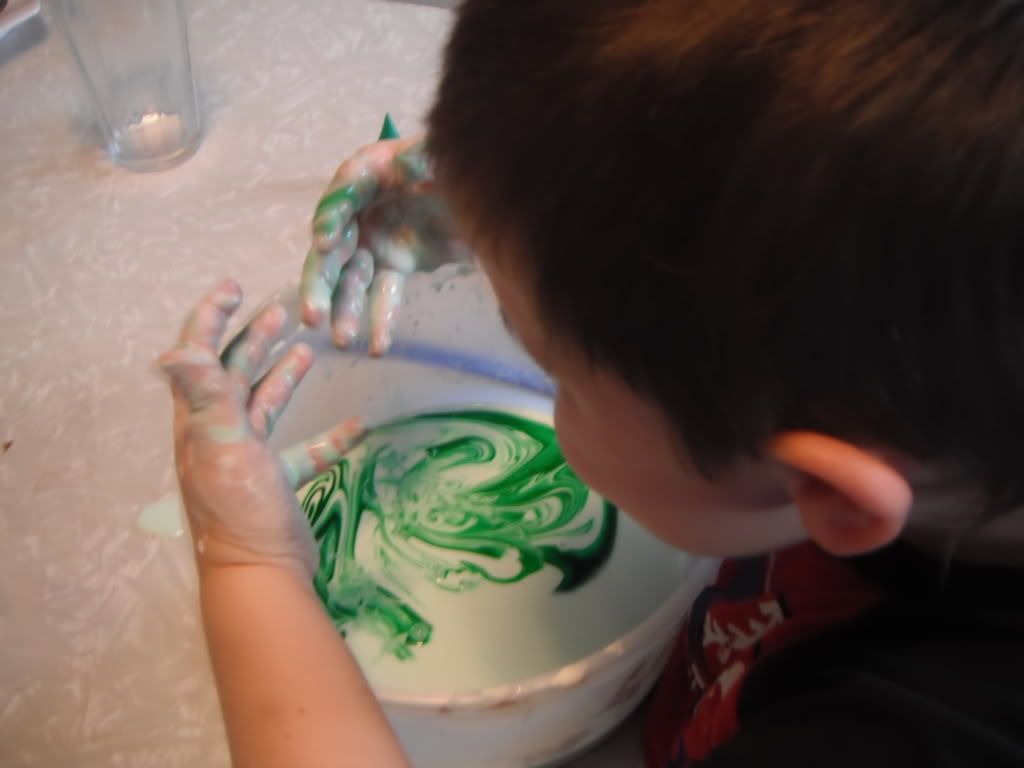
There are many sites that get into the proportions for making the best Oobleck, but we just put in a container of cornstarch and then slowly added water until we had the right consistency. (If you add too much water you can pour it off.) We always add food coloring to our experiments. I don't really care if Miles hands are dyed for a day or two, but if you do you may want to mix in the color with a metal spoon. (Although putting this limit on it will surely take out some of the fun.) And while I recommend doing this over surfaces that can be easily wiped up if it gets in carpet simply allow it to dry and vacuum it up.
For a long time Miles was leery of playing in messy things, which is against my and Chris' very nature. Adding something that he is very interested in playing in (i.e. the marbles) allowed him to extend his comfort zone and try something new. It allowed him to build on his prior knowledge of how a marble should behave in liquids (We've used them in the bathtub.) and across solids. He was able to note that it is different, how it is different, and explore vocabulary that explains the difference.
For those of you who are not familiar with why it is called Oobleck, please note that there is a great literary connection by non other than.... you guessed it!! Dr. Seuss!!! The book is called Bartholomew and the Oobleck and is a great precursor to introducing Oobleck to children.
Subscribe to:
Posts (Atom)
