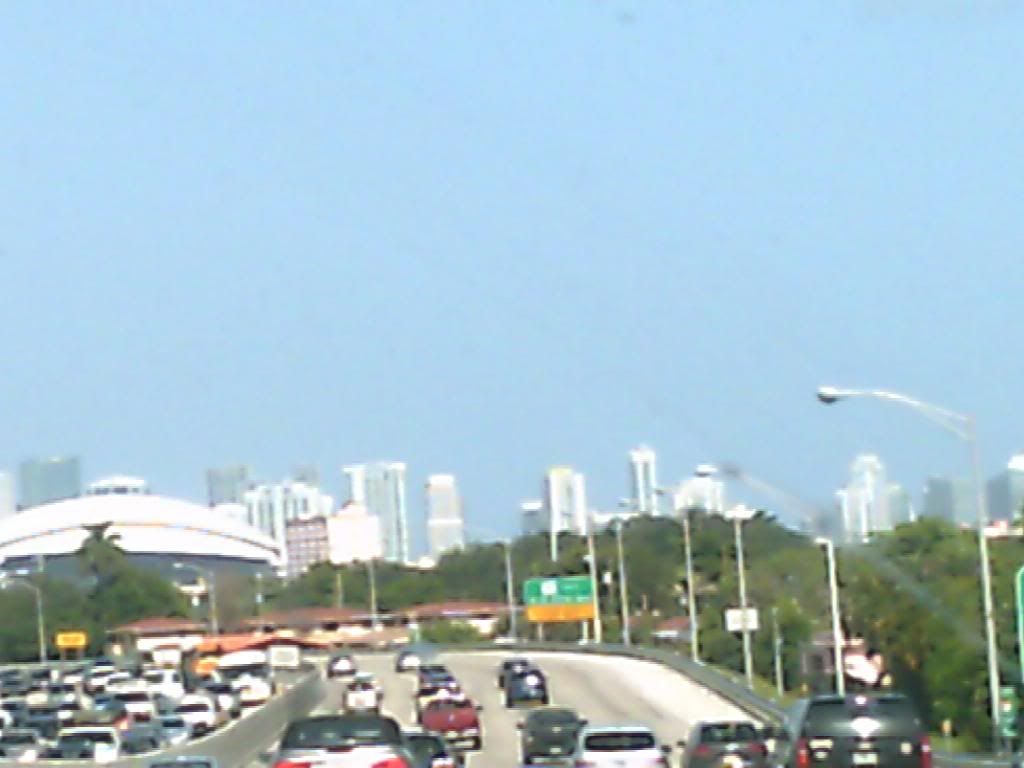
Saturday, August 31, 2013

An Ode to Tractor Paint

I have a confession to make.  I always park in the same row when I go to big box stores, the grocery store, or the mall.  (Not that I'm much of a shopper, but I ALWAYS park in the same row.  Some people may think this is kinda kooky or OCD or something, but that's the "way I roll.")

sea of cars 


So "Why?" you ask.  Because then I can find my car.  I am always lost in a sea of cars that are beige (and now silver since that's the new beige) and all cars look practically the same.  I have a theory.  If you took the badges off the same type of car from the same year, unless you're a "car guy," you'd never be able to tell the difference.


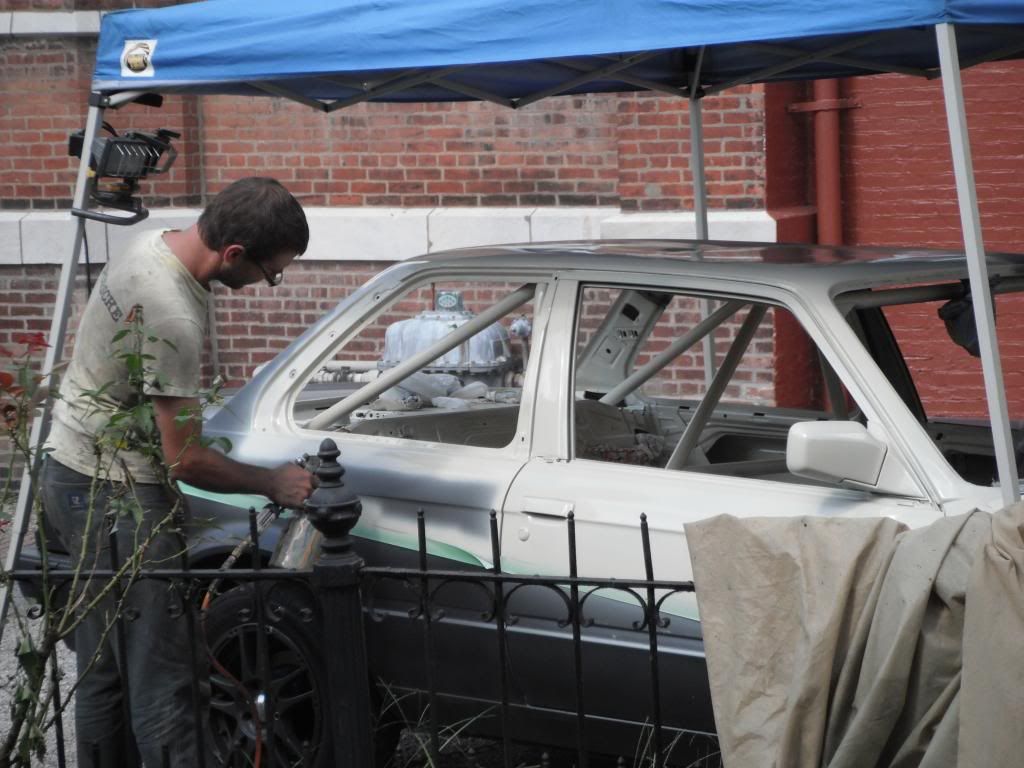
The solution to this, I think, is tractor paint.  If you have a ding that you need to cover up get creative... Don't spend $4.99 on a tinny little paint pen to fix a scratch or ding.  Take inspiration from the Frog Follies and be creative.  Get a whole gallon of tractor paint for just a little more than a tiny paint pen and add flames, a racing stripe, or a big monkey.  You will NEVER loose your car in the parking lot again.


So why tractor paint?

  1. It's inexpensive.  ($20/gallon at the Rural King.) 
  2. It goes on smoothly with a Harbor Freight paint gun.
  3. It comes in a multitude of colors that when mixed could be any color you could possibly dream up.  


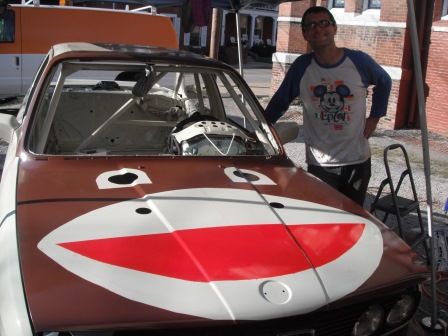
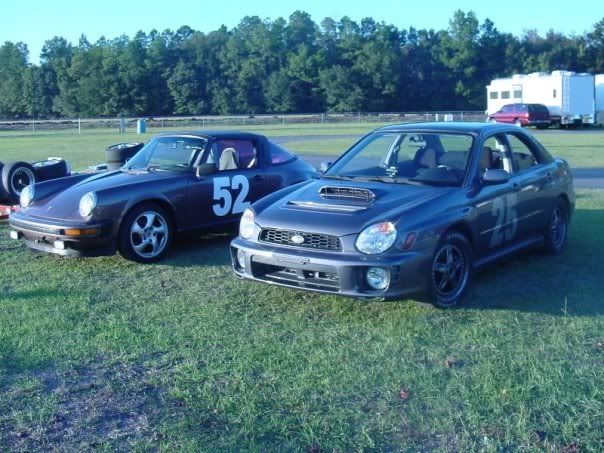
Since Chris and I have been married, we have painted.... 6 different cars.  Some of them the stock color, some of them not. Some of them professional jobs, some of them rattle can jobs in the back yard.  (We have never used a roller on a car.  Leave that for the walls!) Most of the time it has been to fix a "slight imperfection" such as the paint peeling up from the car catching on fire.  The most recent car we painted is Chris' race car, so we were creative...


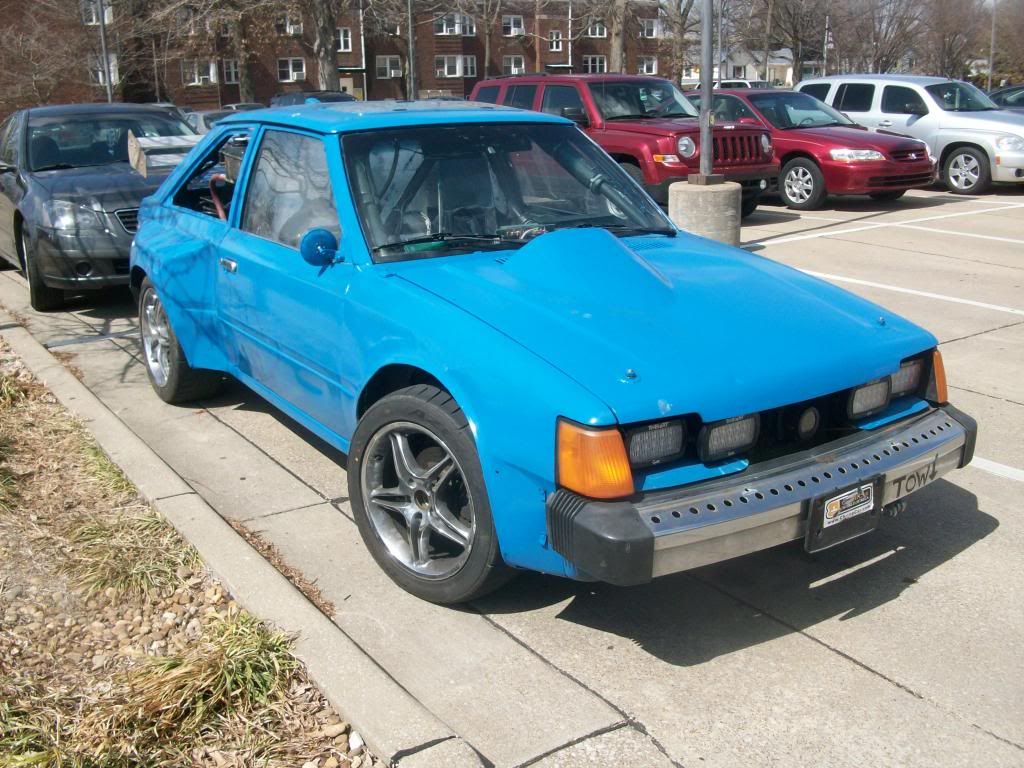
And I venture to say... Even I couldn't loose this car in the "Big Box Store" parking lot.


Monday, August 5, 2013

Making Prints with Textured Balls

A while back Chris and I attended a friends' wedding in New Harmony, Indiana.  Its a cute little town with some great local history.  They also are one of the founding towns for early childhood education in the United States, but that's a post for another day.


We were walking around the town between the service and reception and popped into the local art gallery.  There was an artist that had created balls of various sizes out of clay and attached 3D patterns to the outside.  The artist had rolled them in sand to show the patterns that they made.  It was an interactive exhibit that allowed observers to make some prints with some of the smaller pieces.  (I will need to call about who the artist is.  I forgot to write down the name.)


I immediately thought that this would be wonderful to have for an early childhood classroom for the sand table, clay, or with paint/ink.


Imagine my delight when I came across these balls in the dollar section at Target today.  I picked up one of each.  As I often do, I tried the experiment with Miles before taking them to work.


These particular balls light up.  Miles was a bit more excited about them lighting up than about the patterns, but I think the kids would get a kick out of using them in various media.  This activity promotes strengthening of fine motor movements.


We also tried rolling them around in corn meal and then compared the 2 methods and the patterns that were made.  I think that this activity could be a lot of fun to do with a lesson that includes talking about animal prints.


Friday, August 2, 2013

Magic Shiny Pennies

I used my master's degree today!! One of the classes that I took was a wonderful science class that allowed us to learn about science concepts hands on with objects around the house that a teacher can afford.

Miles was told by Chris that he could have all the pennies that he would take out of the floorboard of the new race car.  (There were roughly 100.)  He spent about 5 minutes picking up some and putting them in a jar.  Then he said the others were too dirty.  I convinced him that I knew a "magic" way to make pennies shiny once again.

Today's experiment takes salt, vinegar, and pennies.

First: Lay out the pennies on a cookie sheet to keep the mess contianed.


Second: Sprinkle the pennies liberally with salt.


Third: Squirt the salt covered pennies with the vinegar to remove the tarnish.


Fourth: We used a colander to rinse the pennies off and patted them dry with a cloth.

Here are some pennies before and after the "Magic" transformation.


I think it's important from time to time to discover the "Magic" in the world around us.