First decide how many pages you book will be, or is. Half that number and add 2. (If you had an odd number of pages to begin with then you add 2 to the whole number of the equation. This is because you can use the odd page on the back cover.)
so for the alphabet book (26 pages/2) =13pages needed for the guts of the book plus 2 pages for the covers =15 page protectors needed.
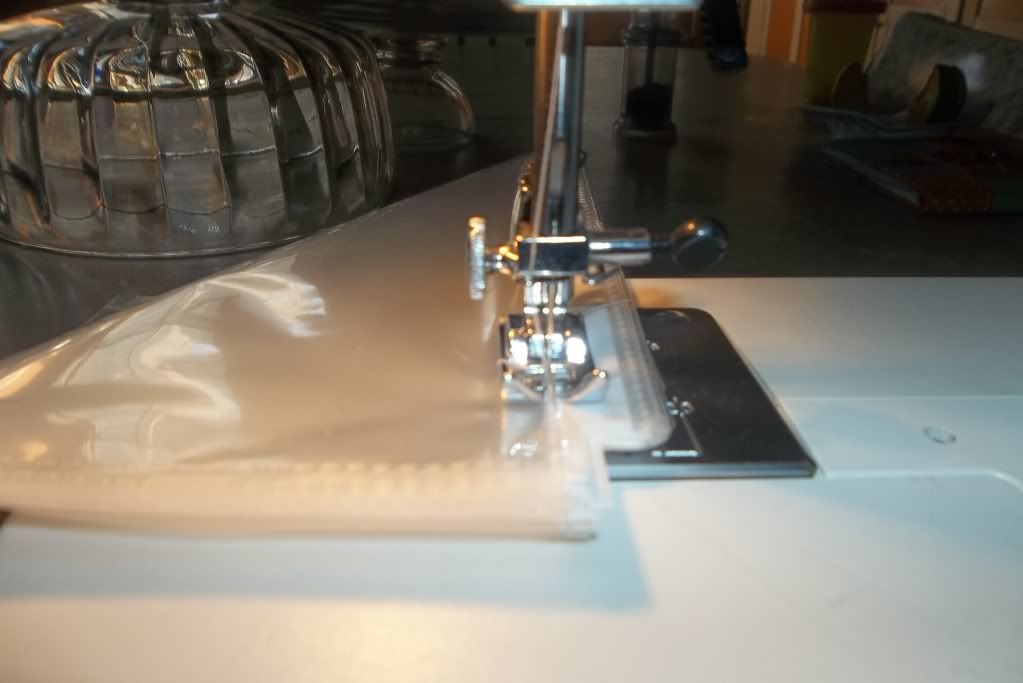
This is the thickest book that I would do with this method. It was a little difficult for my machine to go through all of the layers.
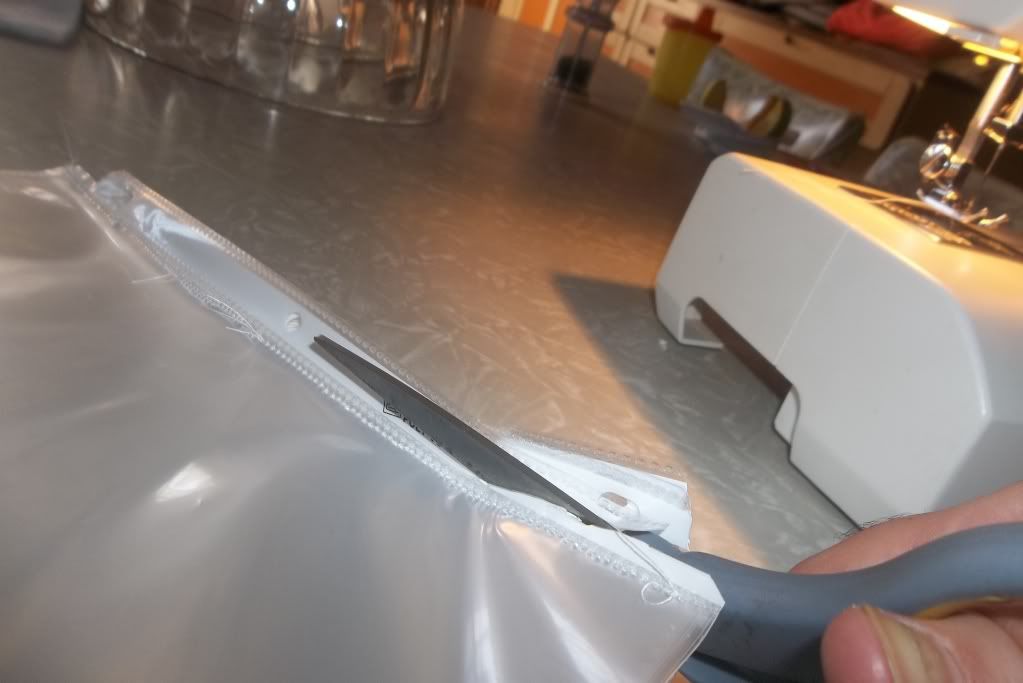
After that you will need to cut the excess on the side off. This doesn't need to be pretty since you will be covering this up. I like to make a line along the inside of the 3 hole punch and cut along it.
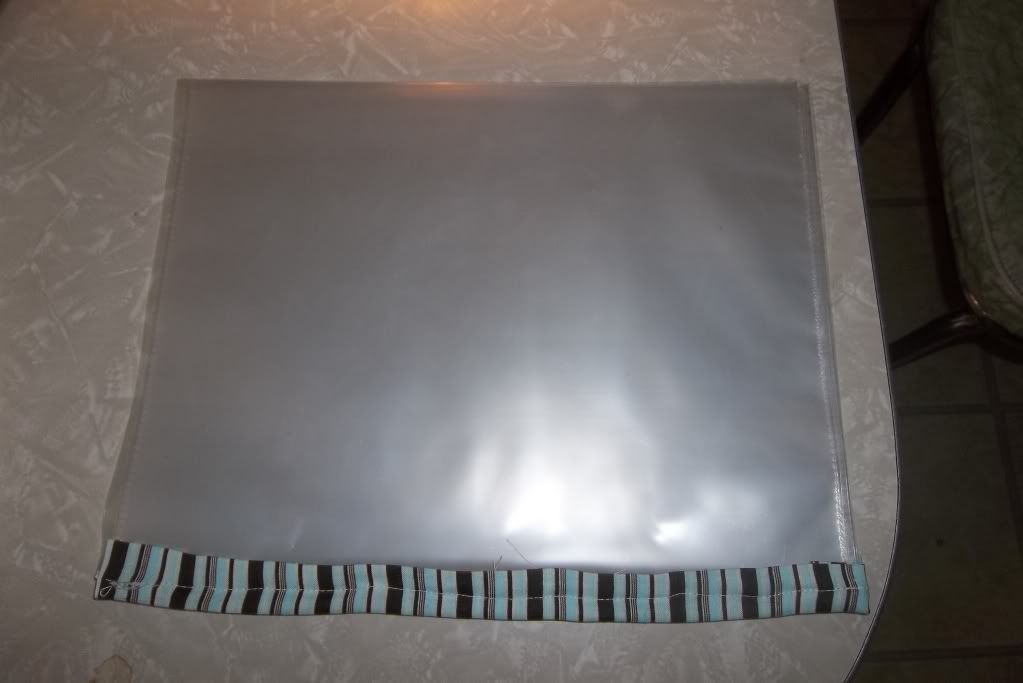
The next step is sewing the biased tape over the edge. I essentially sew directly over where I've sewn before just with the biased tape covering the previous stitches.
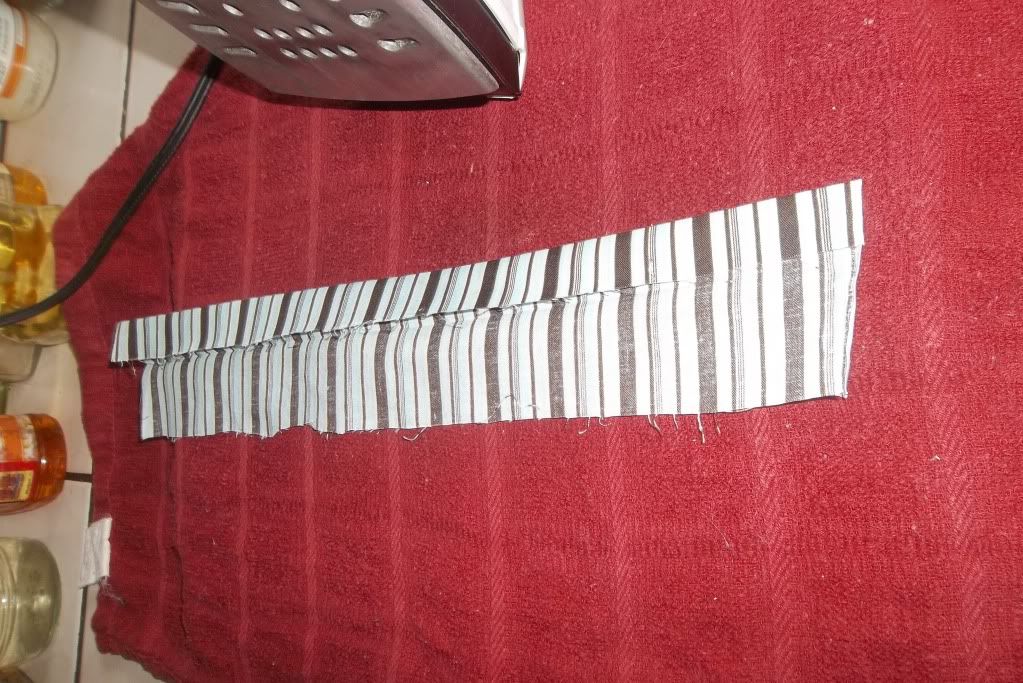
In this case, I made my own. I used a strip of scrap cloth and then sewed ironed it in half and then in half again and cut it to the length of the page protectors.
Finally, if you didn't already put the guts of your book in do this now and read, read,... read. I like to use card-stock for the cover to give it more structure.
I originally started using this method when Miles was a toddler, so the books would last longer. When he gets older I may just combine all the pages with the cover and sew them together without the page protectors, but for now I know our creations will be safe.
I have also used this method to make class books in which all the children contribute. When I was in the classroom I tried to make enough class books with the children that at the end of the year they would all get to take one home.
No comments:
Post a Comment