I've had a lot of people say that they want to try to create a capsule wardrobe using the items in their closets to introduce variety into their wardrobe following my last post. I also realized while wearing my first capsule that it didn't have some of my very favorite items, and that I missed them. I thought I would break down my process here, so that if you want to try it yourself (and you are easily overwhelmed by this sort of thing) you can see how I created another capsule wardrobe. Again, I am creating this capsule from my closet without purchasing any new items. (Yes I have too many clothes.) You will see a few of the things that I used in my first capsule wardrobe, because they are some of my favorite pieces.
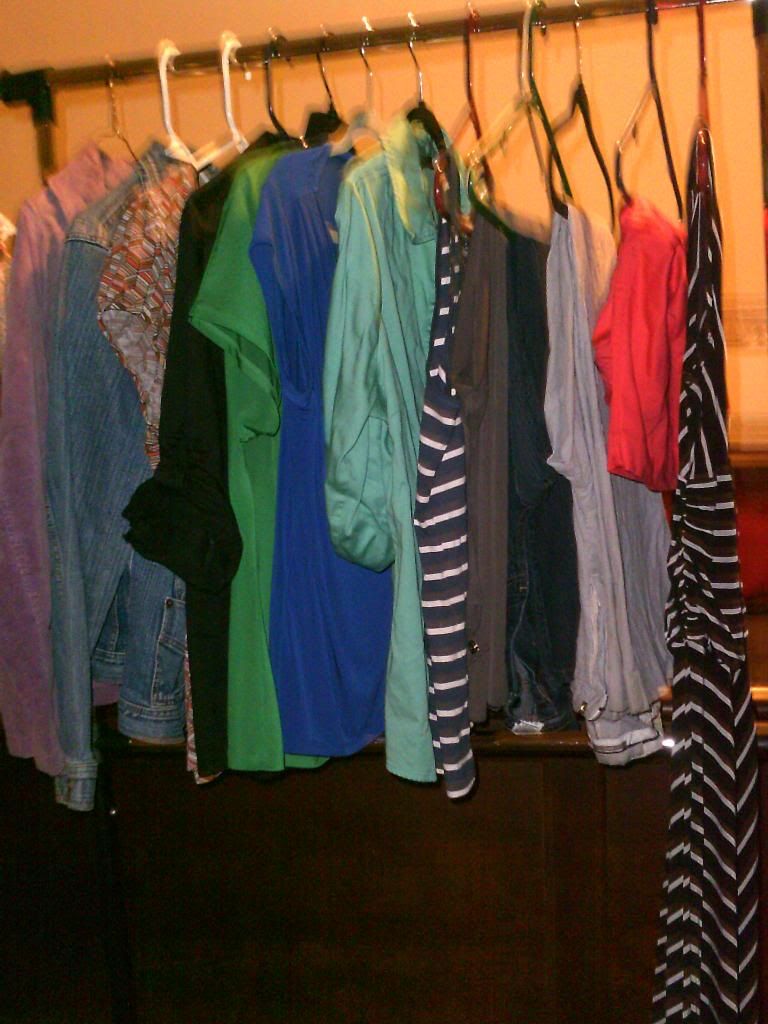
Step 1: Organize your closet. (Anyway that suits you.)
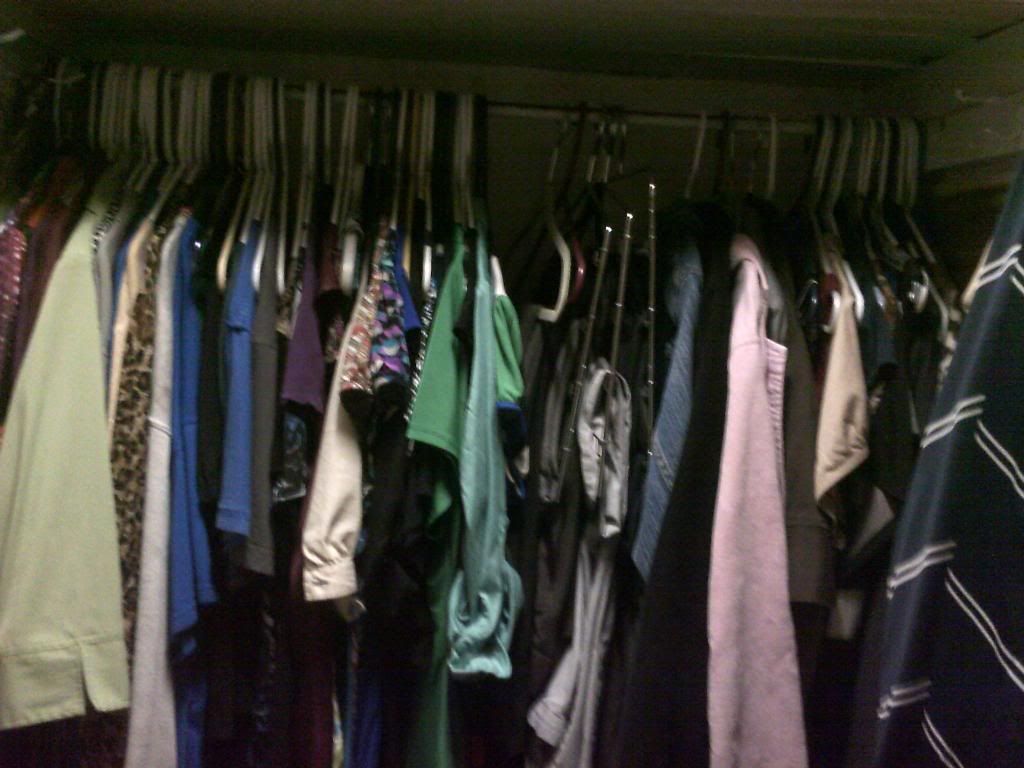 |
| Right to left: Winter, workout, short sleeves, bottoms, jackets, dresses |
Step 2: Pick Items that coordinate (all tops go with all bottoms)
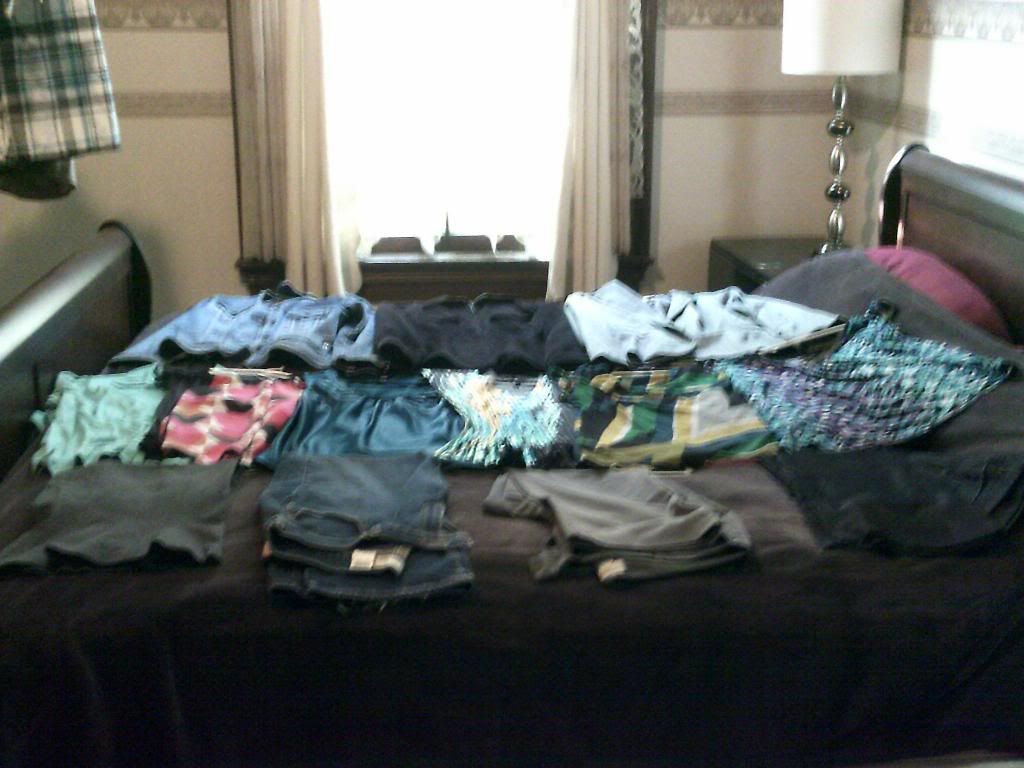 |
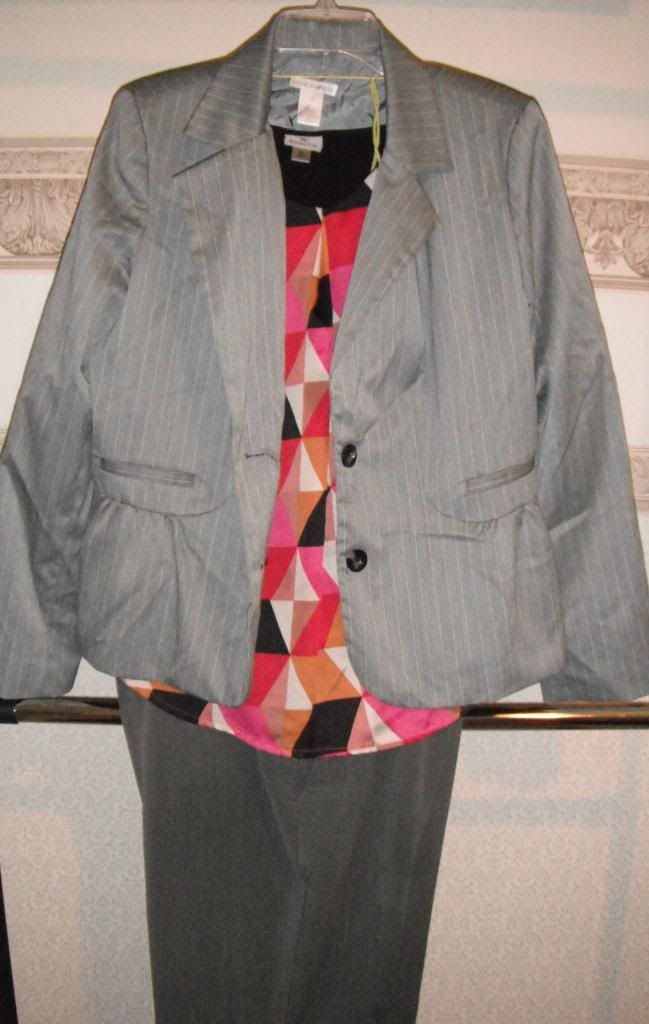
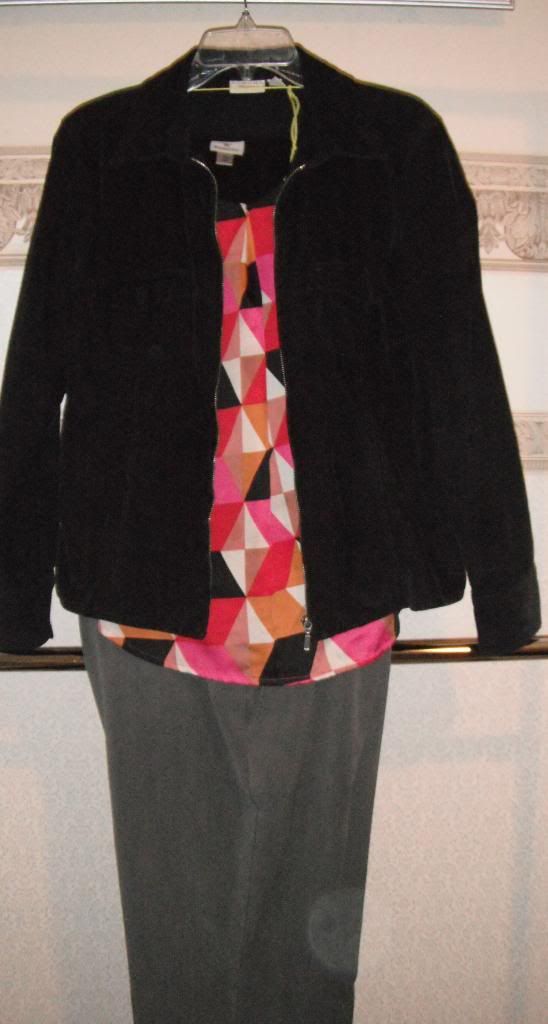
| Jackets: Jean, Black Corduroy, gray suit Shirts: Aqua solid, triangle pattern, teal, floral, diagonal shapes, little circles Bottoms: Gray tulip skirt, jeans, gray slacks, black slacks |
Now you'll see that I went ahead and added jackets to this capsule, but lets be realistic. I will only wear multiple layers if it's below 55 degrees.
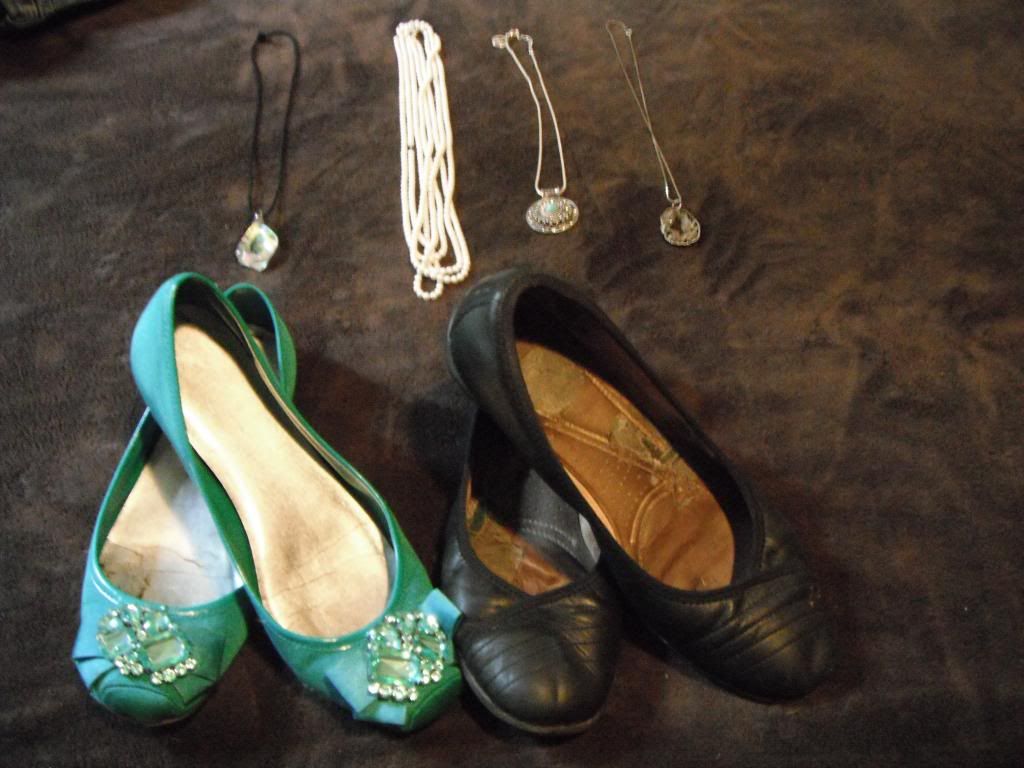
Step 3: Add Accessories (This step is really only 100% necessary if you are sticking things in a suitcase. Otherwise just pick what suits your day in the morning. I might pick heels to wear (if I were going to church or the theater) as long as there is little walking involved. They are not my thing.
Step 4: Hang the capsule together in your closet, so you will wear the items together.
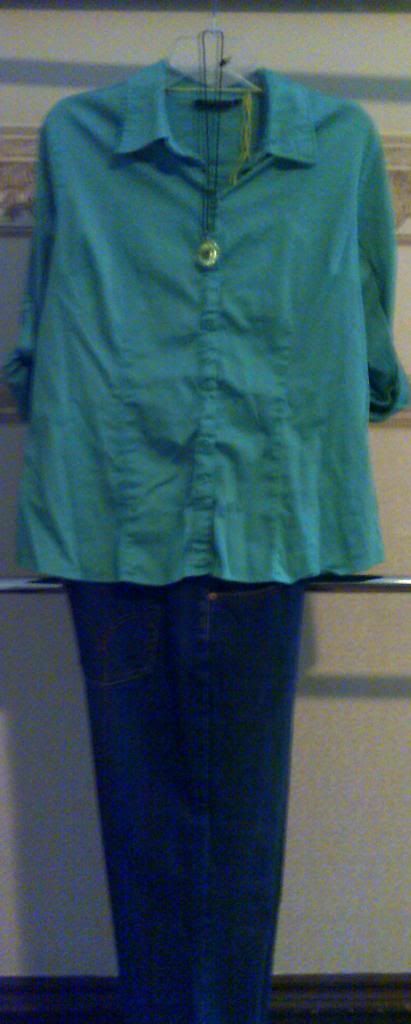
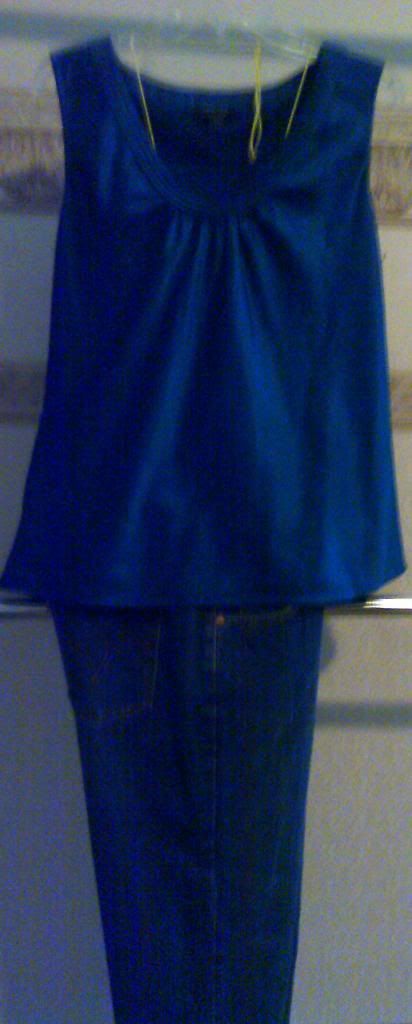
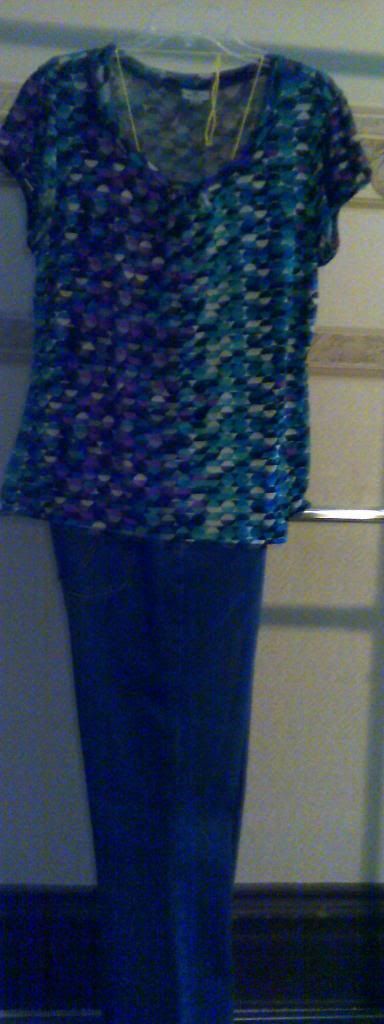
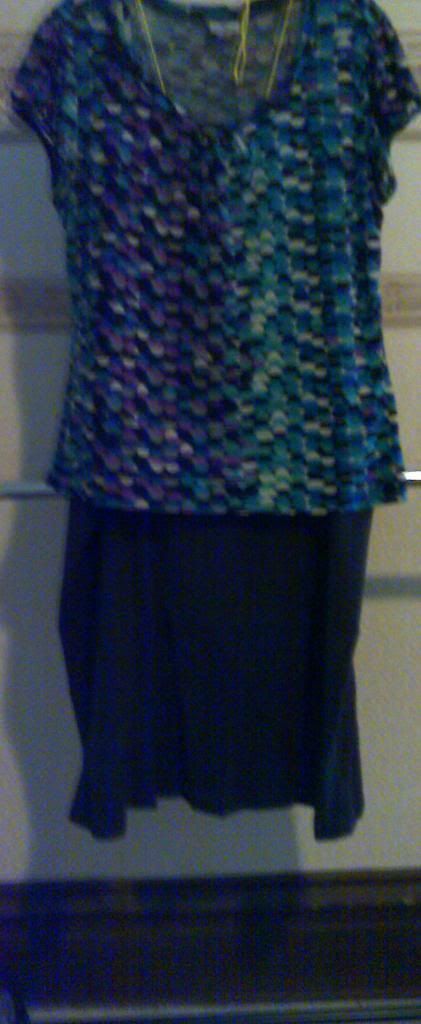
Here are pictures of each top with each bottom. (Yes, I own a lot of shades of blue.)
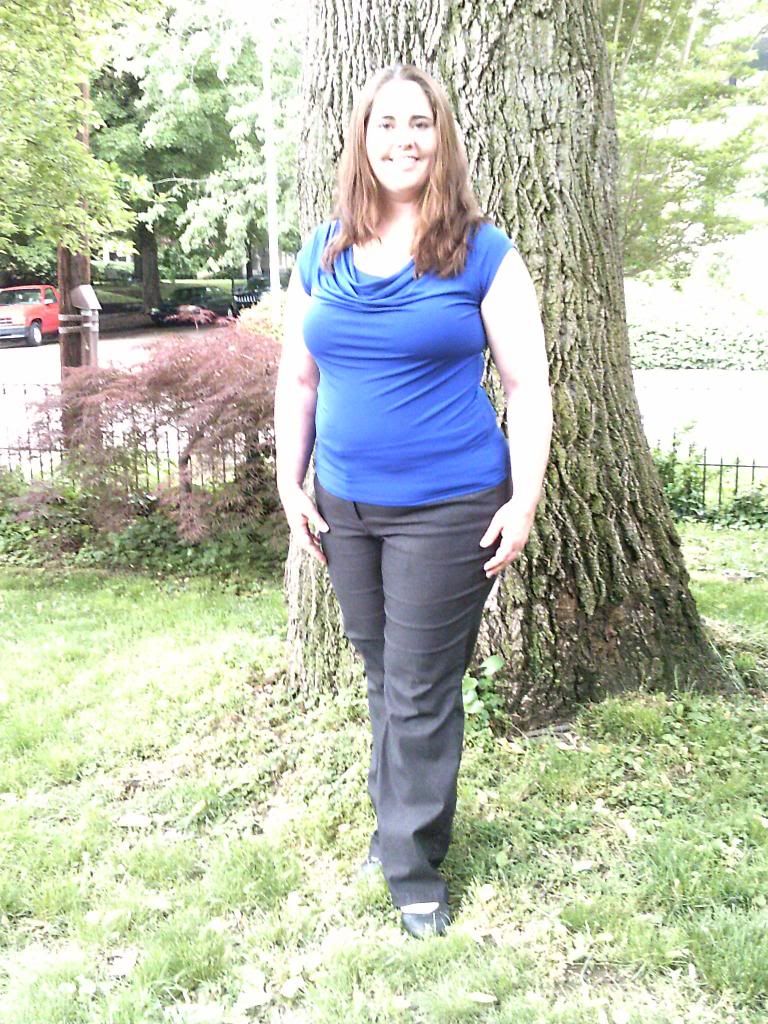
Aqua Solid Top
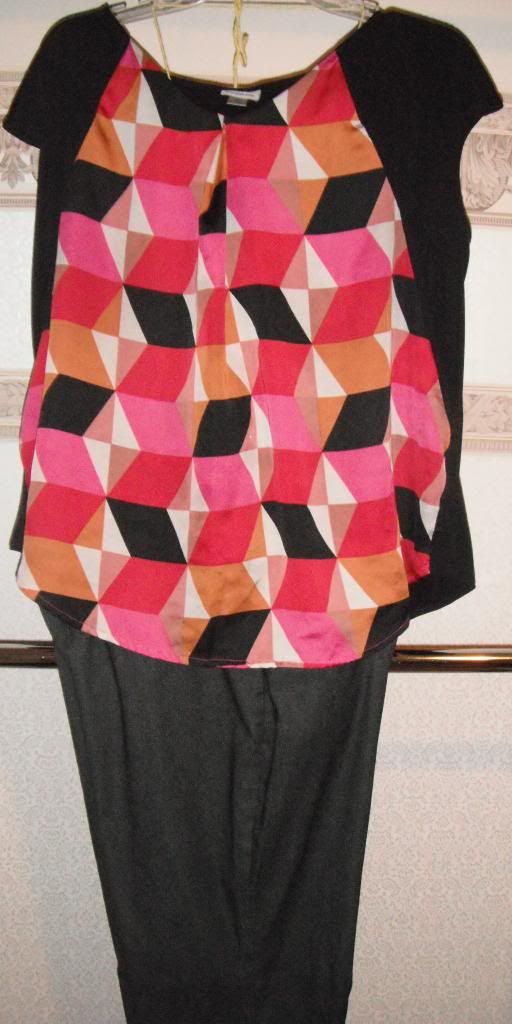
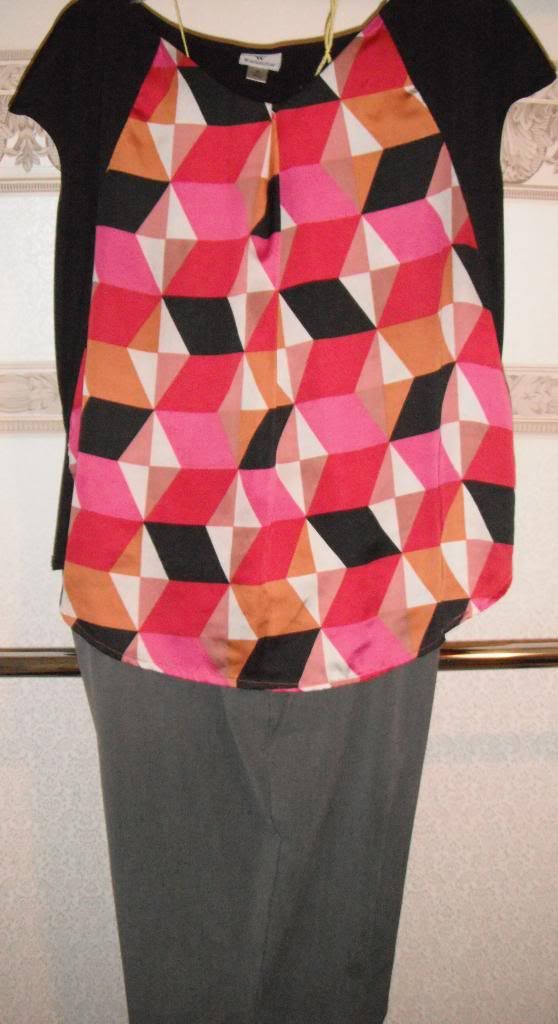
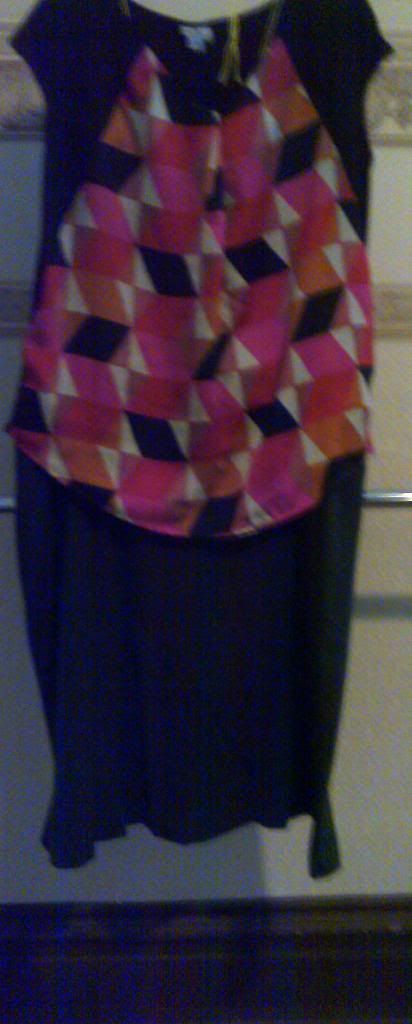
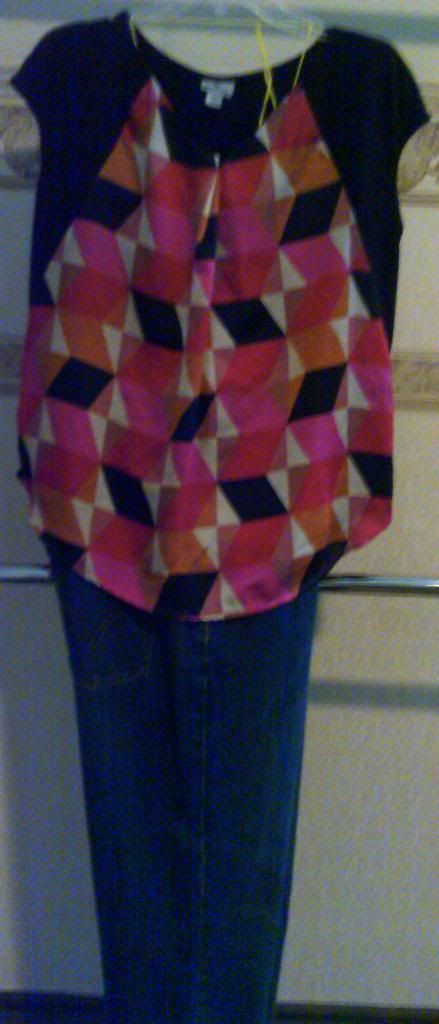
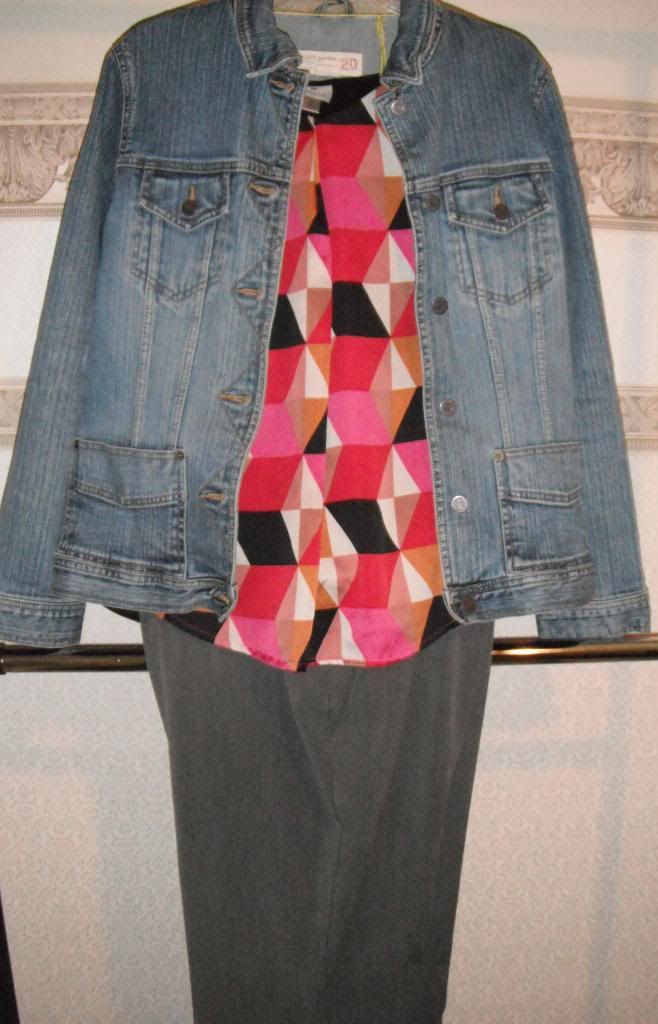
Triangle Pattern
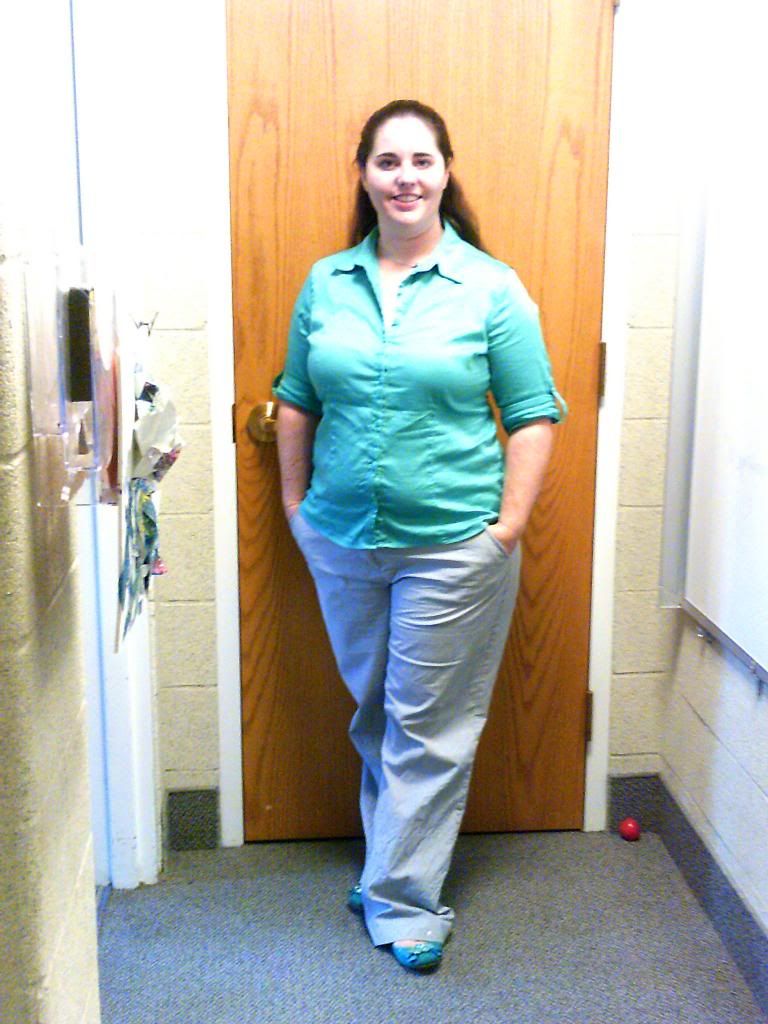
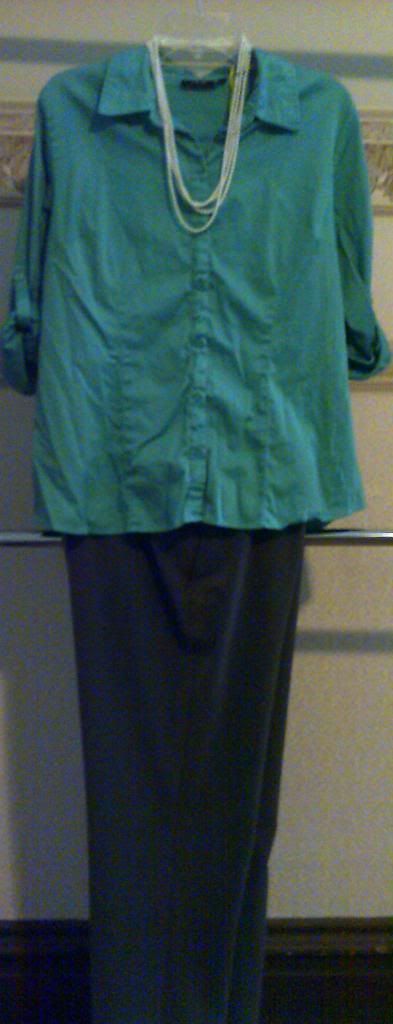
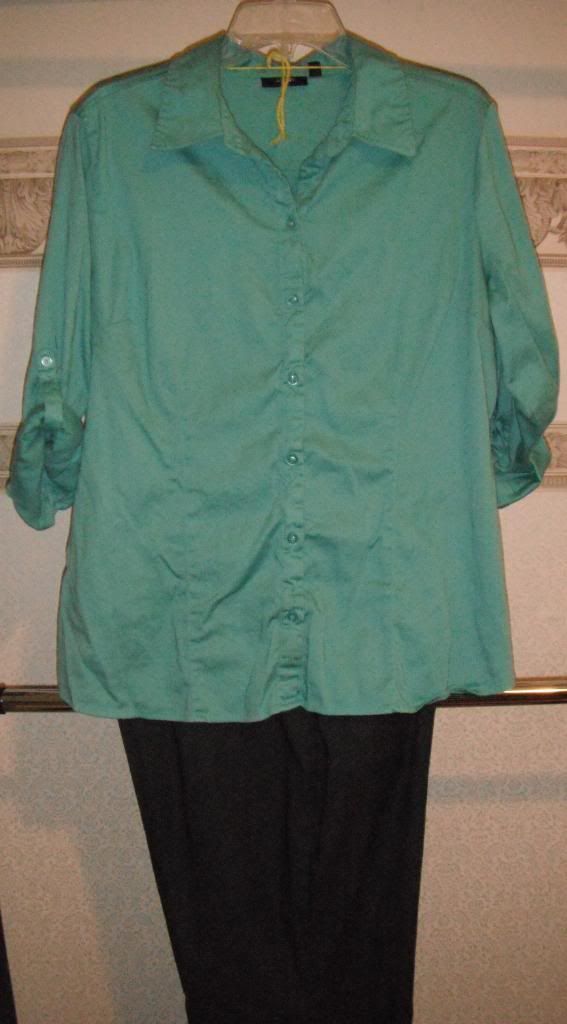
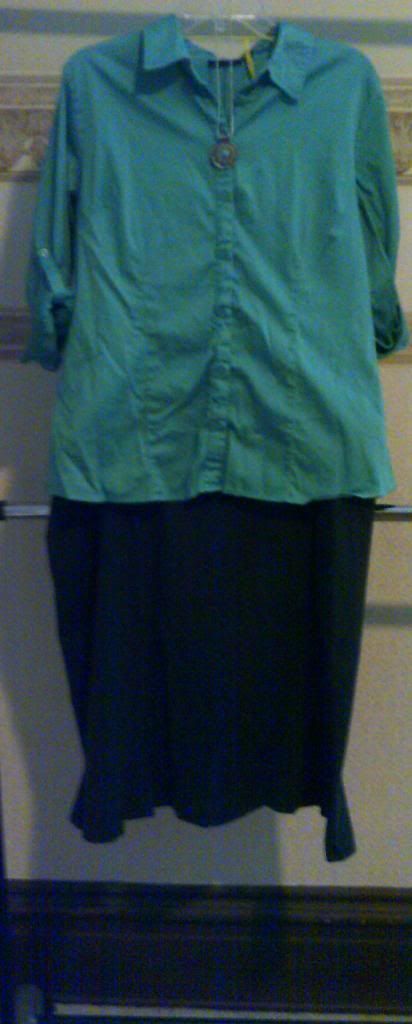
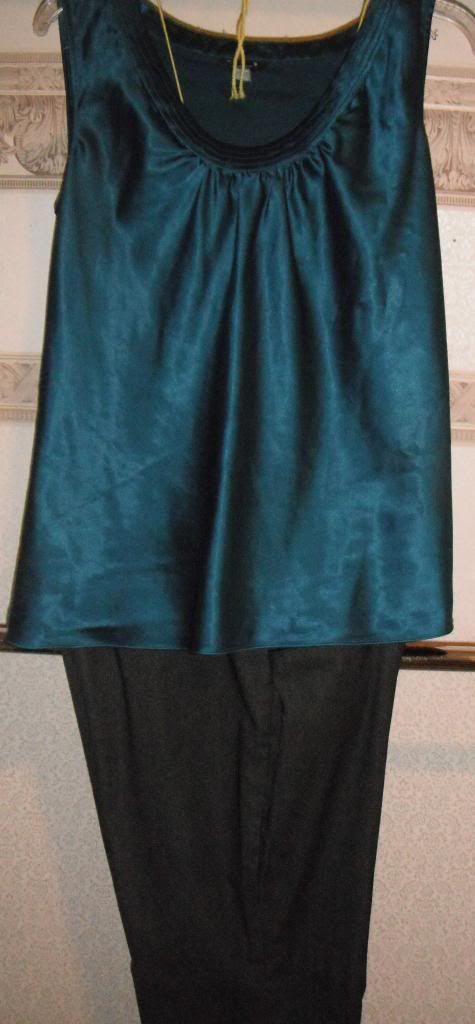
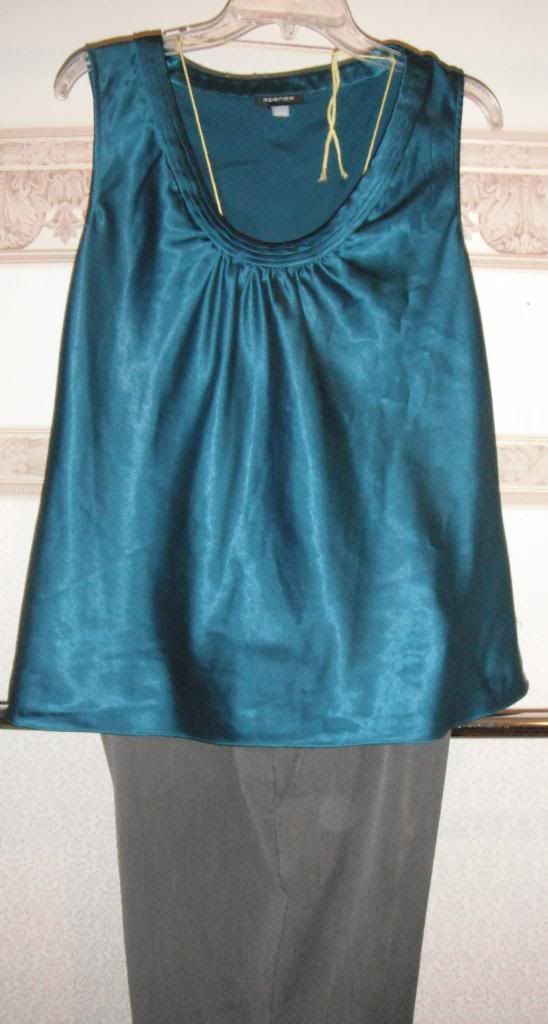
Teal Solid Top

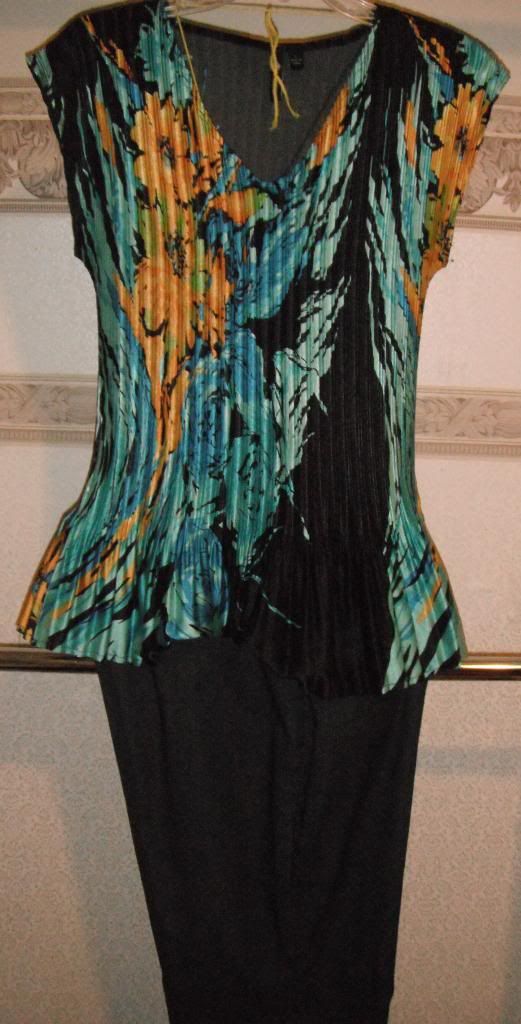
Floral
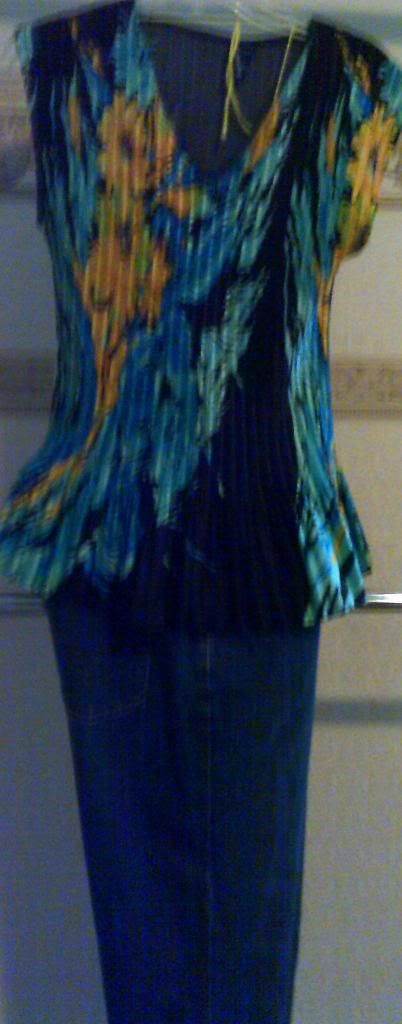
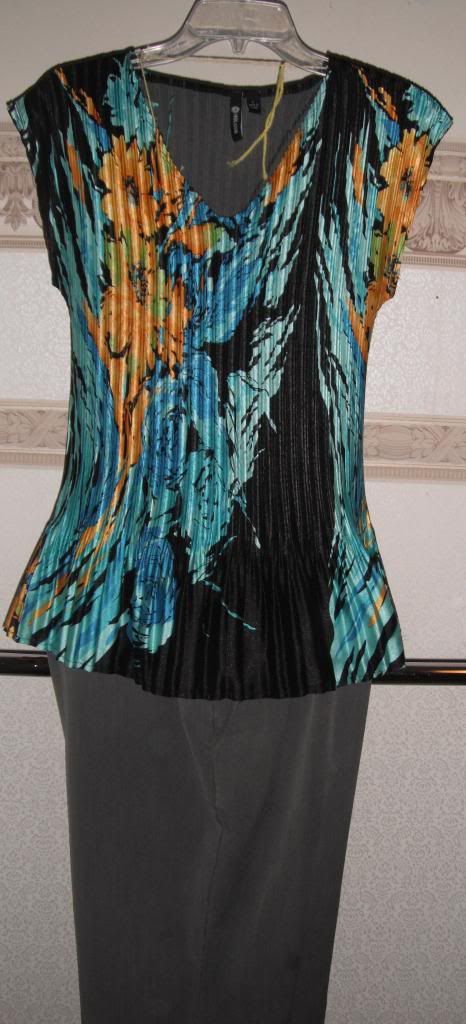

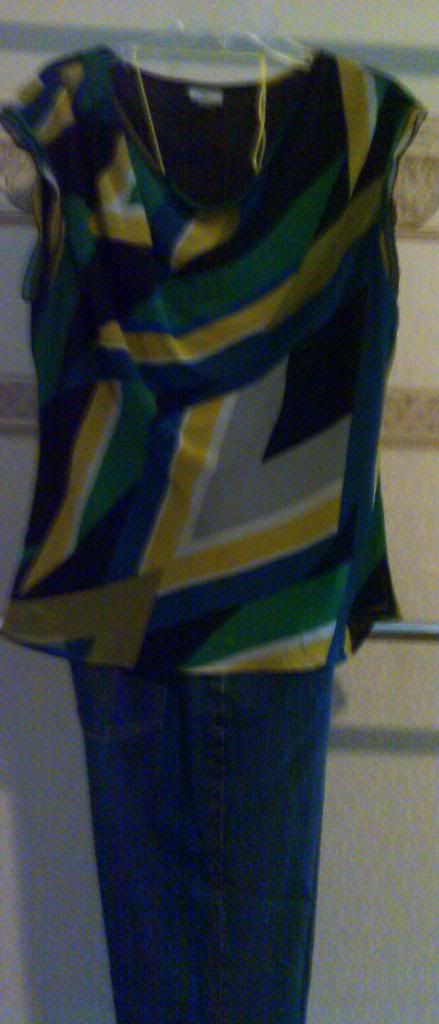
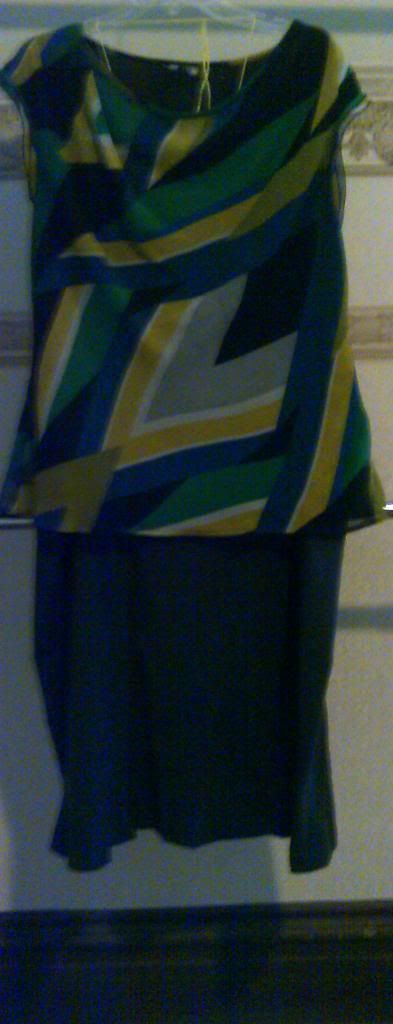
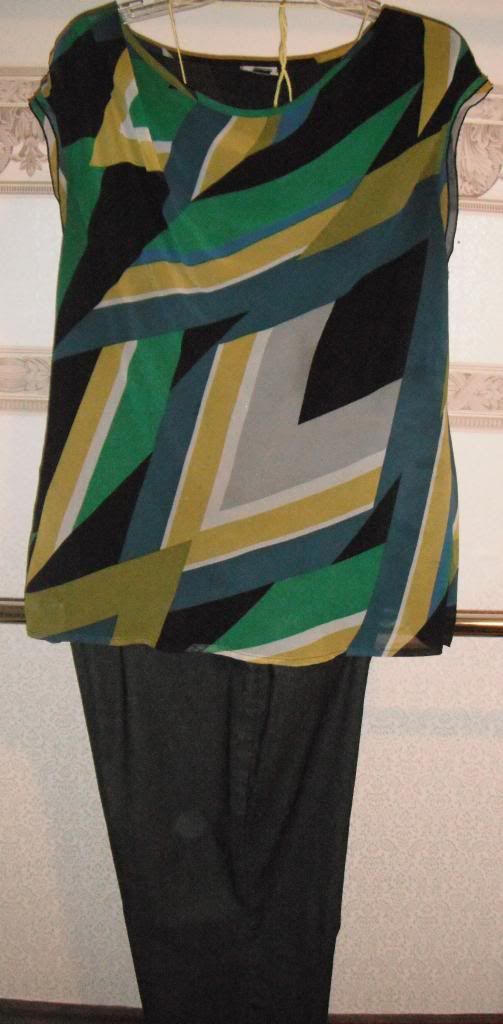
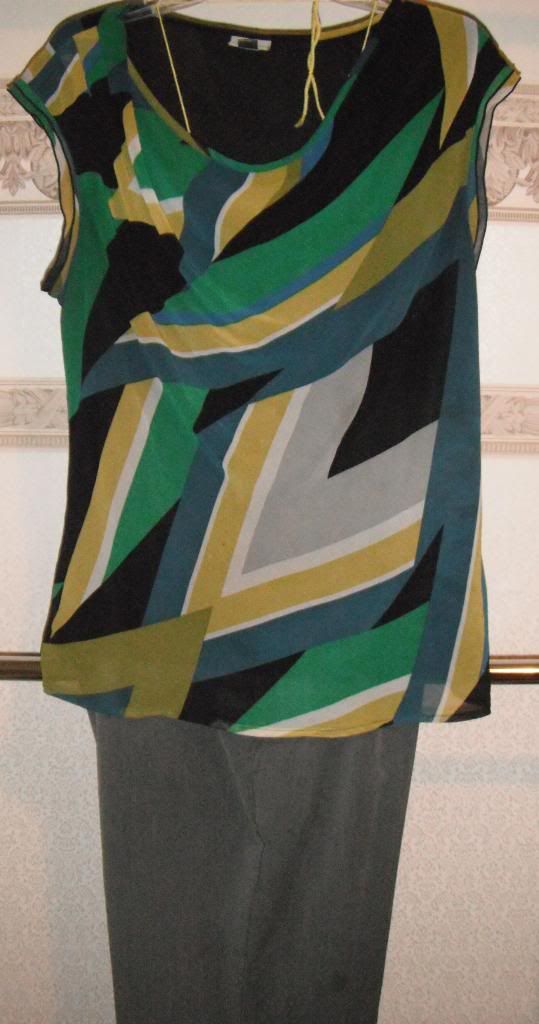
Diagonal Shapes
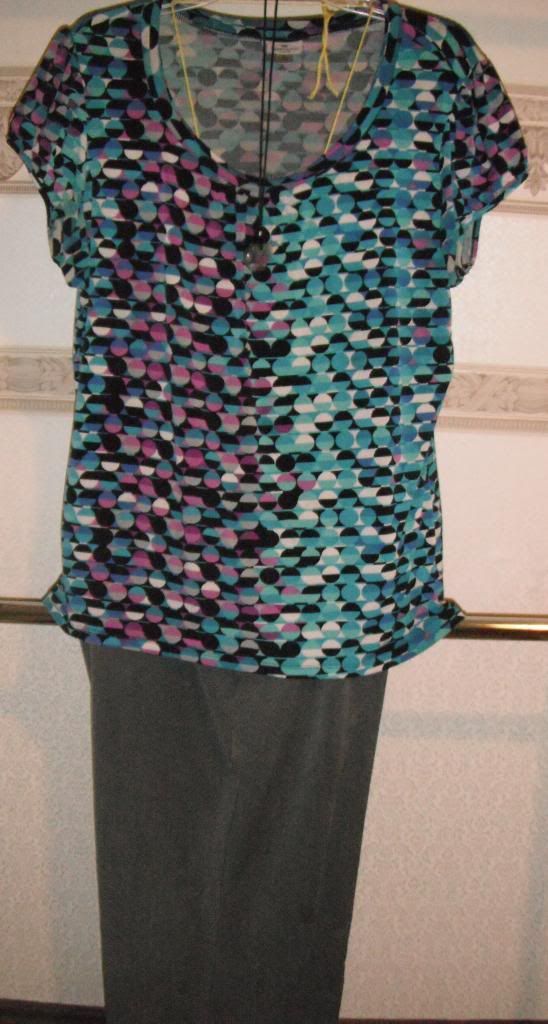
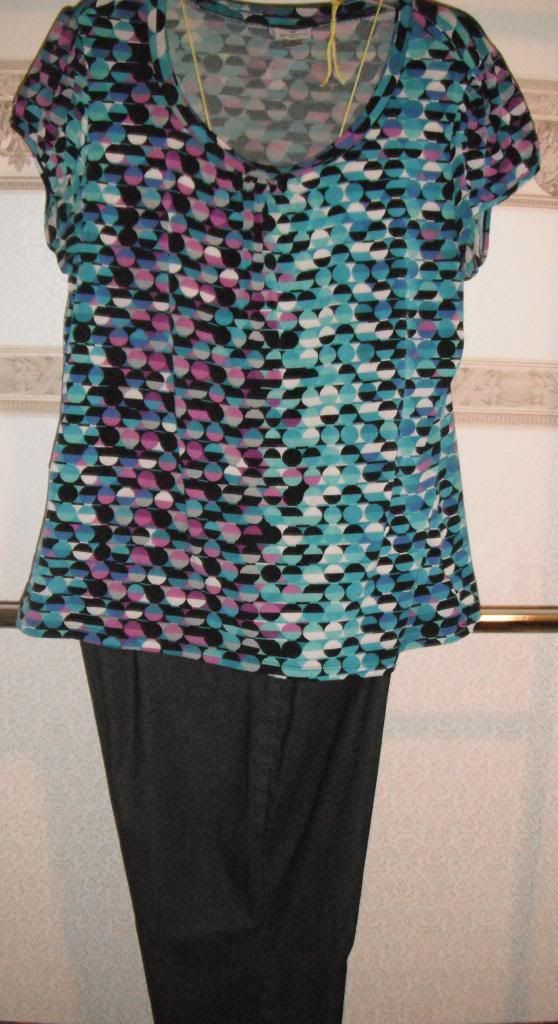
Little Circles
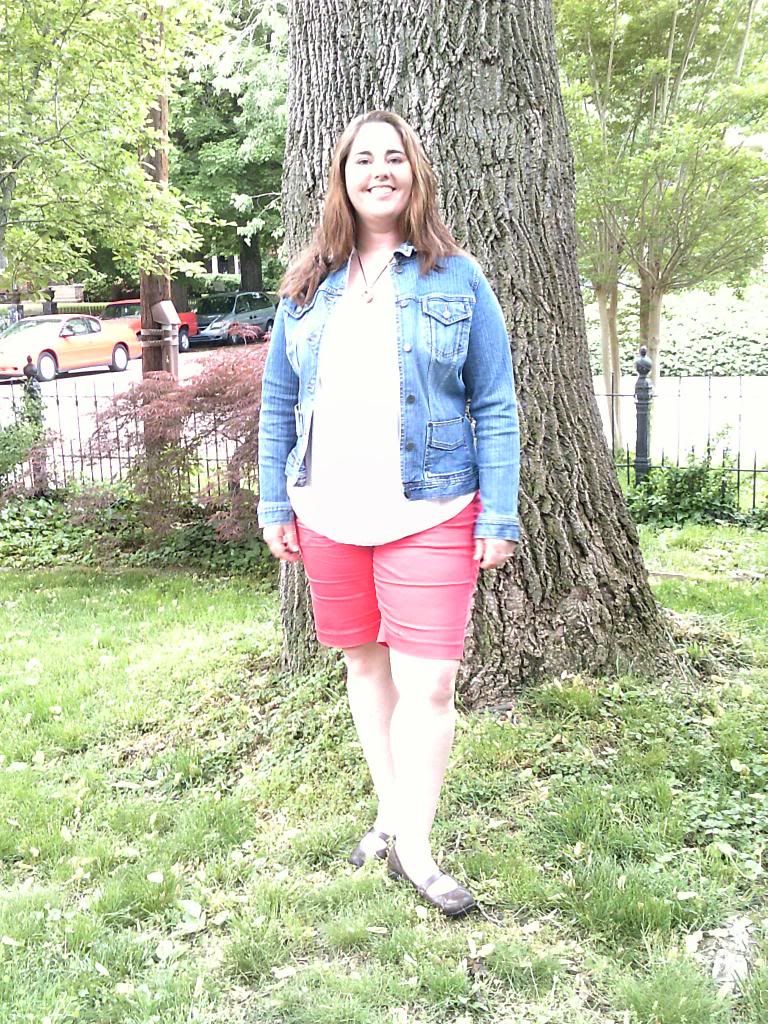
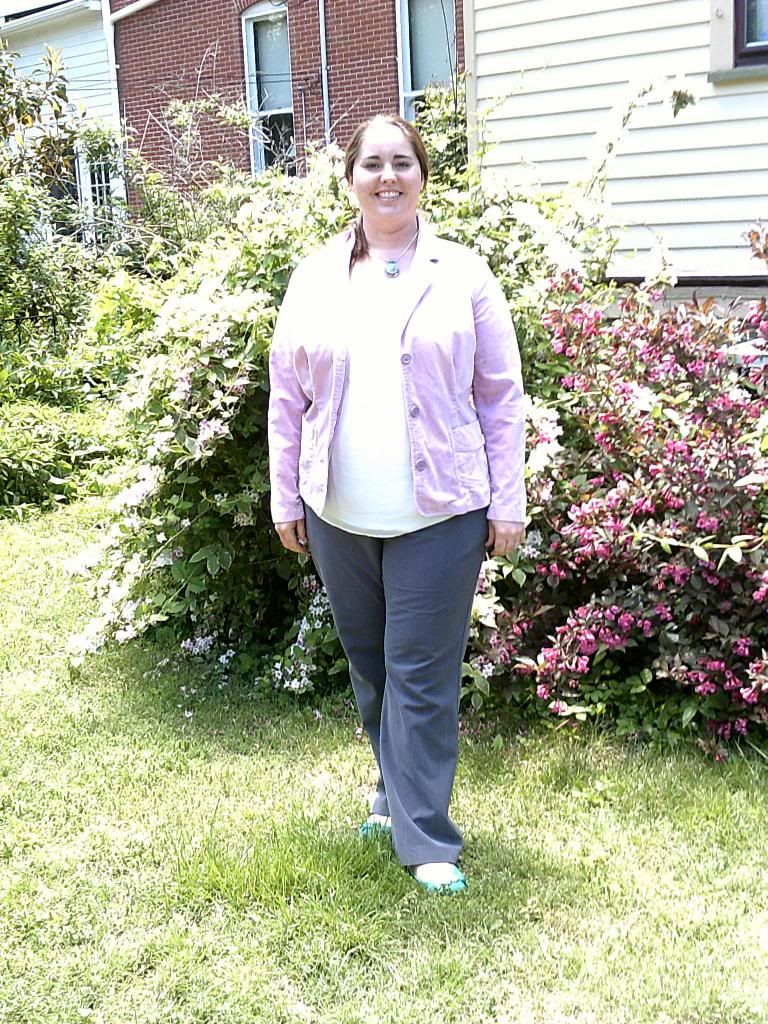
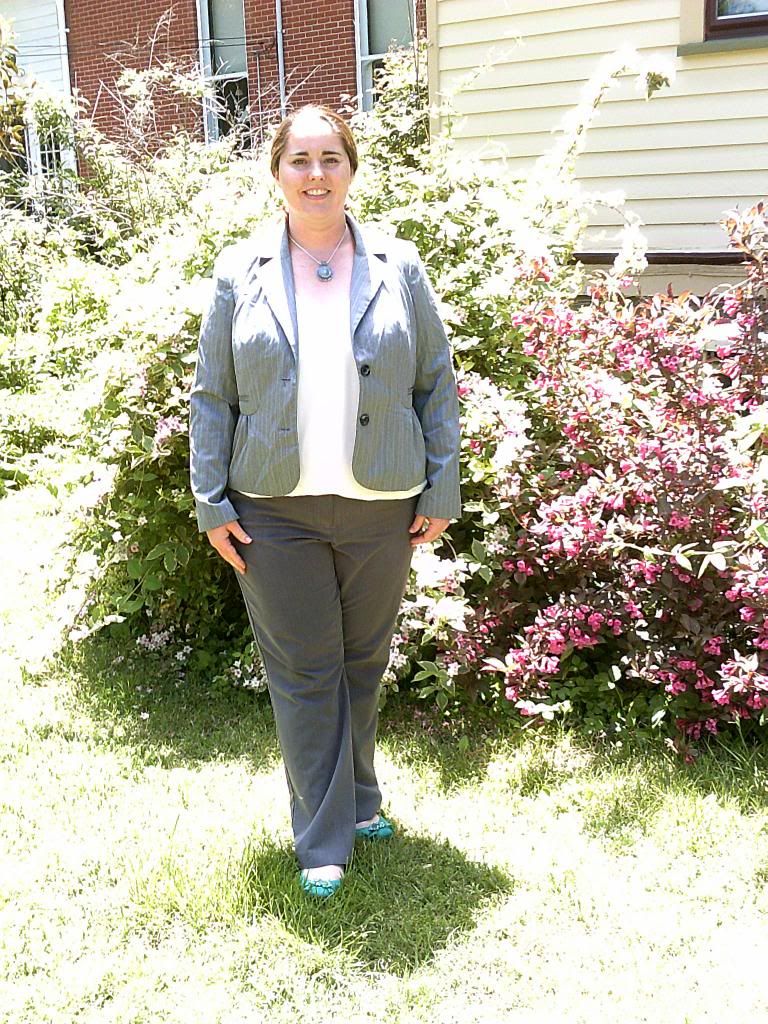
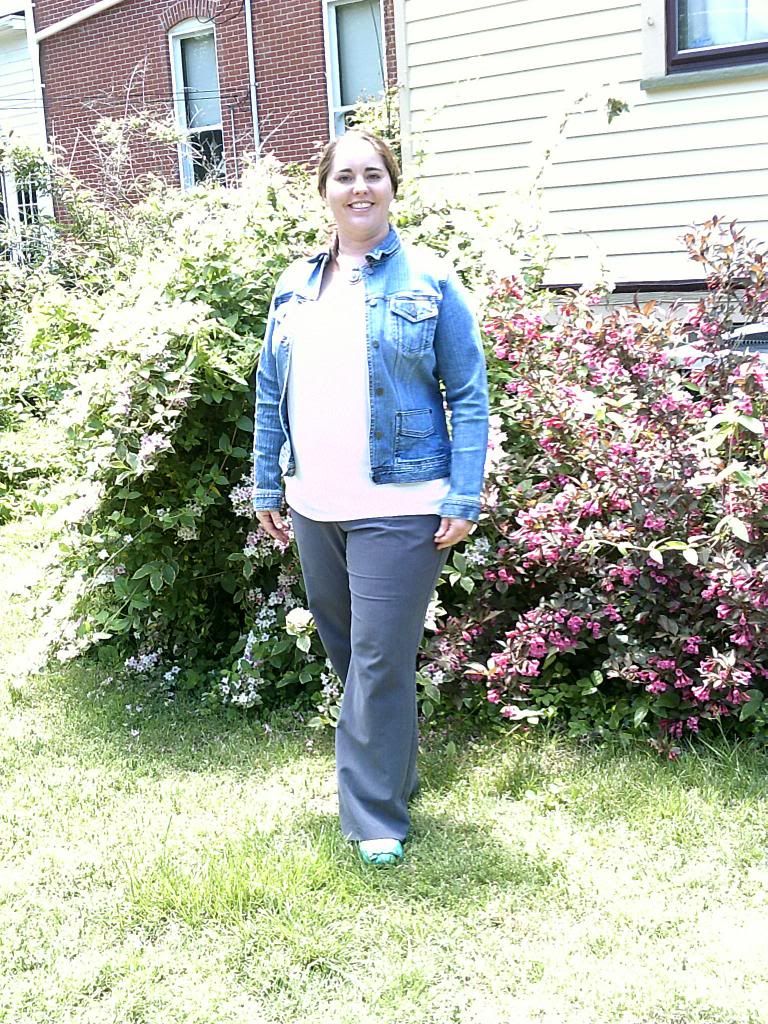
Here is one that I paired with each jacket. Since we already are having 75-80 degree days it is unlikely that I will be able to stand a jacket, but here's the look
I hope this break down is helpful for those who said they'd like to try to create their own capsule wardrobe.