Miles and I make books. Some of them are about our experiences such as trips we've taken to the zoo. Some of them are childhood songs acted out with the song in print, one is about his play written down as he played it and then he illustrated it. The one we are working on currently is an alphabet book. He and I are working on finding things that pertain to his life that begin with each letter of the Alphabet. This project will probably take us a while, but I've already made the binding for the book in my normal style. Page protectors sewn together and accented with biased tape. Here's how I did it.
First decide how many pages you book will be, or is. Half that number and add 2. (If you had an odd number of pages to begin with then you add 2 to the whole number of the equation. This is because you can use the odd page on the back cover.)
so for the alphabet book (26 pages/2) =13pages needed for the guts of the book plus 2 pages for the covers =15 page protectors needed.
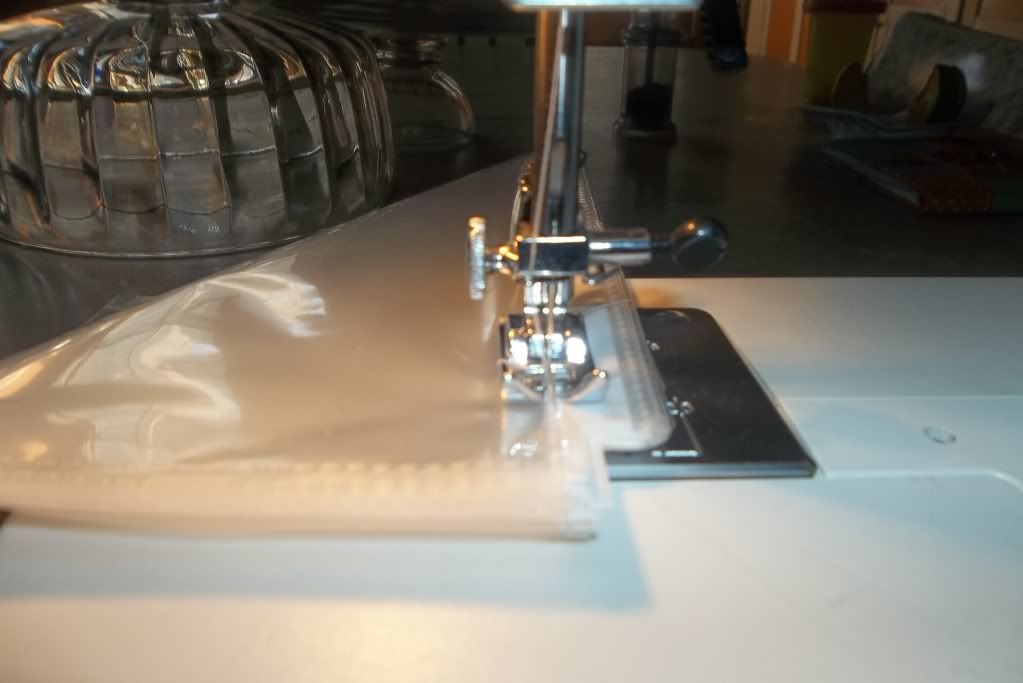
This is the thickest book that I would do with this method. It was a little difficult for my machine to go through all of the layers.
Next make sure they are all facing the same direction, and sew them together along the manufactured dotted line along the side of the pages. I like to use safety pins or binder rings to help me line them up. If you have the guts of the book ready to go it is easier to sew them together if you have them already placed them in the page protectors.
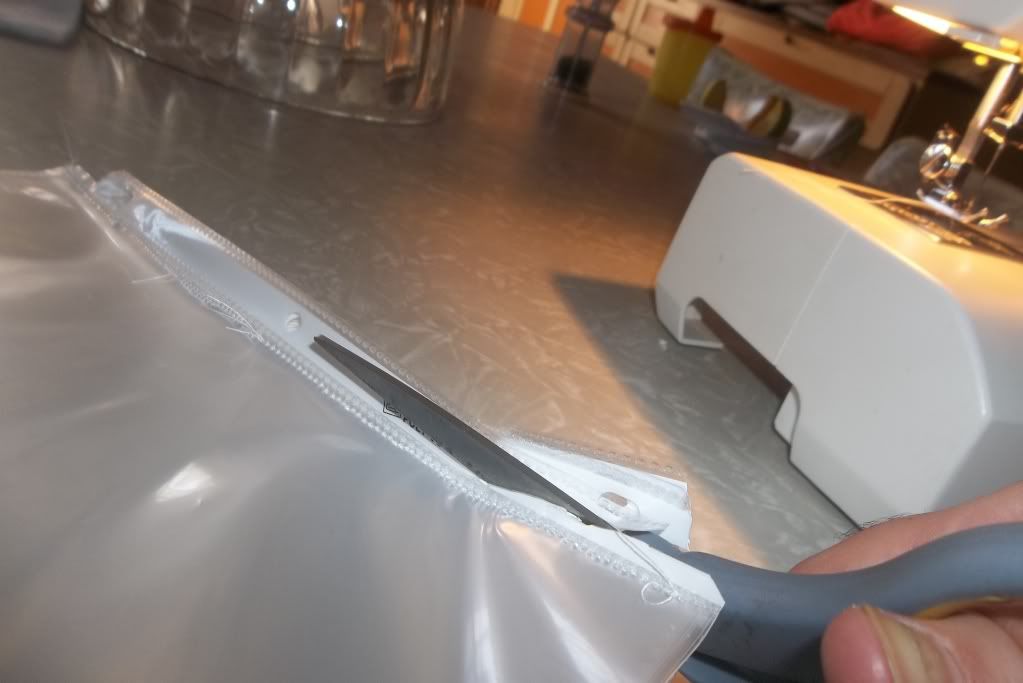
After that you will need to cut the excess on the side off. This doesn't need to be pretty since you will be covering this up. I like to make a line along the inside of the 3 hole punch and cut along it.
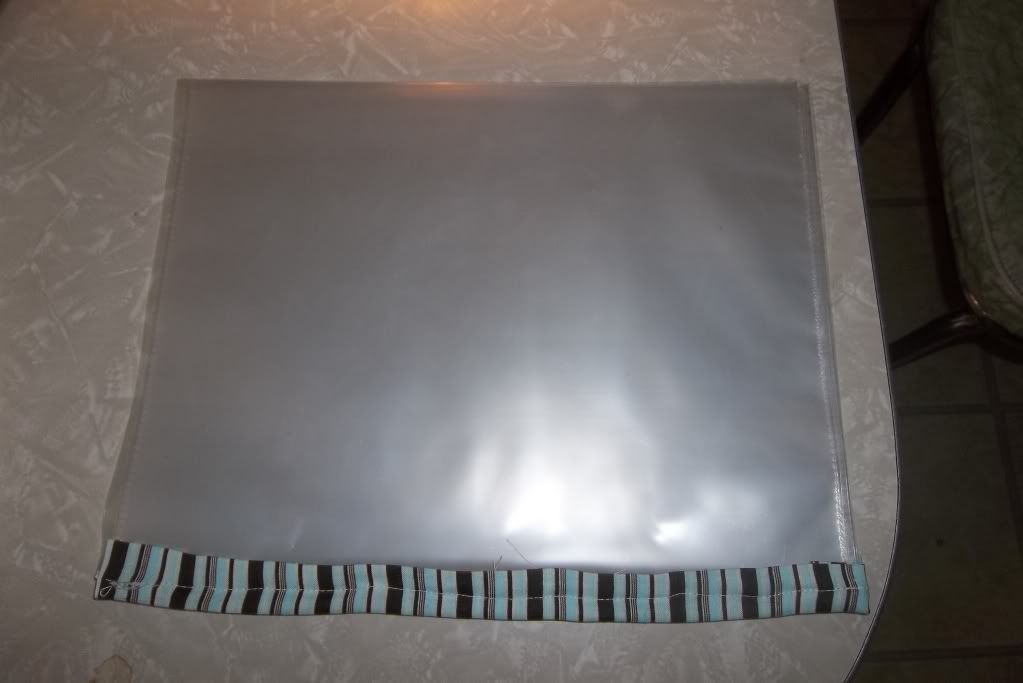
The next step is sewing the biased tape over the edge. I essentially sew directly over where I've sewn before just with the biased tape covering the previous stitches.
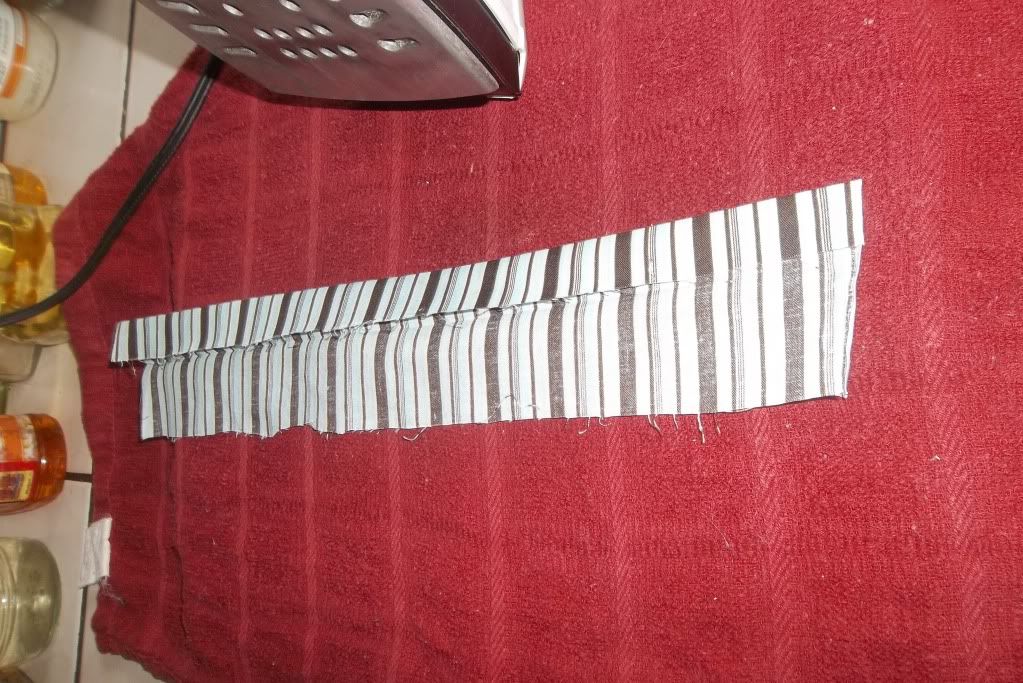
In this case, I made my own. I used a strip of scrap cloth and then sewed ironed it in half and then in half again and cut it to the length of the page protectors.
Finally, if you didn't already put the guts of your book in do this now and read, read,... read. I like to use card-stock for the cover to give it more structure.
I originally started using this method when Miles was a toddler, so the books would last longer. When he gets older I may just combine all the pages with the cover and sew them together without the page protectors, but for now I know our creations will be safe.
I have also used this method to make class books in which all the children contribute. When I was in the classroom I tried to make enough class books with the children that at the end of the year they would all get to take one home.
A renaissance woman making her way through the world gathering experiences and making the most out of life.
Tuesday, August 21, 2012
Saturday, August 18, 2012
Marble Scientist
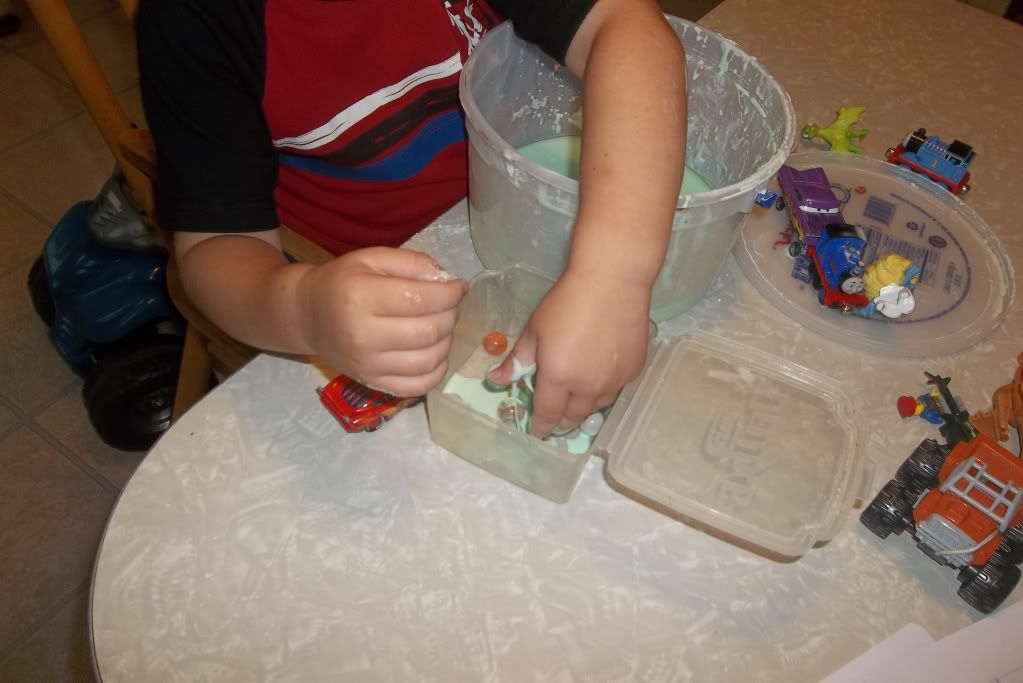
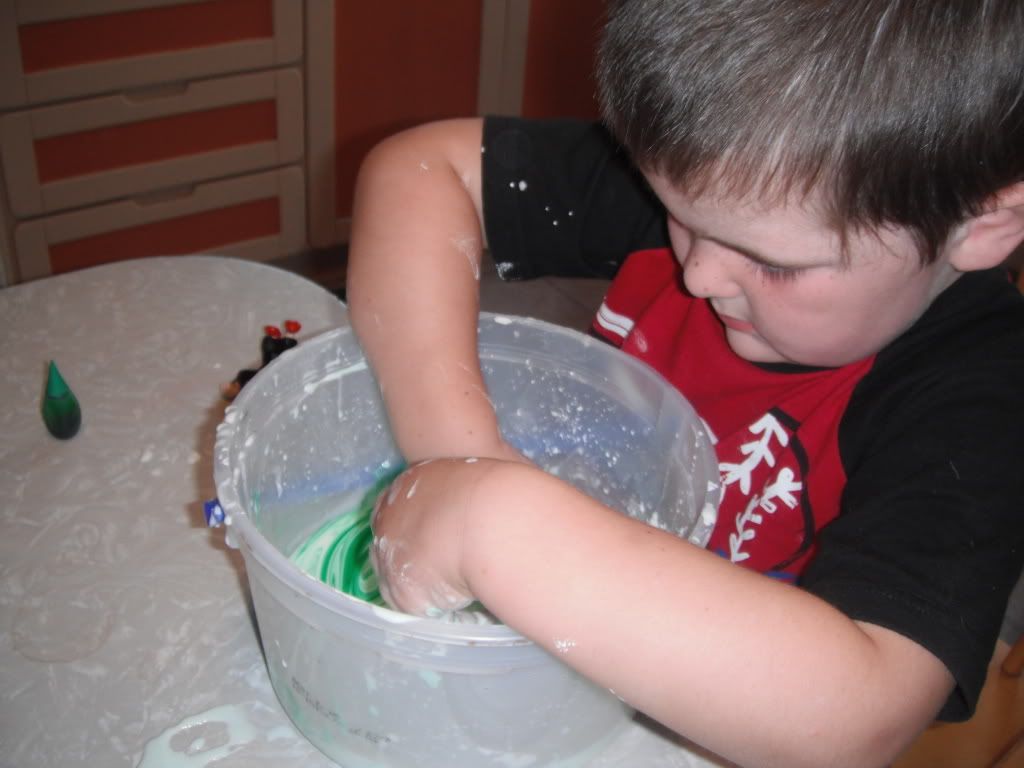
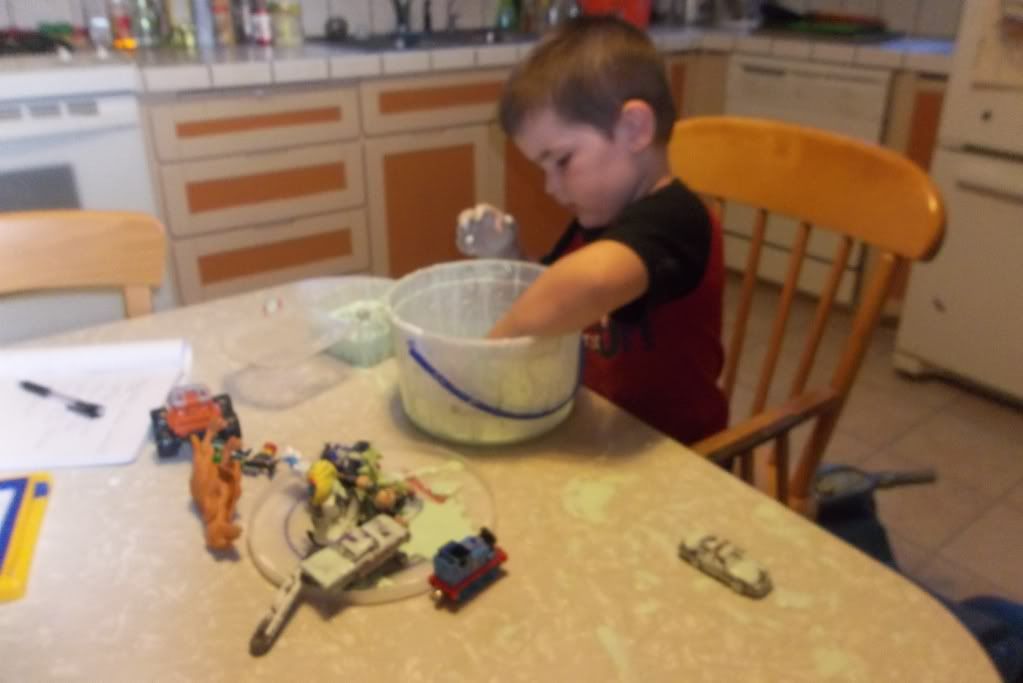
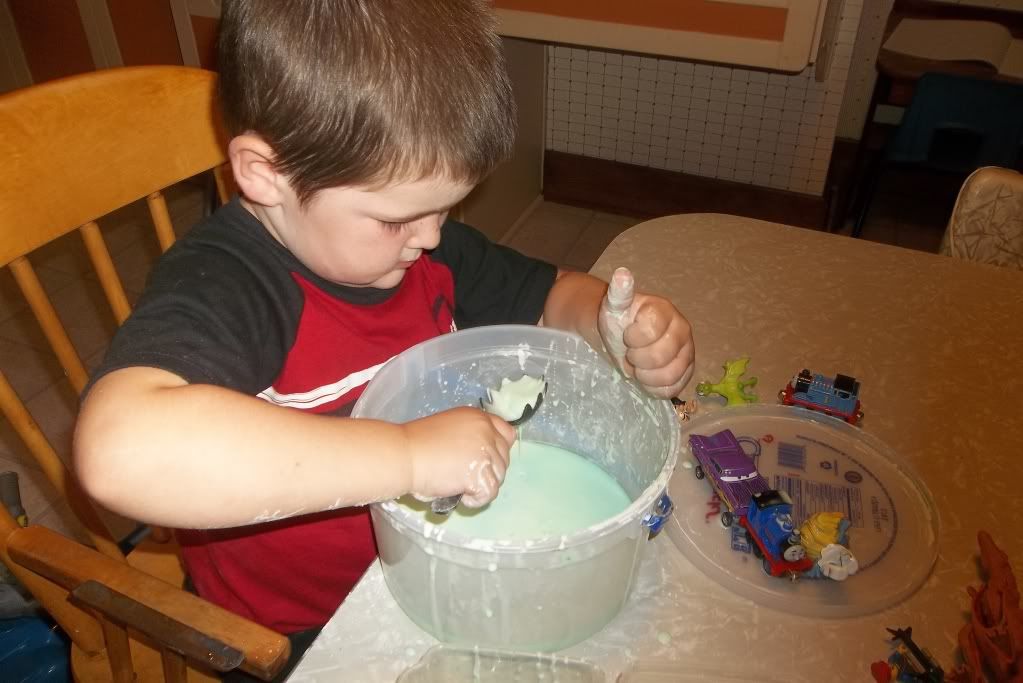
Lately Miles has been using marbles in his play. He has been making soup, rolling them down tubes and ramps, and now adding them to Oobleck (cornstarch and water).
The neat thing about using marbles with a “non-Newtonian liquid” (It's viscosity changes depending on the stress or force applied to it.) is that the marbles will land on top of the Oobleck and then sink slowly in. This is also a great activity for fine motor development, because it is difficult to get the marbles out of Oobleck. He/we ended up scooping the mass into the strainer and then allowing it to drip off over night when he was done playing in the Ooblick.
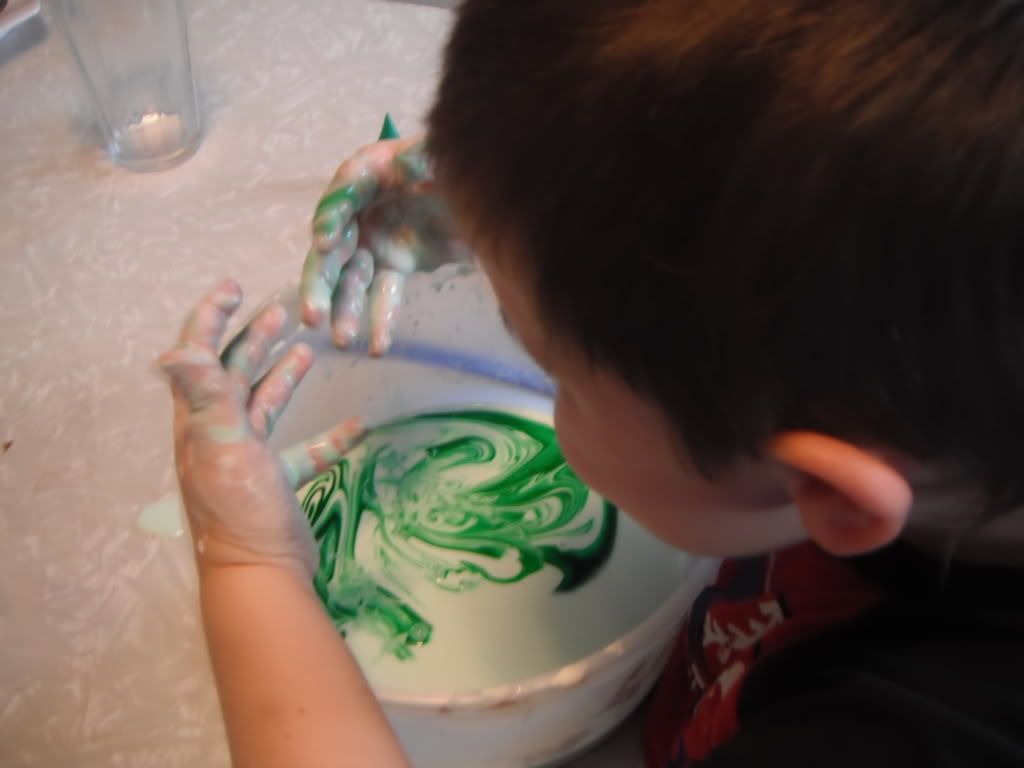
There are many sites that get into the proportions for making the best Oobleck, but we just put in a container of cornstarch and then slowly added water until we had the right consistency. (If you add too much water you can pour it off.) We always add food coloring to our experiments. I don't really care if Miles hands are dyed for a day or two, but if you do you may want to mix in the color with a metal spoon. (Although putting this limit on it will surely take out some of the fun.) And while I recommend doing this over surfaces that can be easily wiped up if it gets in carpet simply allow it to dry and vacuum it up.
For a long time Miles was leery of playing in messy things, which is against my and Chris' very nature. Adding something that he is very interested in playing in (i.e. the marbles) allowed him to extend his comfort zone and try something new. It allowed him to build on his prior knowledge of how a marble should behave in liquids (We've used them in the bathtub.) and across solids. He was able to note that it is different, how it is different, and explore vocabulary that explains the difference.
For those of you who are not familiar with why it is called Oobleck, please note that there is a great literary connection by non other than.... you guessed it!! Dr. Seuss!!! The book is called Bartholomew and the Oobleck and is a great precursor to introducing Oobleck to children.
Monday, July 30, 2012
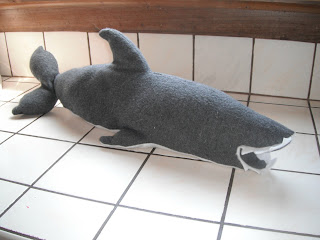
Of course you can... You just made Miles a Shark!
The other day Chris said, "You're so talented, do you think you could do a little project for me?" So I asked him what exactly he had in mind. (He was definitely trying to butter me up for some reason.)
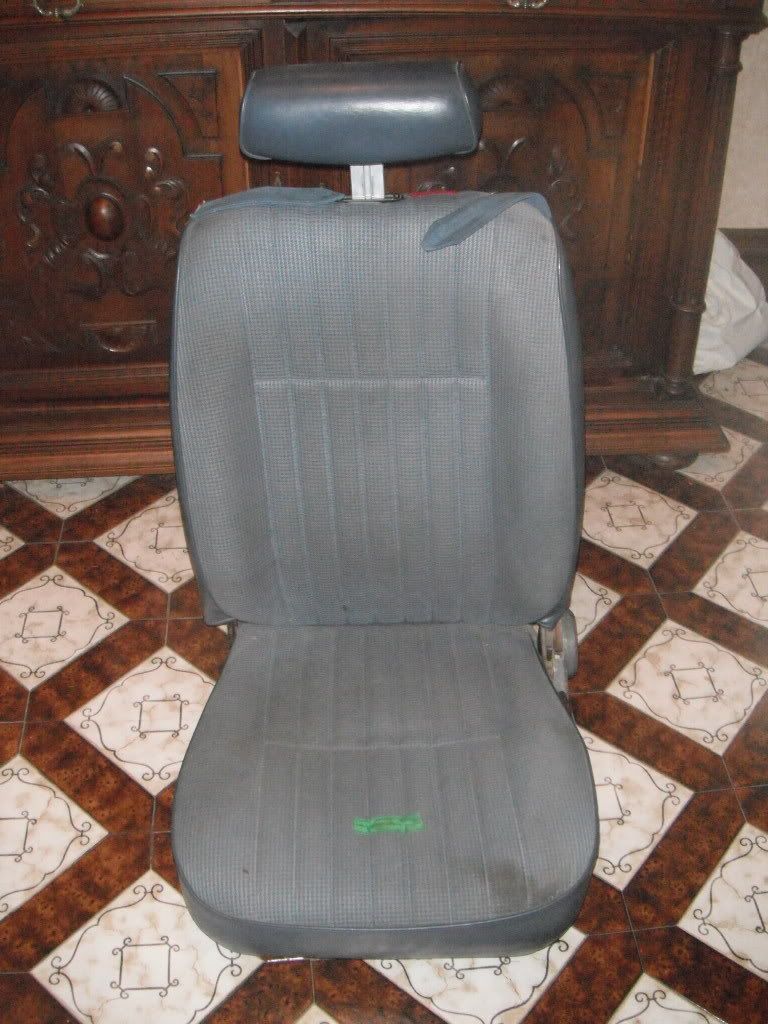
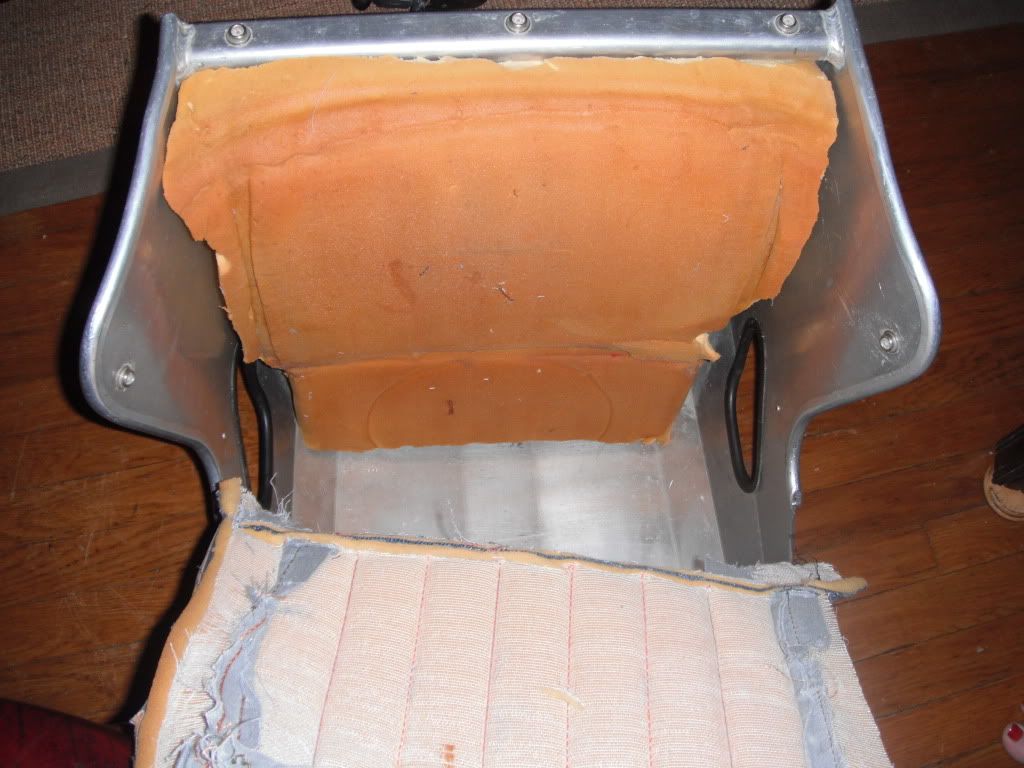
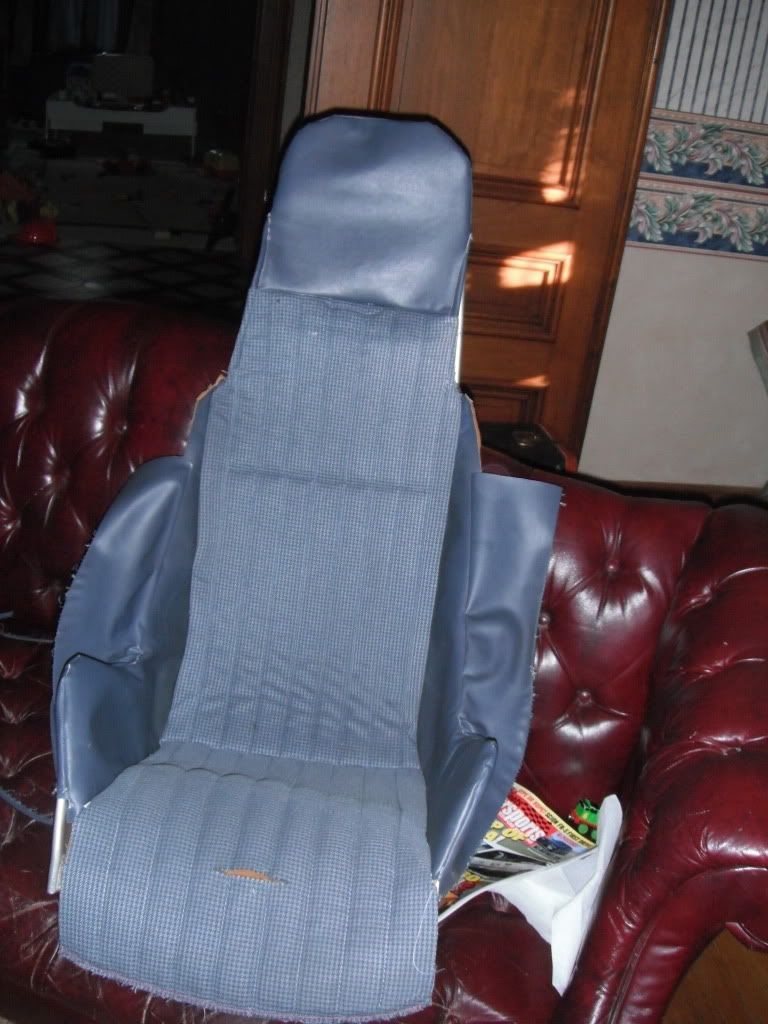
His idea was to convert this...
The stock seat from a '86 Ford Escort into a racing seat cover. He has to keep his GRM Challenge Budget under $2012 (see www.littlelamborghini.com to see the full plan.)
So I did.
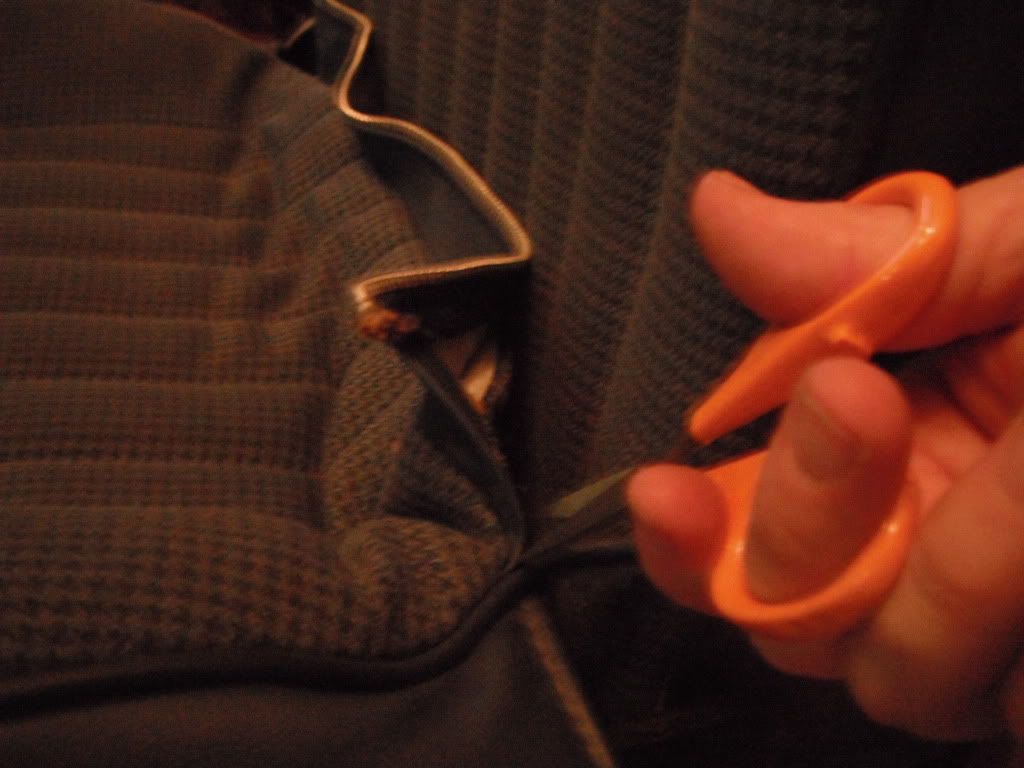
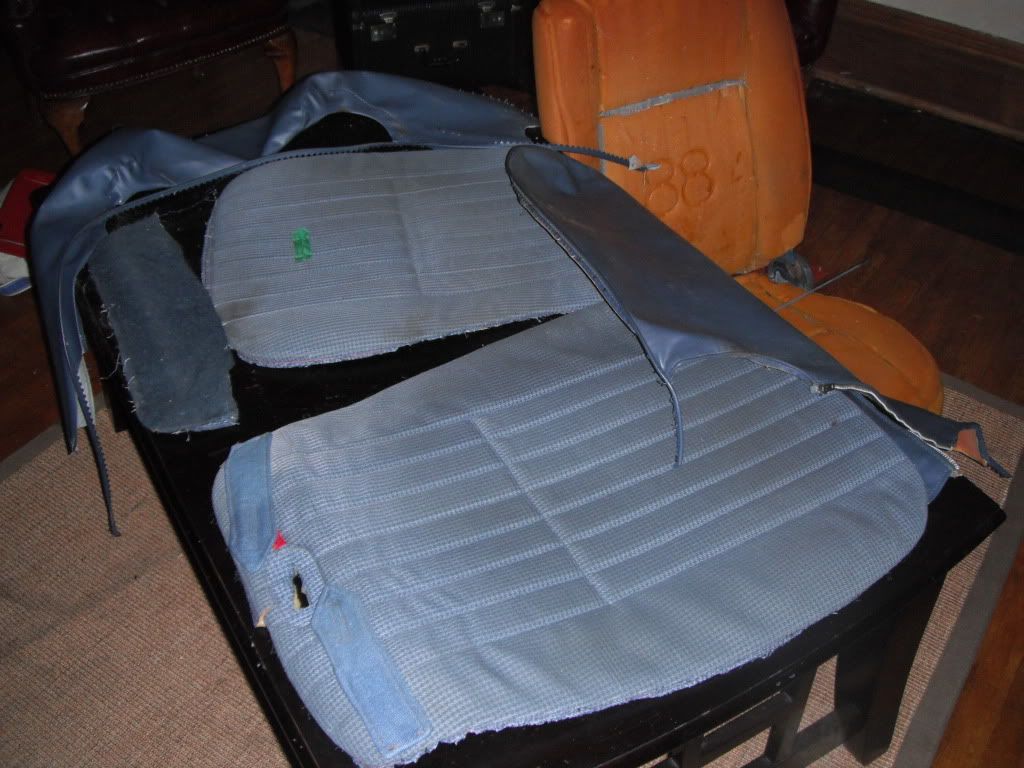
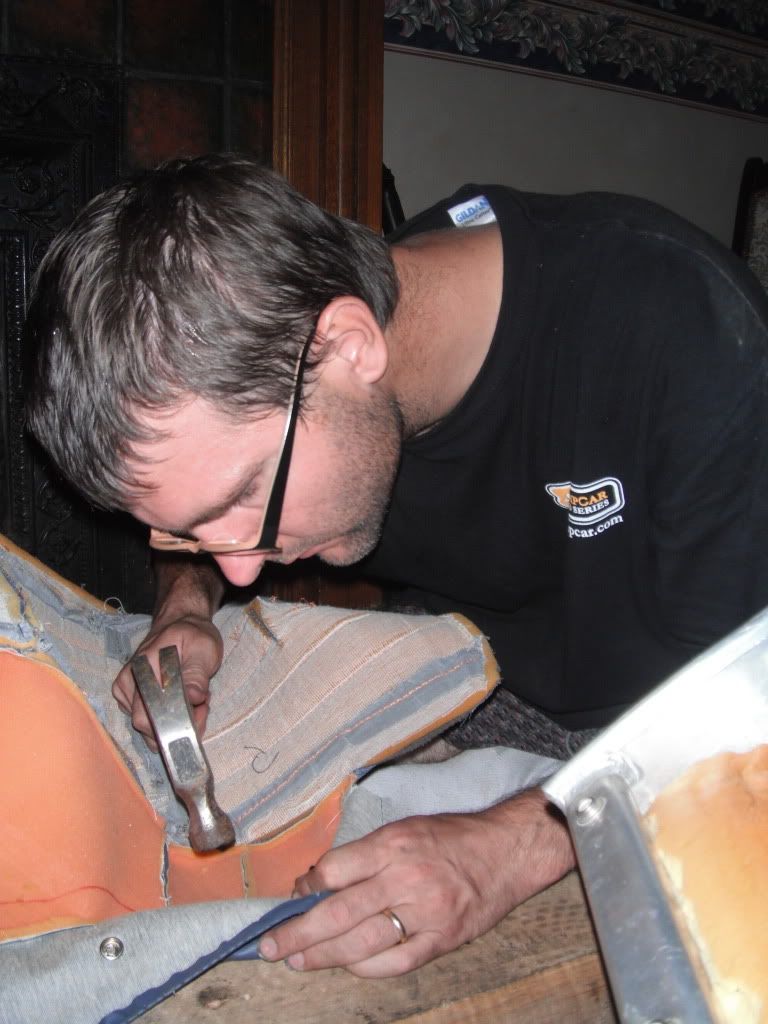
Step 1. Use small snips to take off the fabric and vinyl pieces right along the seams to allow the largest pieces possible to work with. I would have used my seam ripper, but I couldn't locate it.
Step 2. Clean the materials. I sent the fabric though a gentle cycle in my washer and wiped the vinyl down with cleaner. This is what I had to work with.
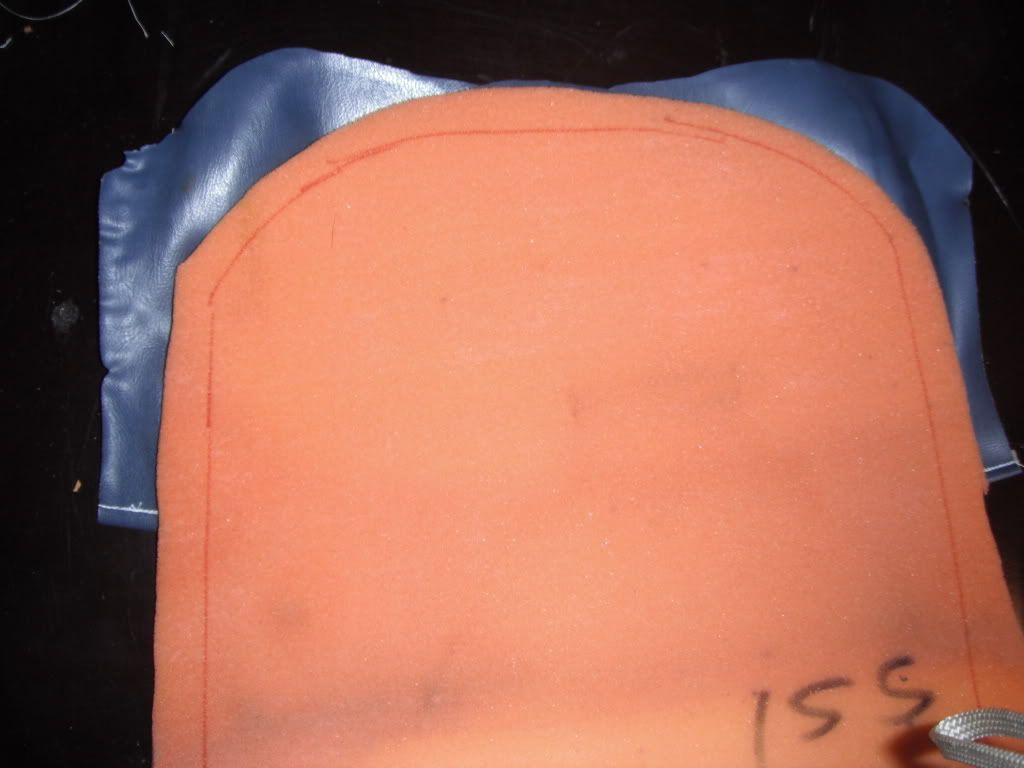
Step 3. Decide how to best use the material to fit the seat and cut the pieces to the right shape.
Step 5. Cut the foam to fit the race car seat. The size was measured and then an OLD kitchen knife was used to cut the foam to fit.
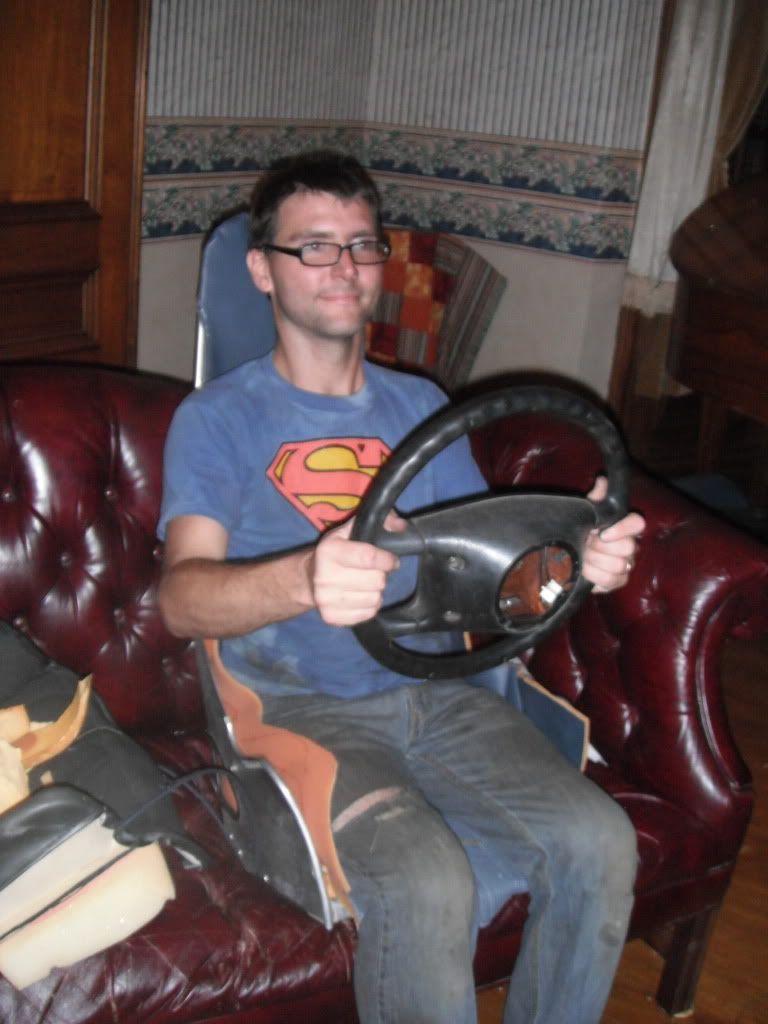
Step 6. Dry Fit the driver- I had Chris sit in the seat from time to time to make sure the fit was good.
Step 7. Add the snaps- The snaps that are on a standard racing seat are riveted on. They are a standard size that can be gotten from craft stores (I has some of these left over from footy PJ's I made Chris for Christmas.) We put the seat on, marked where the snaps lined up. Used a small drill bit (with our hand) to make a round hole, and then followed the manufactures directions. (I got Chris involved on this step, so that he could smash his fingers.)
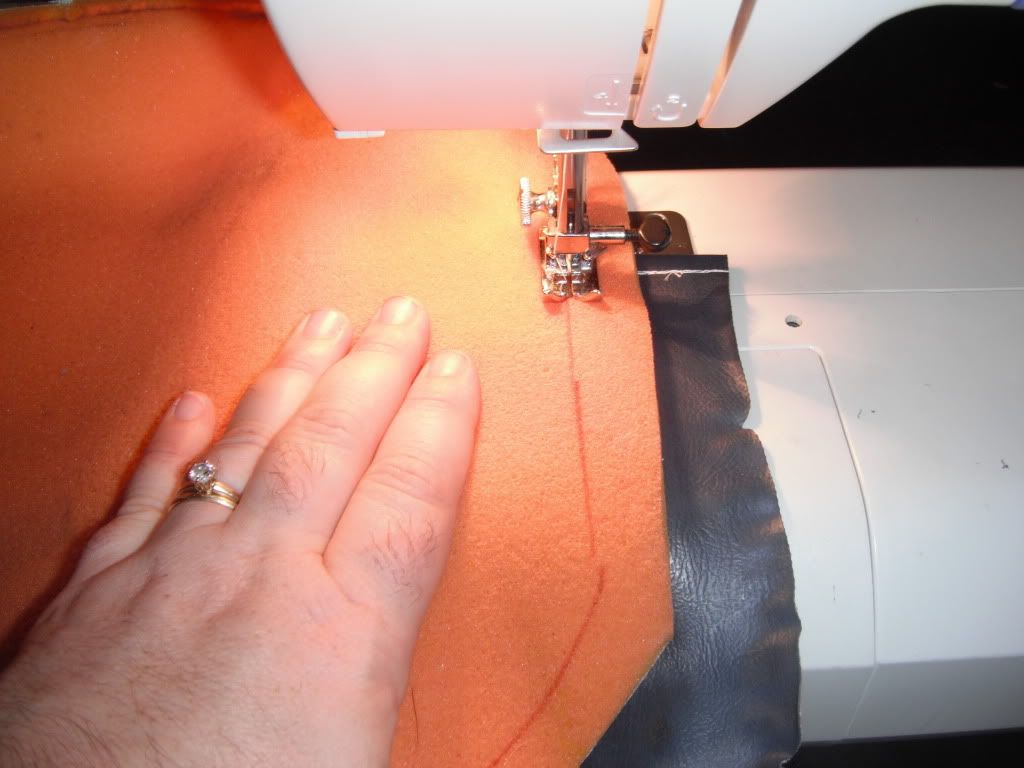
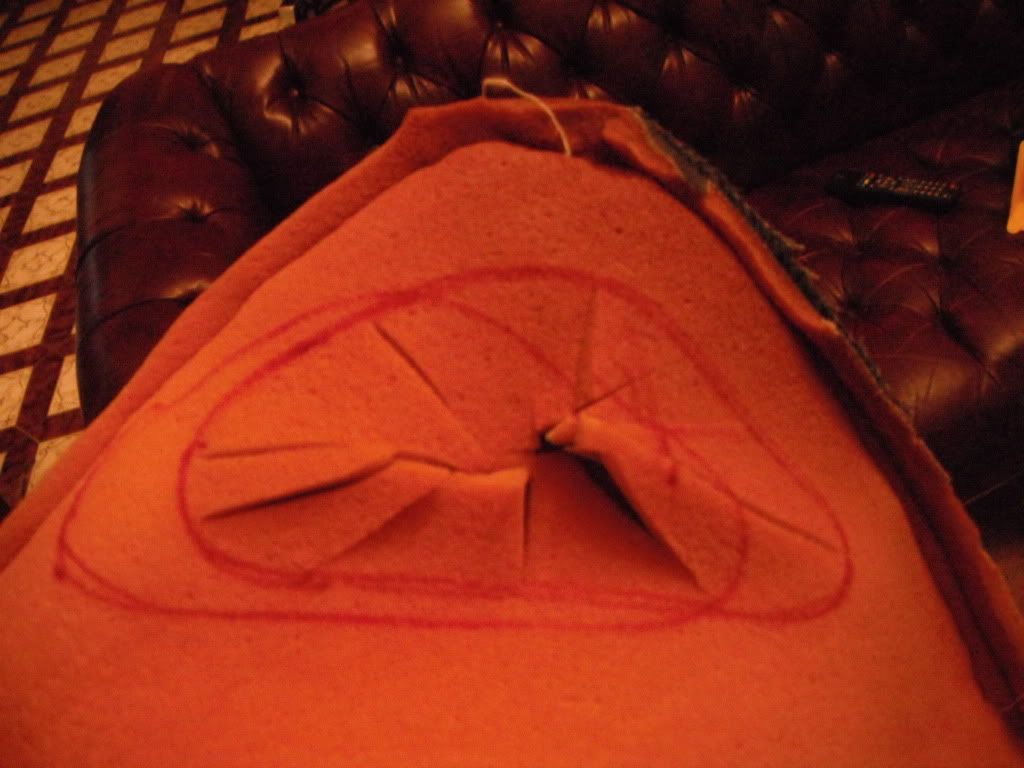
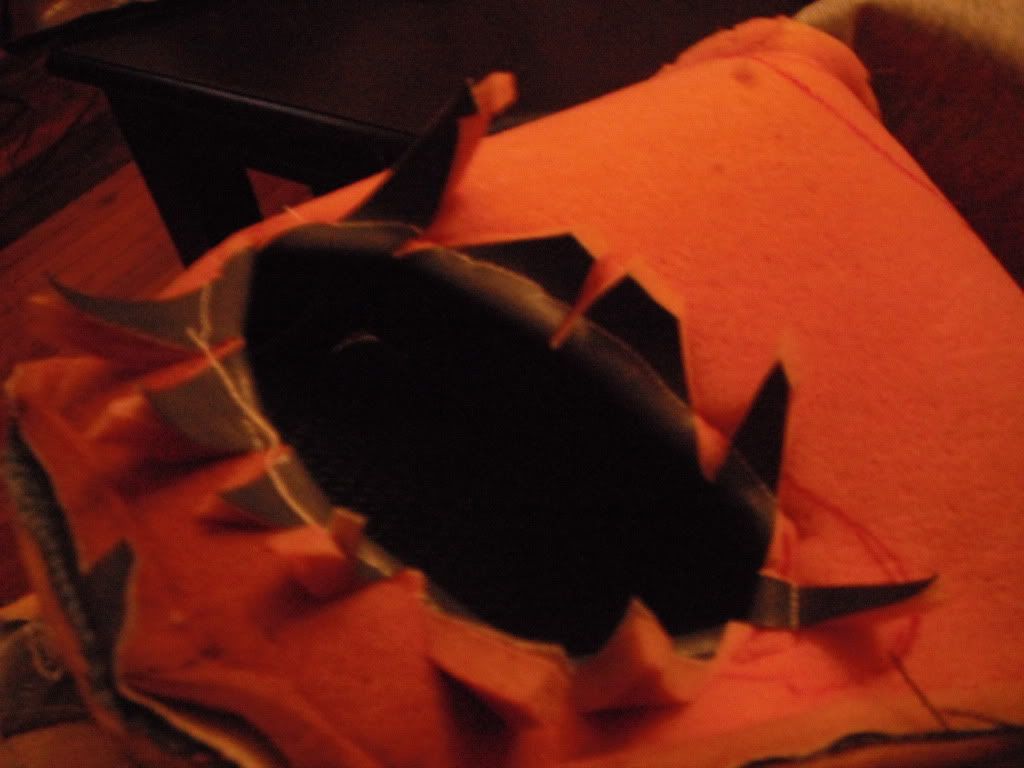
Step 8. Add the holes for the belts. To do this I put the cover back on the seat, traced where the holes needed to be, cut triangles from the center of the hole, pulled them back as I sewed, and then trimmed off the points.
The hole at the top of the seat doesn't want to lay flat, so I'm going to try to pull the edge back with duct tape on the back of the seat. Well see how that goes.
For all intents and purposes the seat is ready to go back in the Little Lamborghini. Here's to making it up as I go!!!
Total money added to the GRM budget = $0 = Success!!
(Oh and I hand sewed the hole shut that was put in the seat for the BABE Rally. )
P.S. We are doing this whole adventure to bring awareness to Little Lambs of Evansville and help them raise money. So please think about making a contribution to Little Lambs which helps support local families in receiving services and goods needed in the first years of life. Give on the Little Lambs of Evansville site.
Monday, June 25, 2012
Anticiiiiiiiiiiiiiiiiiiiiipation
A little while back, Miles came home from church and said that he wanted to make doughnuts. I told him that we didn't have the materials or machine (fryer) to make doughnuts. I also have my own selfish reasons for not wanting to fry ANYTHING in the house. I have a wallpapered house. Frying in the house over time leaves a film on your walls and ceiling. No matter how clean you are. Anyway, Chris suggests that we go see the doughnut machine. Miles had already had a doughnut at church. (Another reason I didn't want to make any that day.) So I suggested that we would go see the doughnut machine if he was good all week at school. He has always been good at school, so it was a sure field trip. Miles is not good at delayed gratification, so it's something that I am working on with him. We got out the calendar, drew schools on it for the days he would be going to school and a doughnut on the day that we would go to see the "doughnut machine." Each day when he woke up that week we marked a day off on the calendar. We counted the days until "Doughnut Machine Day!" When we got to the following Saturday.....HE SLEPT IN!!! When he did get up and get going we went straight to "Doughnut Machine Day!" My usually calm and patient child in the car asked if we were there yet on the 15 minute drive at least 4 times. We talked about what the sign would look like, we talked about the other buildings around it.
Finally... we arrived at the Krispy Kreme.
For those of you who have never been their machine that makes the doughnuts is behind plexy with descriptions written on it that tells about the process. Miles walked in and...stared.
He stopped at each stage of the process and told us about what was happening. It was magical.
I don't think he would have had this much fun at Disney world!
After we had thoroughly dissected the machine with our eyes, we had a hot, fresh, crispy doughnut right off the line. YUM!!
The day was a success! ! We had a BLAST! I think sometimes we forget to make the small things special. Yes we could have just jumped in the car and went to get doughnuts, but "good things come to those who wait." Sometimes even something BETTER!
Sunday, February 12, 2012
Making Writing REAL
Today Miles and I made Valentine's day cards for his class at Pre-School. ( I admit that I TOTALLY STOLE THIS IDEA from this month's issue of Disney Family Fun pg 18. Thanks Velma for the magazine subscription for Christmas.) I digress... I think that spending money on something just for the children to throw them away is stupid and a waste of money, so I made it into a learning experience.
Miles and I used red and green stamp pads and a Happy Valentine's day stamp that I already had along with some celery to make rose cards. The only thing I didn't have lying around the house was the celery. It goes well with the BBQ that I recently made a pot of so it all works out well.
Miles and I worked together to stamp the cards. (He did most of it, but didn't want to do any red, cause "Green's the BEST!" I offered pink, orange, yellow, or purple to stamp the flowers, but he wasn't interested.) After we were done stamping, I had Miles make a capital M in the air and then asked him to pick up the pen that I laid on the table. (This keeps from forcing handedness. He's a lefty.) We talked about how to make the letter M and then he went to town going, "up the mountain, down the mountain, up the mountain, down the mountain." I did finish his name as this is the first thing that we've worked on writing his name on at home, and 24 cards is a lot for a 3 year old. This opportunity was a prime example of how you can make writing real for your child. Children like to have a reason or a purpose for learning things. They want it to have meaning in their lives. By practicing signing cards, Miles was able to use writing for a real application. I know that they've stopped teaching (cursive) writing in schools, but I think it's important that we preserve some of the fundamental things that make us a social society. Giving hand written cards is going by the wayside, but I know that they are a delight to receive. Seeing someone's expression when they open a gift or a card is half the fun of giving!
It may come to pass, that we all have chips embedded behind our ears. That we simply think about that we want to send a message to someone and what we want it to say arrives directly into that person's chip and brain. But I hope that even if such things come to pass, from time to time someone will actually take the time to write down their thoughts and feelings in a classic card or letter form.
Sunday, January 29, 2012
Internal Pride
My brother and I have had long conversations about internal pride. We have a "Good Job!" mom. When we did things to her satisfaction we were rewarded with, "Good Job!" This response was used for everything from a report card with all A's to helping clear the table after a meal. My brother's position is that this actually affects the value that he put on his work. He suggests that this gave him a jaded view of internal pride. Many of the things that he was told "Good Job!" for were things that weren't items that he found challenging or particularly "Good Job!" worthy.
Our conversation went on for a while ending with that we appreciated being noticed. The things and that the "Good Job!" was less meaningful than saying something like "I noticed you worked really hard at..." or I"I see that you....". I don't disparage those of you who are "Good Job!"ers. We all need to hear it from time to time. I merely suggest that we take time to notice the wonderful things that children are doing. And that we take the time to let them know that we notice them.
The other day my heart was warmed when after I talked to Miles about a picture he made. He used a few magnets to hang it in a prominent place on the fridge. Maybe he would have had some pride in his work if I'd just told him, "Good Job!", but I'm not sure that it would have elicited this response...
When's the last time you noticed a child's work?
Saturday, January 21, 2012
I'm Published!!!- Shameless Plug
I am super excited to announce that, "Miles' Shadow" is available for purchase on Amazon for e-readers.
Buy it here! I'm still trying to figure out if I can get some hard copies made to sale too. I have a printed copy for Miles and I to read and have bound it using my "reusable book binding method" (see future post).
Miles' Shadow is a book which encourages families and teachers to participate in Dialogic Reading. Dialogic Reading is a method of reading with children and asking them questions to help relate the story to their own lives. This method has been proven effective in teaching children how to read.
Subscribe to:
Posts (Atom)
