Monday, July 8, 2013

Cars: Making a Series of Art Pieces

When I picked up Miles the other day, he was very excited to show me this collection of drawings.  We had seen some art on display that a single artist had created.  Miles noticed that they were very similar and we discussed that artists often create a collection of works of art in a particular style.

He was very proud that he had created a car collection of drawings based on his Cars characters. 

Mater is my favorite.  I love how even in his simple drawings Miles has captured the whimseyness of Mater's character. 

This one is Sarge.  ( I couldn't find Sarge to picture.) I love the simplisity of his collection.  He has definatly started to have a certin style to his drawings.  I am fasinated how each child can have this independant look to thier creations even if they are creating stick figures. 

Saturday, July 6, 2013

Wood Glue: Doing it "Right"


There are lots of little skills that I think are important for kids to have a basic understanding.  I know that lots of people think that gluing is a skill that young children need to learn.  And as my memory serves from my own childhood and from watching my co-workers teach children about gluing, I find that we (adults) are hung up in the procedure of gluing.  In early childhood education, we are pretty good at allowing children to explore open ended art when it comes to paint, but put restrictions on glue.  Teachers are often leery of allowing children to experiment with as much glue as they would like to.  


I tried to let go on this one and allowed Miles to use as much as he'd like.  (I must admit that this is easier if you know the child well and the glue bottle only is 1/4 full.) 


The other day, Chris had some scraps of wood left over from fixing up the deck.  Miles has been very intrigued with the sculptures along the river front, so I asked if he'd like to create a wood sculpture with the scraps.  We discussed how wood glue works and then you need to wet the surfaces that you are gluing together, so that as the wood dries the glue is pulled into the pores of the wood.  


After he glued it together, we let it sit to dry over night.  We sat it on waxed paper so it wouldn't glue to the table.  The waxed paper didn't peel off quite like I had hoped, but you live and learn.  


The next morning he painted it.  

I don't think that using wood glue is a skill that every child must have.  I do think that it was great for Miles to see that there are different procedures that go with various types of materials.  Reading and learning and reading about how materials should be used is important for success of use.  

Sunday, June 30, 2013

Foiled Play

Miles saved up enough money to buy a toy monster truck that he'd been wanting and so we took his piggy bank with us when we went to the farm store (Yes... the farm store.  I once heard a co-worker quote her grandmother, "If Rural King ain't got it, you don't need it." It's true for all intents and purposes.) for some other items that we were picking up.  This one came with a little plastic fold-able car that could be smooched when the monster truck goes over it.  Miles was very excited by this, but of course the set only came with one such car.  Chris told Miles that, "Back in my day... we smoothed foil over matchbox cars to make cars to smooch with monster trucks."  I suggested that Chris show him all the ins and outs of creating your own smash-able cars for monster truck play.

He're how it's done.

Cut a piece of Aluminum foil large enough to cover a matchbox car (or truck). Smooth it over the top and sides of your vehicle.


Once you've smoothed the foil into all the little crevices, you can add details with permanent markers.

Play Monster Truck Jam!! until your heart's content.


Chris and Miles kept giving the foil cars shape and smashing them over and over.  By the end, the foil "cars" had a very realistic look of a car at the end of a monster truck rally.  


Some times the simplest ideas are the most fun.  Hours of fun for just pennies.

Friday, June 7, 2013

Galoshes


Galoshes are the one piece of foot wear that up to this point in his life that Miles has truly worn out.  He has gotten a ton of use out of them.  Part of it is that they slip on so nicely.  I don't care if he gets them muddy.  


Or wants to make the biggest splashes in the puddles that form by our house. 


Or experiment with techniques necessary to make the best ripples.  


Of course when he sits in the puddle it doesn't really matter what kind of shoe he has on his feet, the water will make a puddle nearly as big as the one in the yard as he takes them off in the kitchen.  

Shoes that allow and encourage outdoor imaginative play are my favorite.  I think that every child should have a pair of galoshes.  (They're cheep at the Rural King.)  Miles is on his third pair and they all get a ton of use.  


Thursday, June 6, 2013

Still Life : Train

The other day Miles wanted to draw a train, so we had a little lesson in looking at the shapes to create drawings.  He asked how to draw a train, and so I put together his little wooded train on the table and we looked at the shapes that make up a train.  Then we began drawing.


He started with the engine using rectangles and circles.  He referred back to his toy train to get the details correct.


After he drew the train we talked about where the train was, so he drew the train on a track on a bridge that is up on tresses.  


He added further details to the picture by added a few skyscrapers to the picture.  

Here is the finished product.  


Chugga chugga Choo Choo!!! 

Wednesday, June 5, 2013

Melty Crayon Art

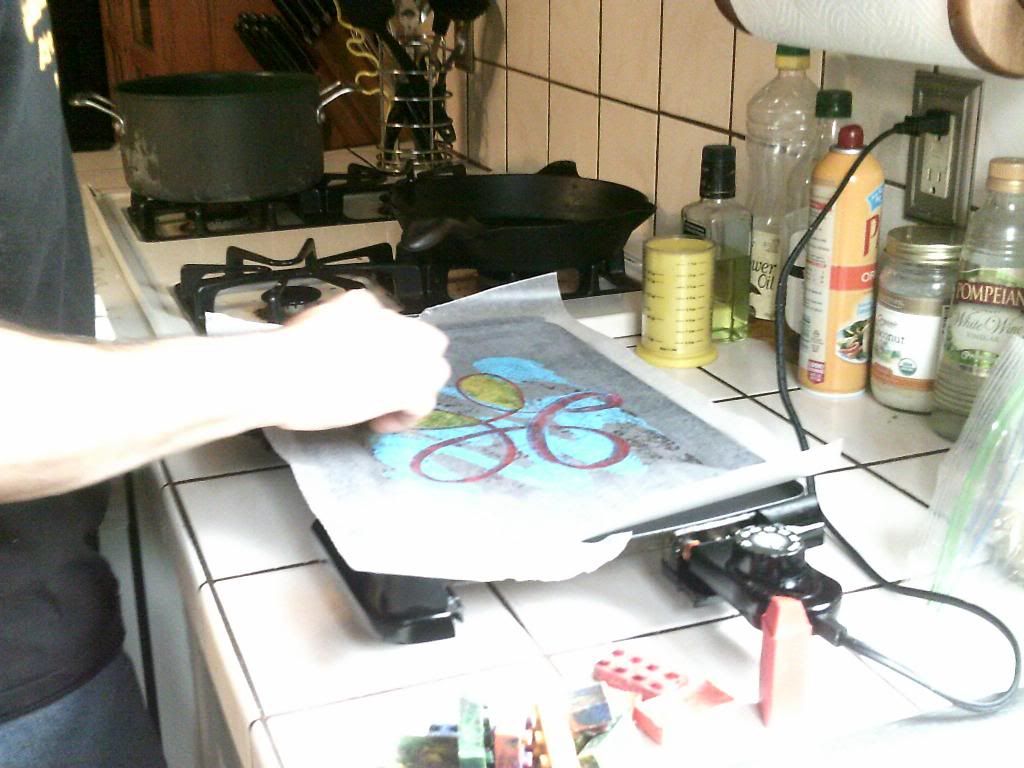
The other day, I was working on my home work, and I came across a video of the Ooey Gooey Lady Lisa Murphy doing Melted Crayon Art.  It looked like a ton of fun, so we pulled out the crayons, waxed paper, the electric griddle (although you could use a hot plate too) and some hot pads.  

I tried it first.  The crayon melting is very relaxing.  It is quite soothing and makes you calm down and take your time to enjoy the project.  Chris even took a turn and really enjoyed the experience.  Although he said that the end art work looked a bit "Juvenal."  To which I replied that it was an art project designed for children, but was glad that I could bring out the kid in him.  


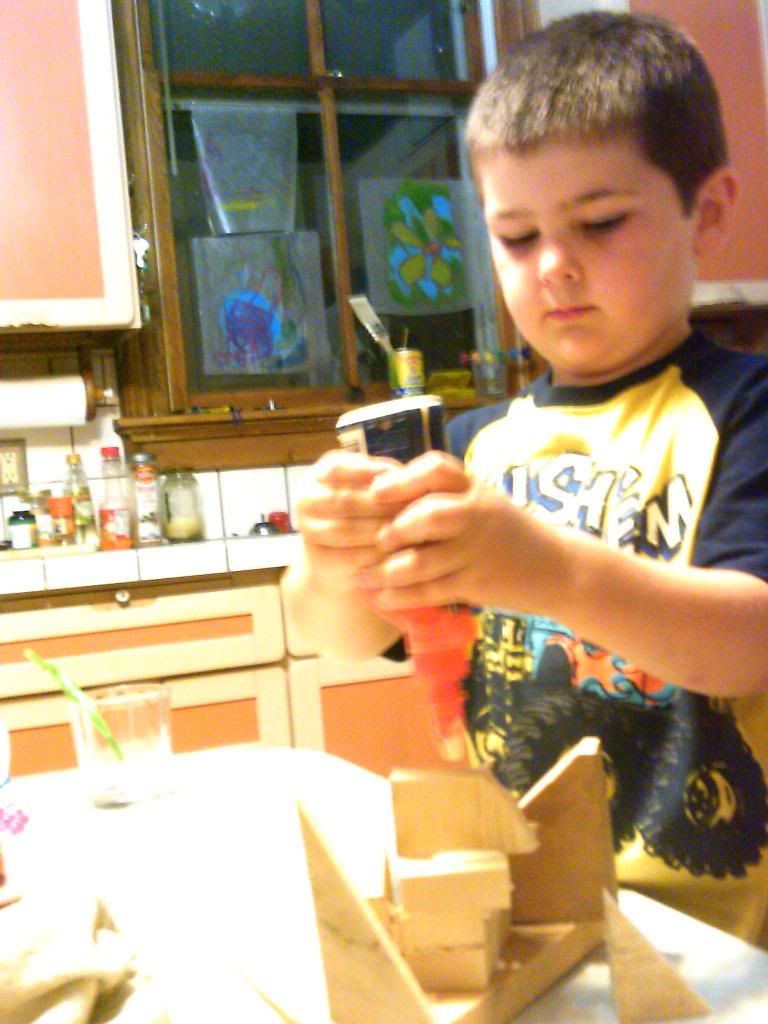
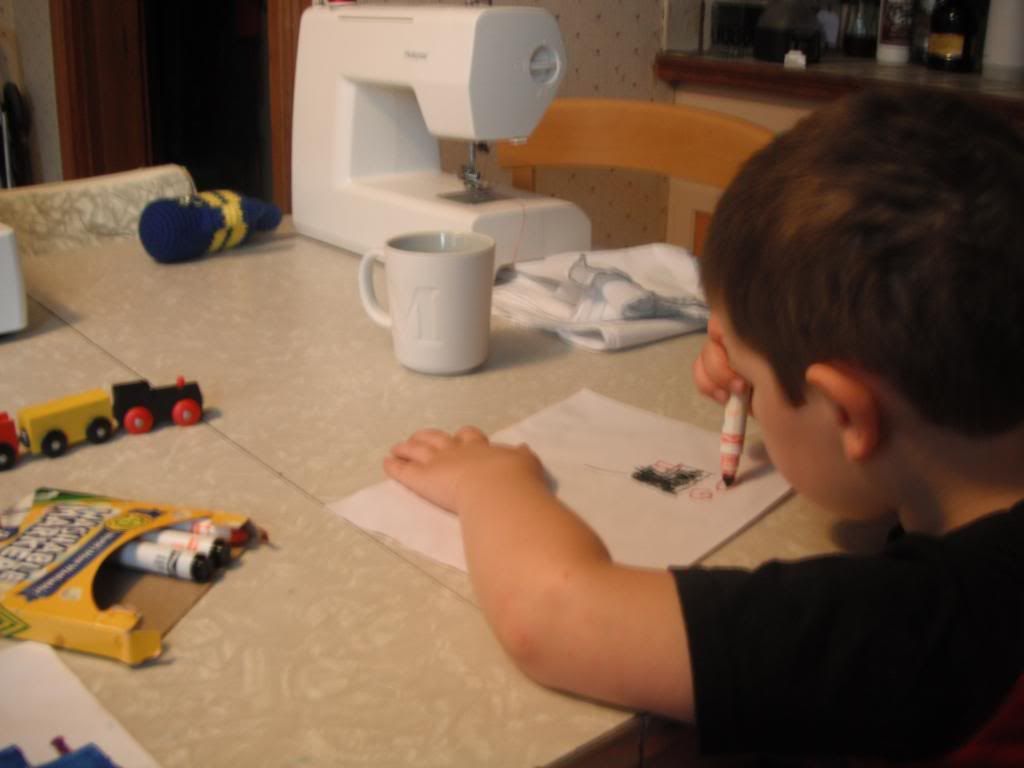
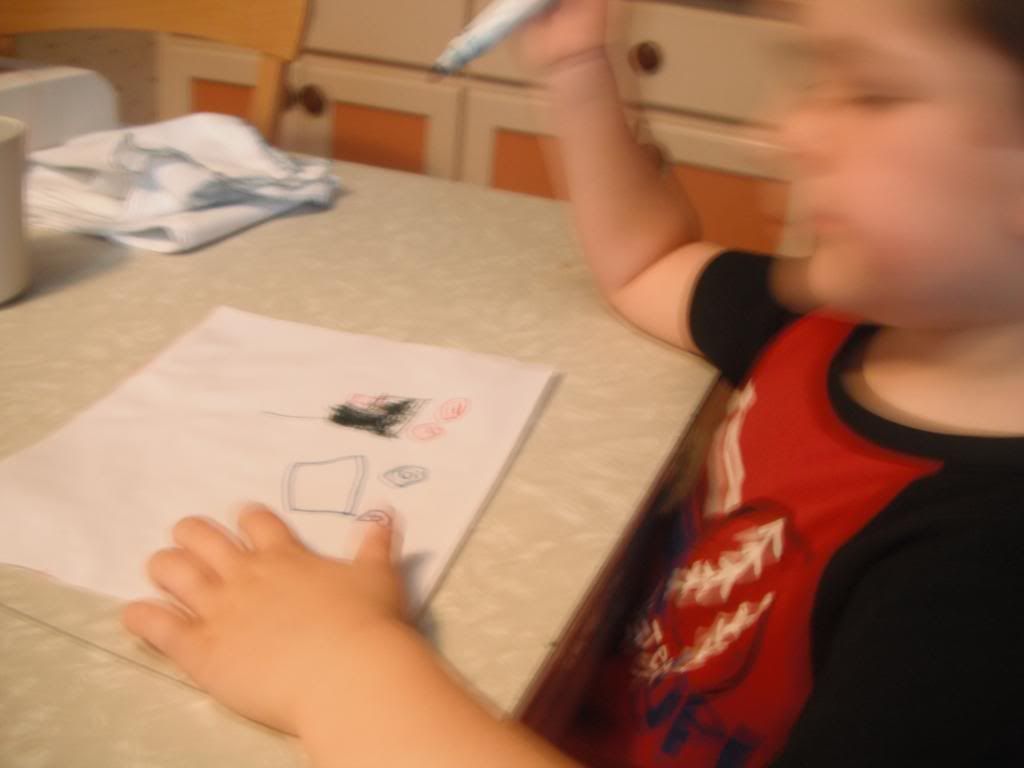
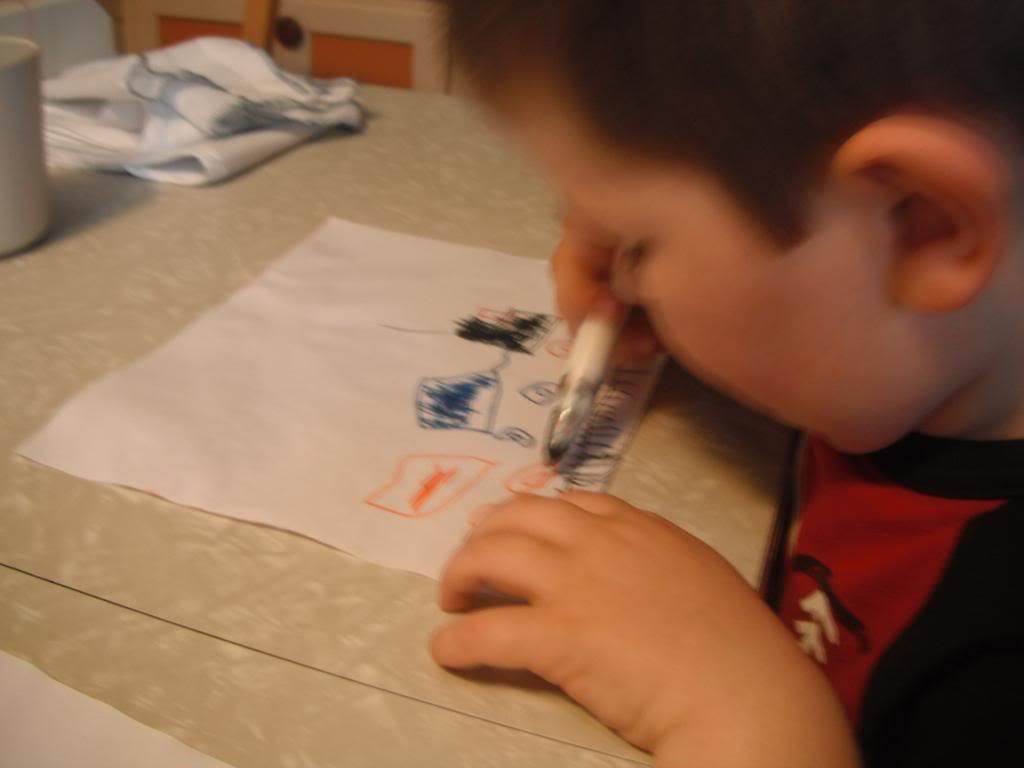
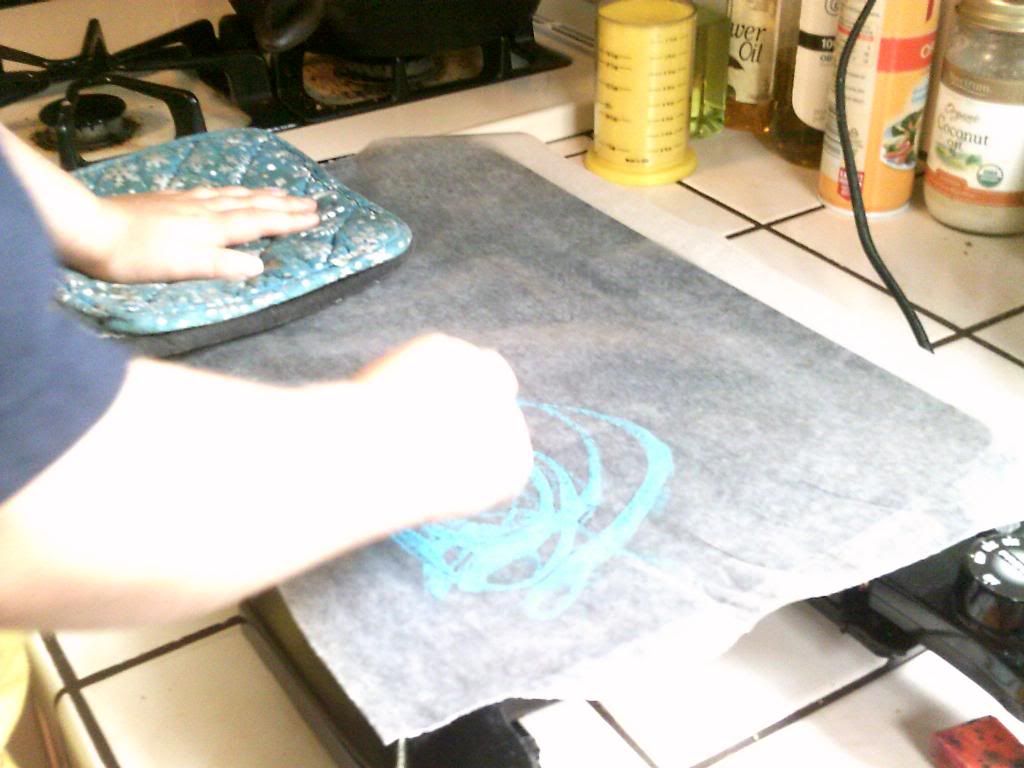
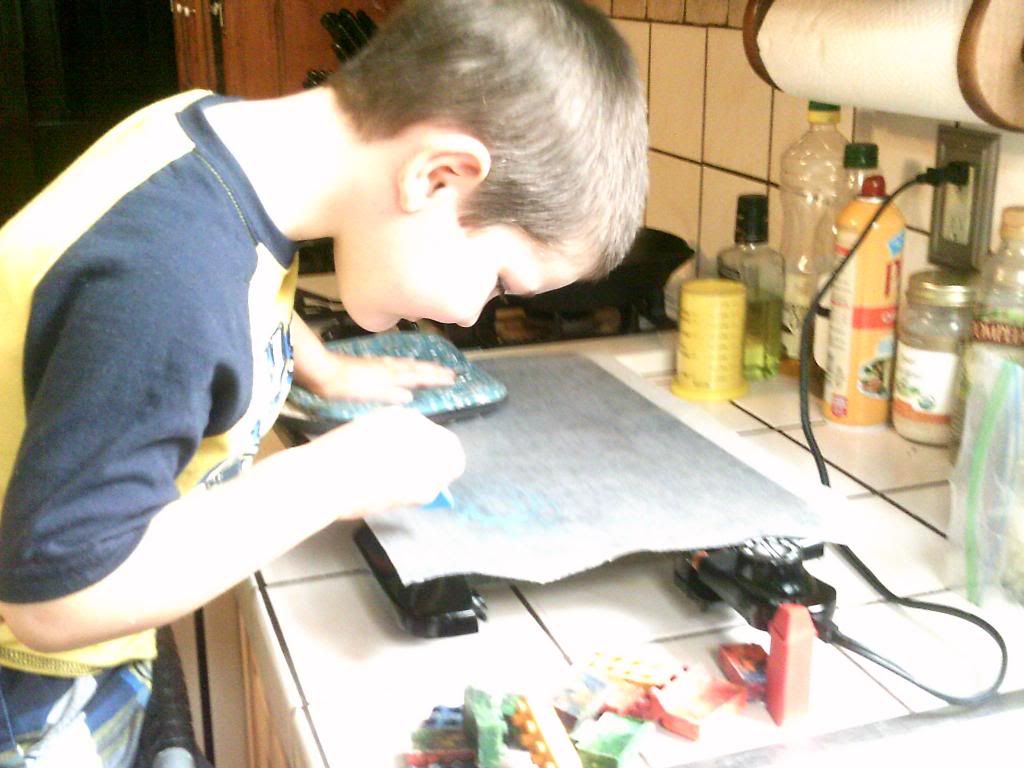
Miles had a turn and we used Lisa Murphy's idea of a hot pad for his non-dominate hand, so he's have a place to rest it without getting burned.  


It is quite soothing to watch the crayons melt while you move them about.  


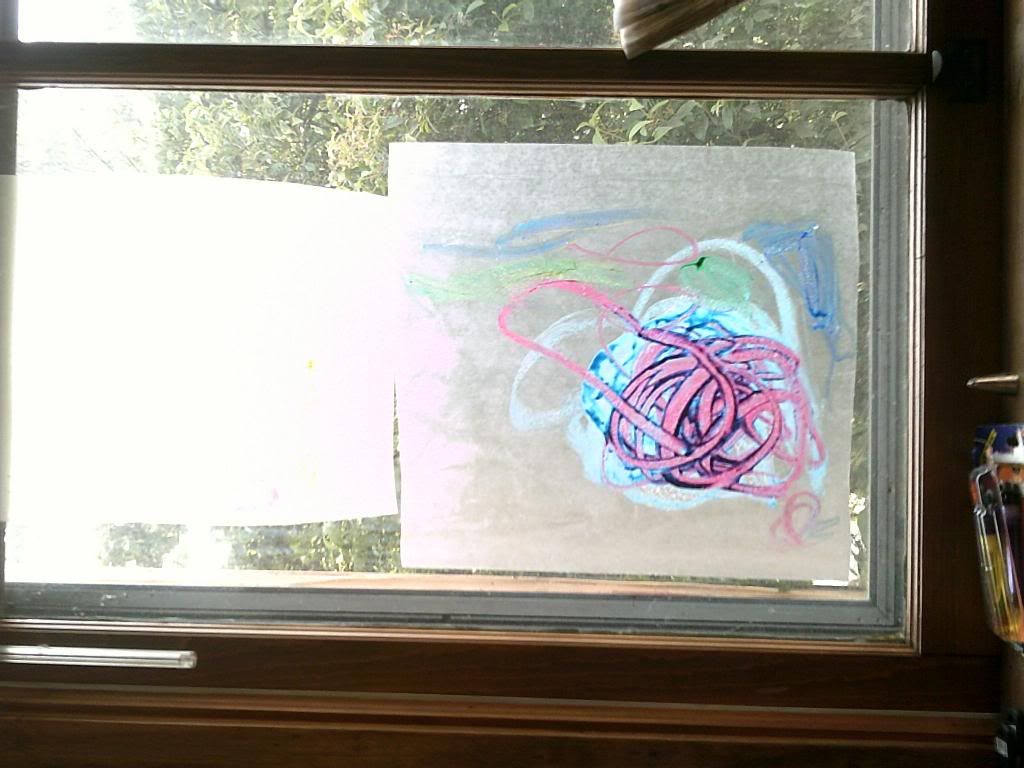
We made quite a few creations, trimmed the edges evenly and then hung them in the windows, so that they can have light go through and light up.  (Also to hide the cobwebs between the glass and the storm windows.)  


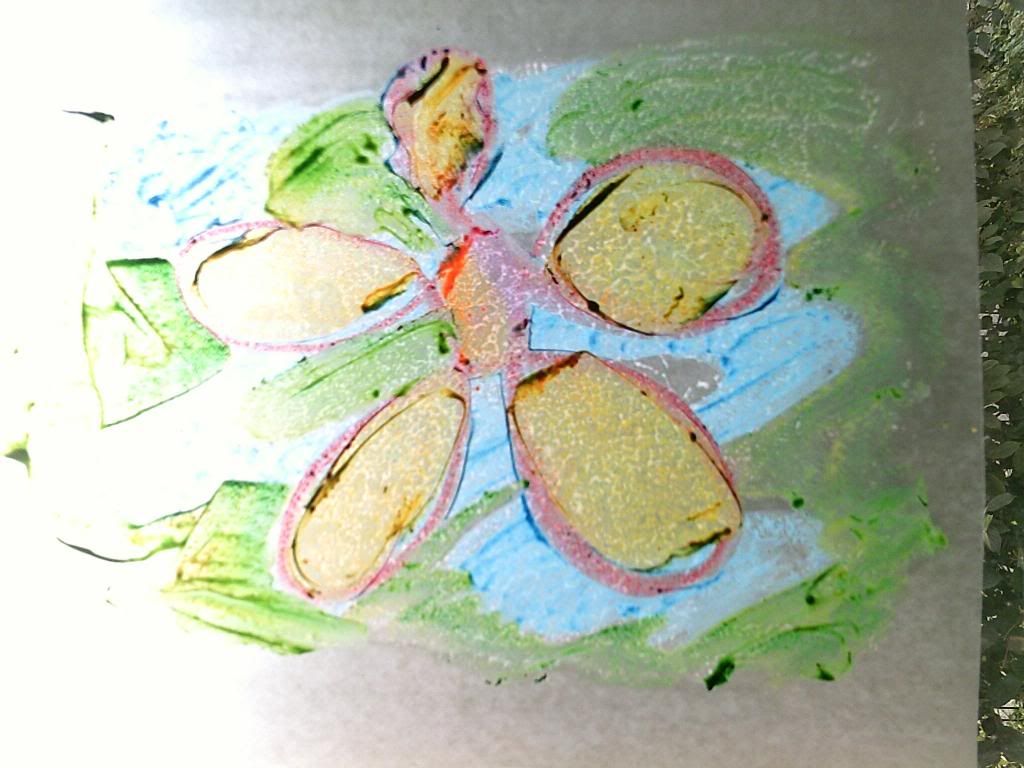
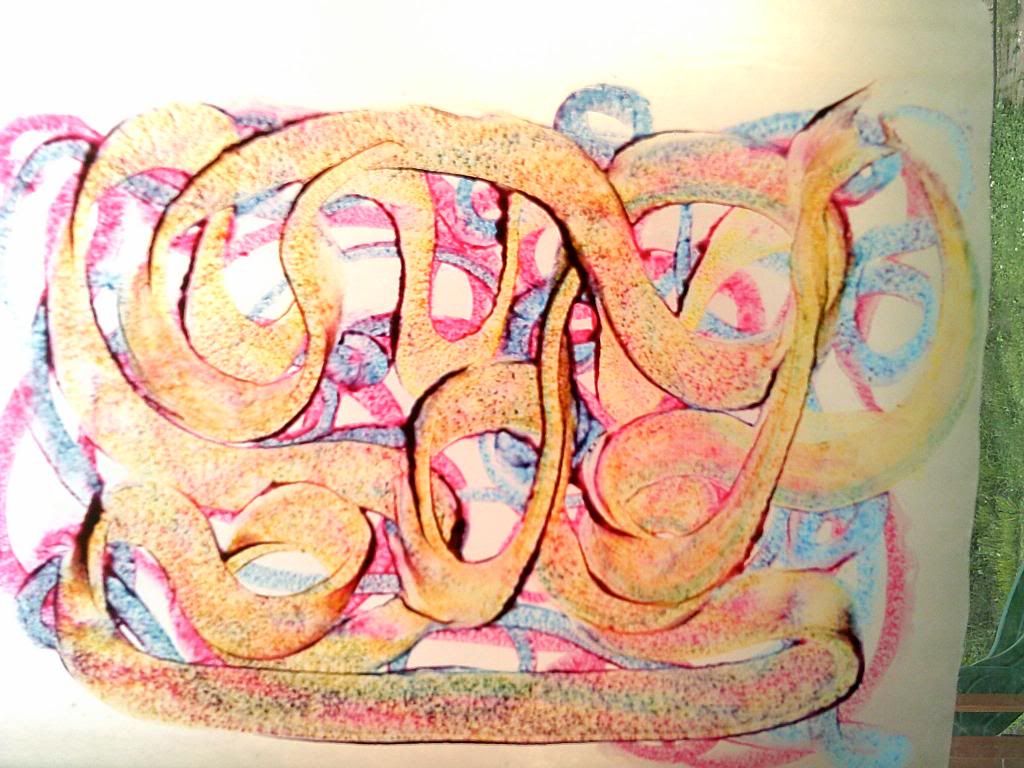
Here is Chris' "Yellow Fru Fru Flower."
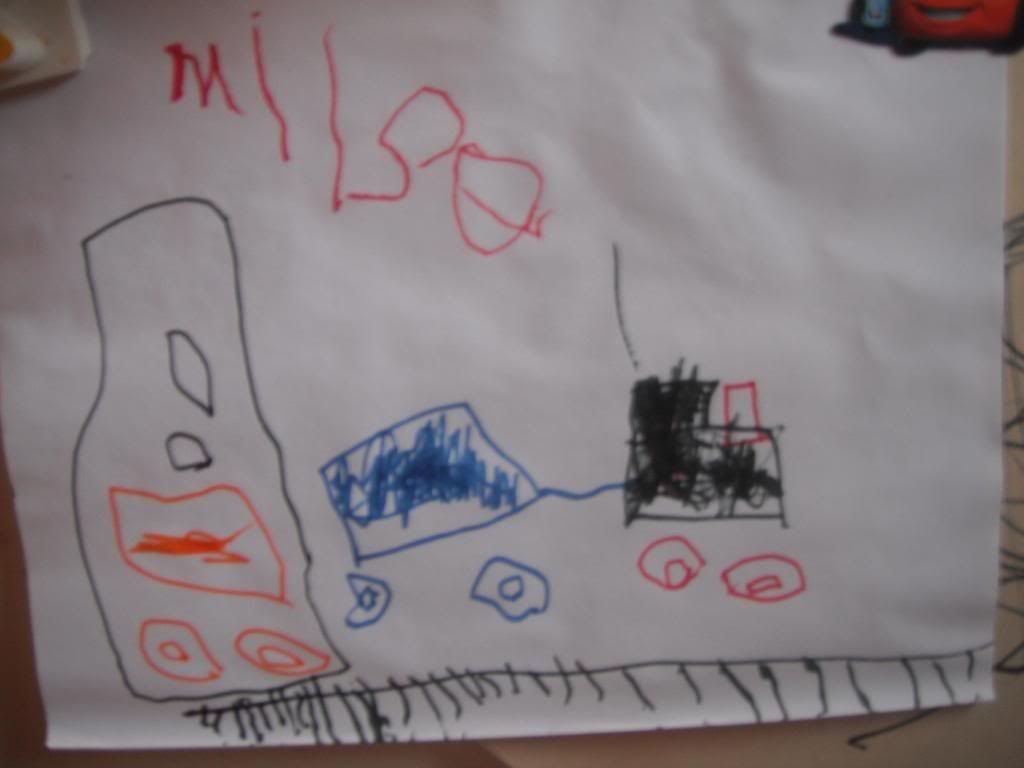

Miles made these. 


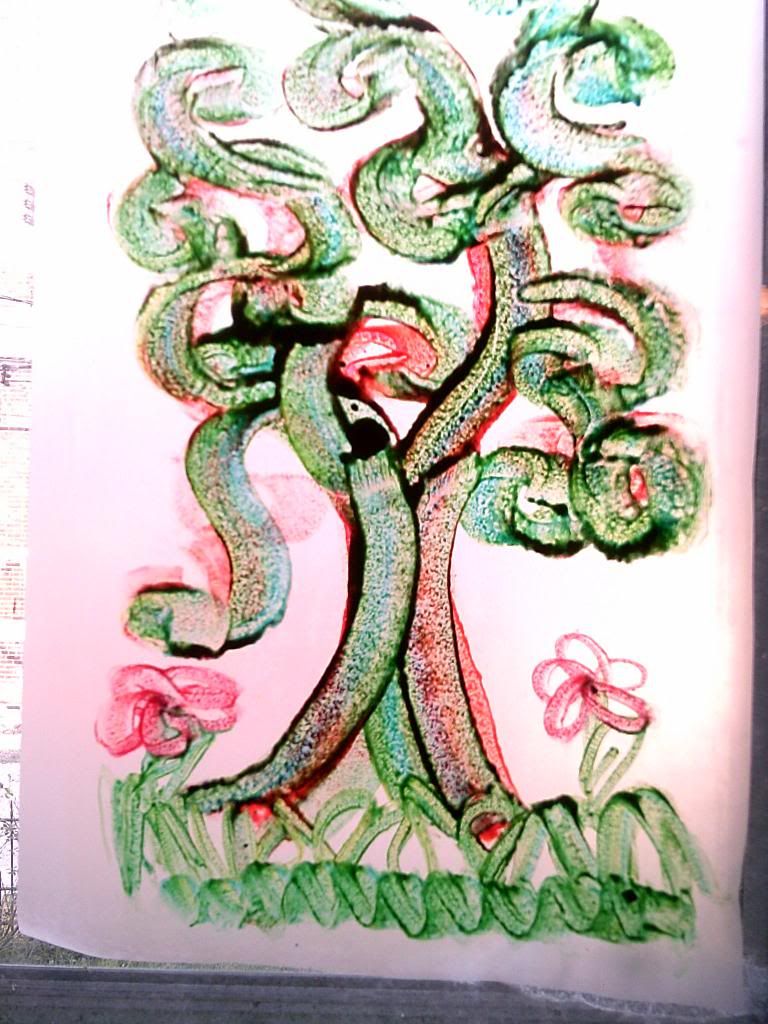
Kandinsky inspired Swirly Tree


This was the first one that I created.  Primary Swirls.  

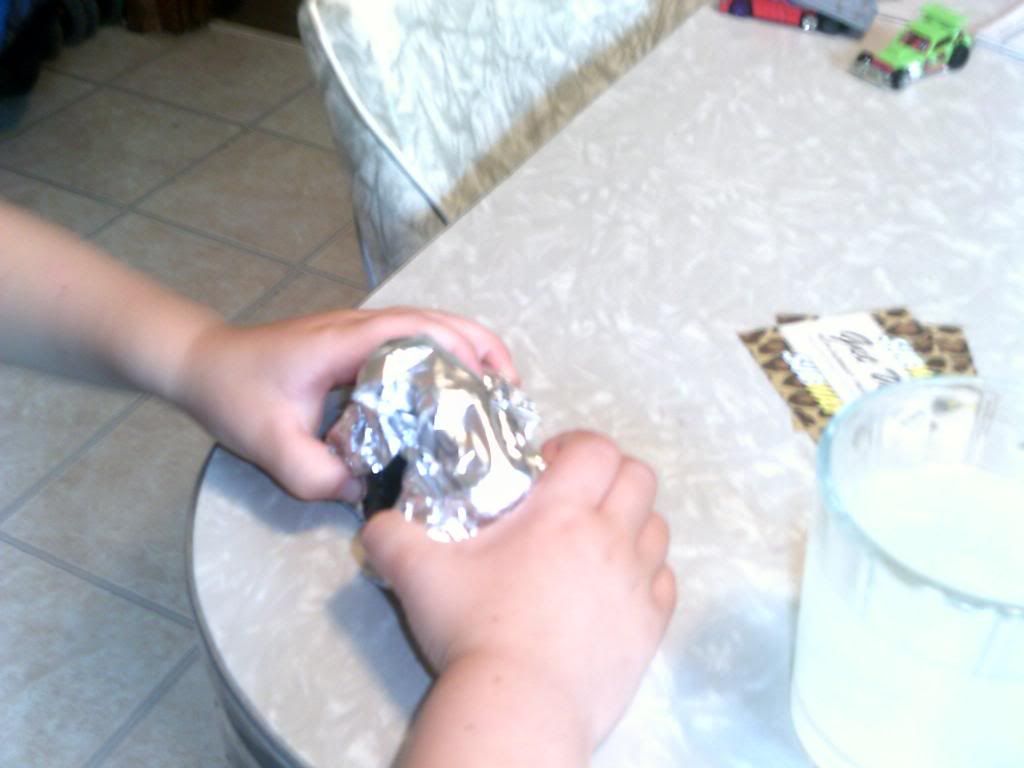
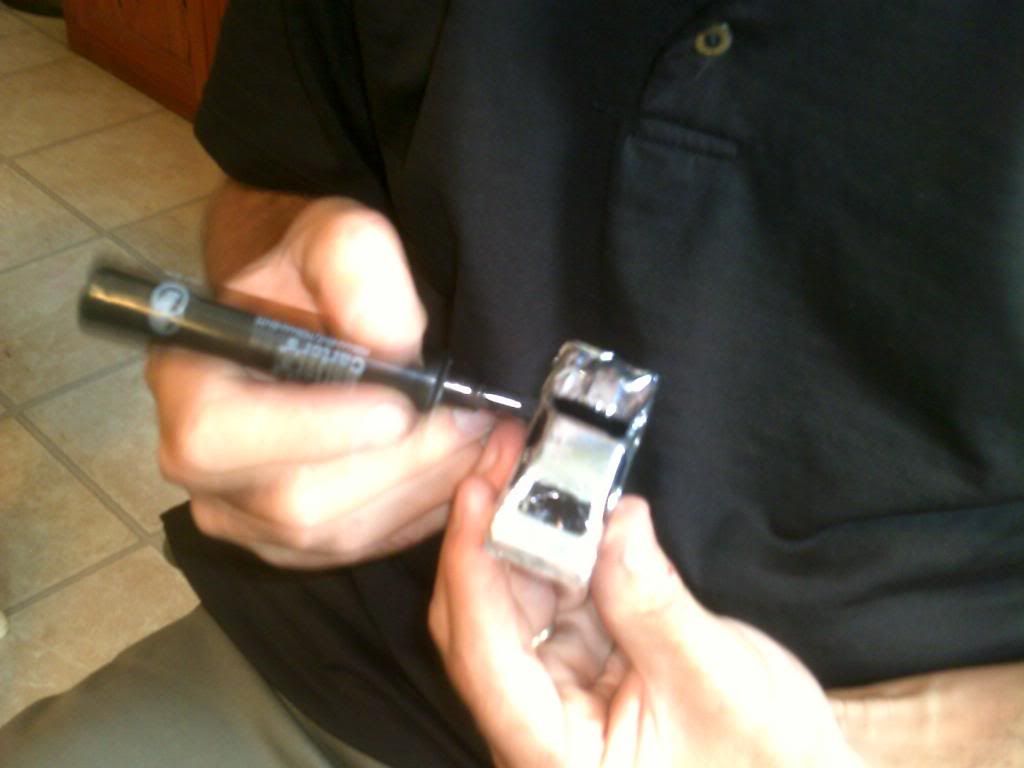
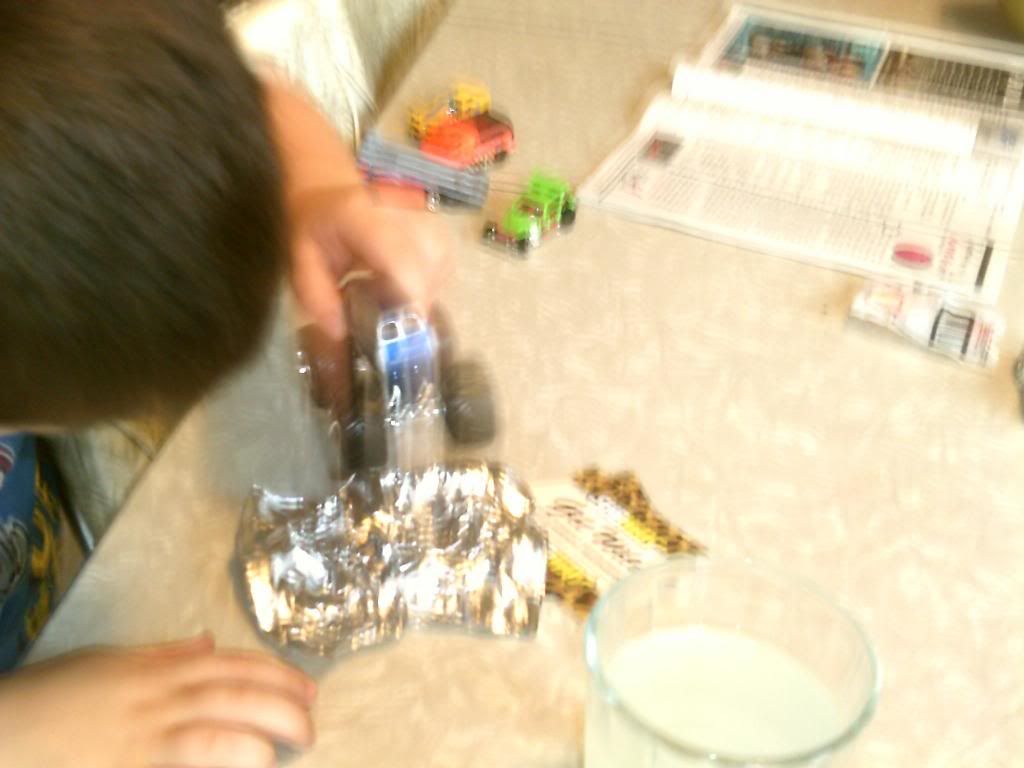
This was a great activity and I'm glad that we tried it.  I highly recommend it to anyone who is old enough to understand that the hot plate is .... well hot.  The activity can also be done on aluminum foil.  And after doing some I think that this could be a fun way to do art on a cotton fabric, but haven't tried this, so it could be a flop.  Let me know if you try before I do.  

25 points for creativity
25 points for cheep factor
50 points for entertainment value 
= 100% Awesome Fun

Thursday, May 30, 2013

Not Your Mama's Tuna Casserole

So we ate it before I took a picture.  I would make a terrible food blogger...  Tonight I made a tuna casserole that was quite tasty.  Here is an approximation of what I put together.

Not Your Mama's Tuna Casserole

Cook 1/2 box of noodles I used rigatoni (If this is the first time you are making noodles, read the box.)
drain and mix in
1 can Tuna
2 T cream cheese
1/4 cup shredded Colby Jack cheese
1 tsp ground cumin seeds
3T low-fat Cesar dressing

Serve on a pretty plate with some fruit and a green veggie of your choice.